Apple Aperture 3.5 User Manual
Page 247
Chapter 7
Make image adjustments
247
To view the corrected image with the Red Eye target overlays turned off, select the Selection tool
in the tool strip or the full-screen view toolbar (or press A). To turn the Red Eye target overlays
on again, select the Red Eye tool
in the tool strip or the full-screen view toolbar (or press E),
or click the Red Eye Tool button
in the Adjustments inspector or the Adjustments pane of
the Inspector HUD.
Change the size of an existing Red Eye target overlay
You can adjust the size of a Red Eye target overlay after it’s placed on the image.
1
To display the image at full size (100 percent), click the Zoom Viewer button in the tool strip or
the full-screen view toolbar (or press Z).
2
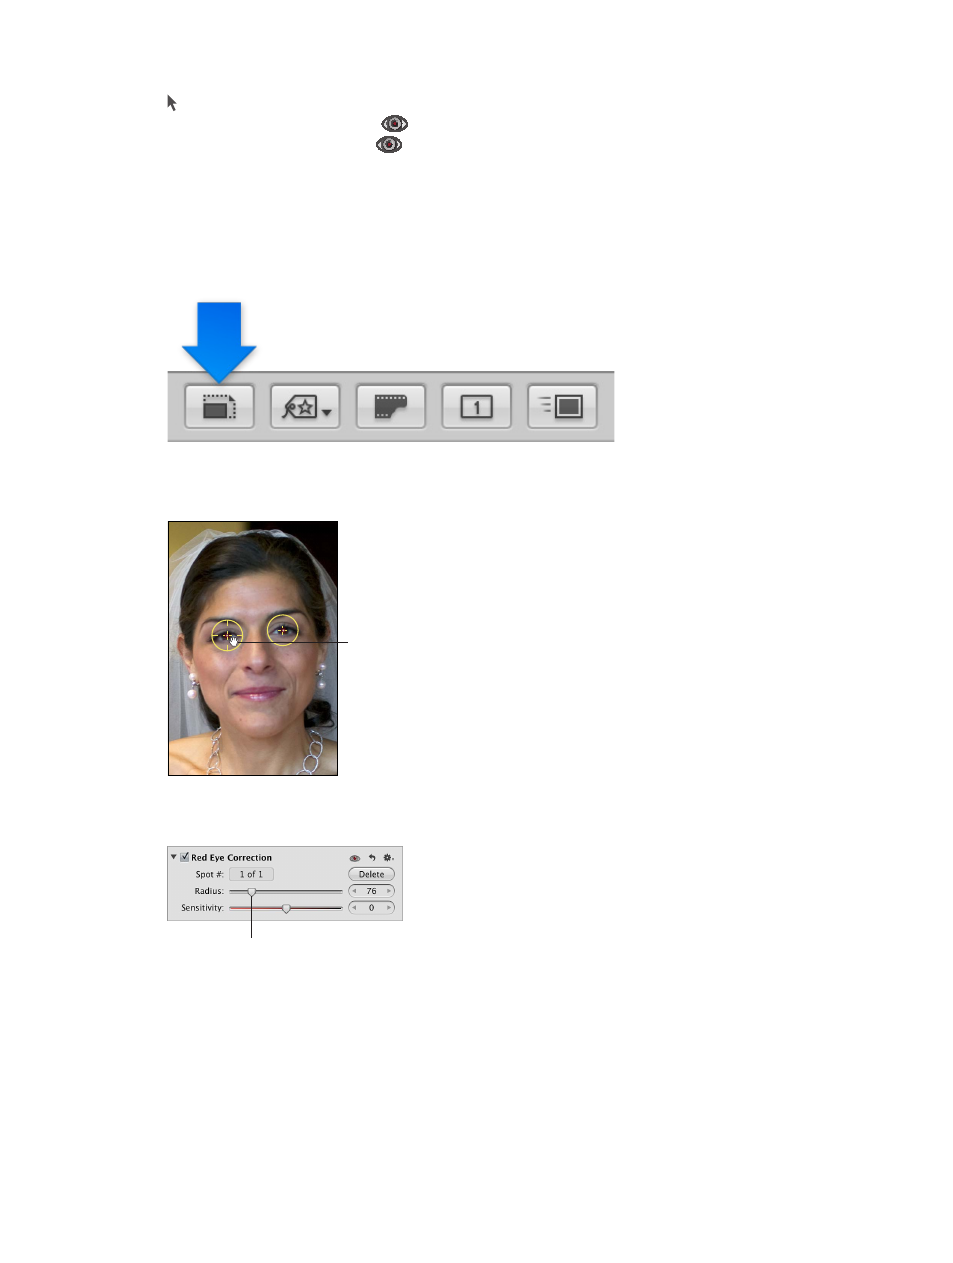
Click the Red Eye target overlay to select it.
A hand icon appears to indicate that you can select the Red Eye target overlay.
The Red Eye tool changes
to a hand icon to indicate
that you can select the
Red Eye target overlay.
3
In the Red Eye Correction area of the Adjustments inspector or the Adjustments pane of the
Inspector HUD, use the Radius parameter controls to change the size of the overlay.
Drag the Radius slider to adjust
the size of the selected Red Eye
target overlay.
67% resize factor