Use the alternate loupe – Apple Aperture 3.5 User Manual
Page 184
Chapter 5
View and compare photos
184
Set the Loupe to show a pixel grid
1
Set the Loupe’s magnification to 400 percent or higher.
2
Do one of the following:
•
Choose View > Loupe Options > Show Pixel Grid in Loupe.
•
Choose Pixel Grid from the Loupe pop-up menu.
To turn off this feature, choose the menu item again.
Turn on the display of color values in the Loupe
Do one of the following:
m
Choose View > Loupe Options > Show Color Value in Loupe, or press Option-Shift-Tilde (~).
m
Choose Color Value from the Loupe pop-up menu.
To turn off this feature, choose the menu item again.
Change the color value option
m
In the Adjustments inspector or the Adjustments pane of the Inspector HUD, choose a color
value option from the Adjustment Action pop-up menu
.
For more information, see
Sample color values and display camera information
on page 339.
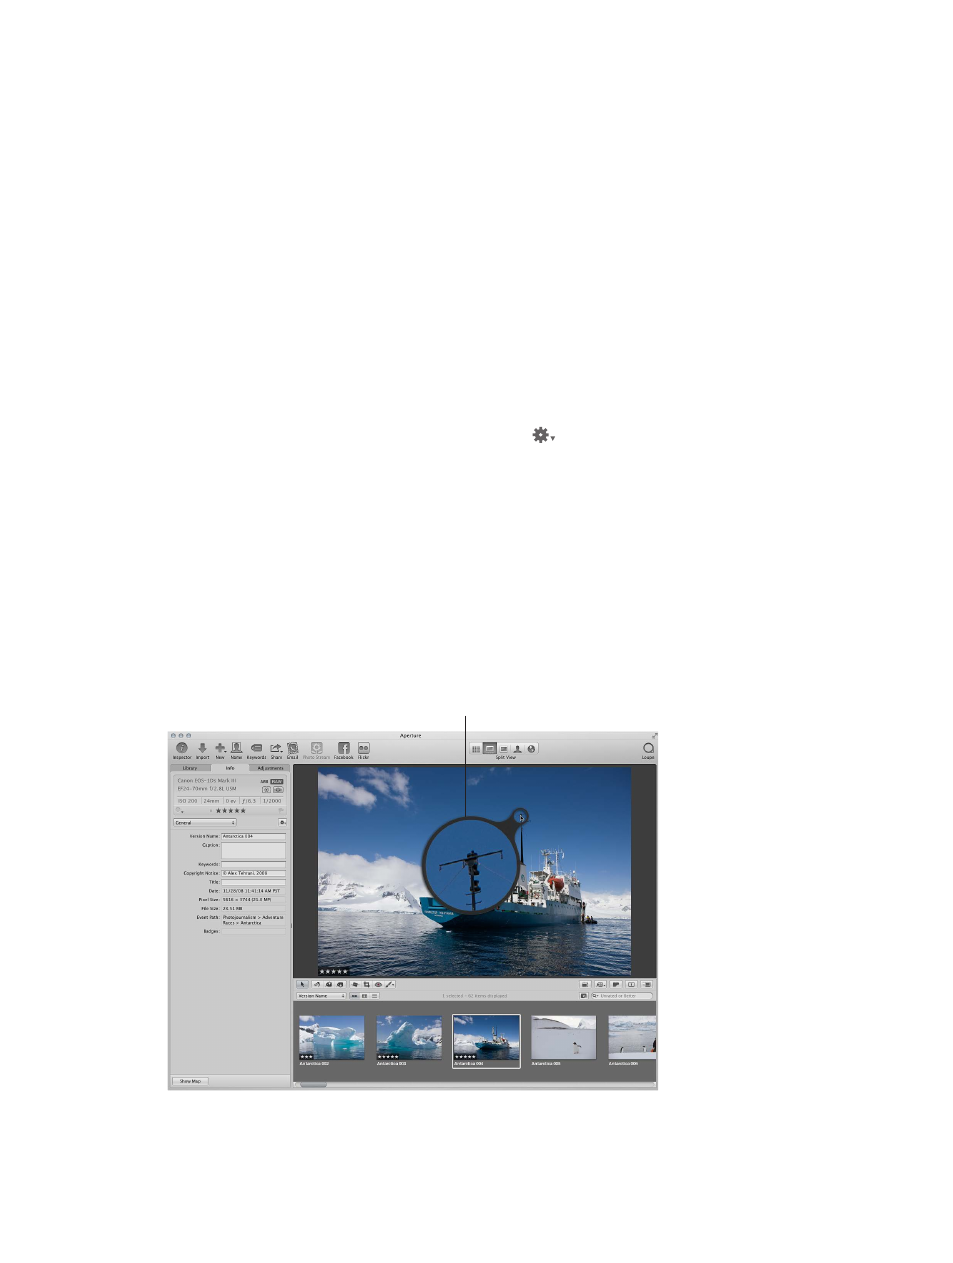
Use the alternate Loupe
By default, Aperture displays the Centered Loupe when you show the Loupe to examine parts
of a photo, but you can also use an alternate Loupe. You position the small ring of the alternate
Loupe over the portion of the photo you want to see, and the large ring shows a magnified
view. Depending on the details in the photo, you can change the size of the alternate Loupe and
increase or decrease its magnification level. It’s useful for making quick checks for dust specks,
flaws, fingerprints, or other issues. You can use the alternate Loupe on any photo or thumbnail in
the Aperture library.
The alternate Loupe
shows a magnified view
of whatever is beneath it.
67% resize factor