Apple Aperture 3.5 User Manual
Page 260
Chapter 7
Make image adjustments
260
3
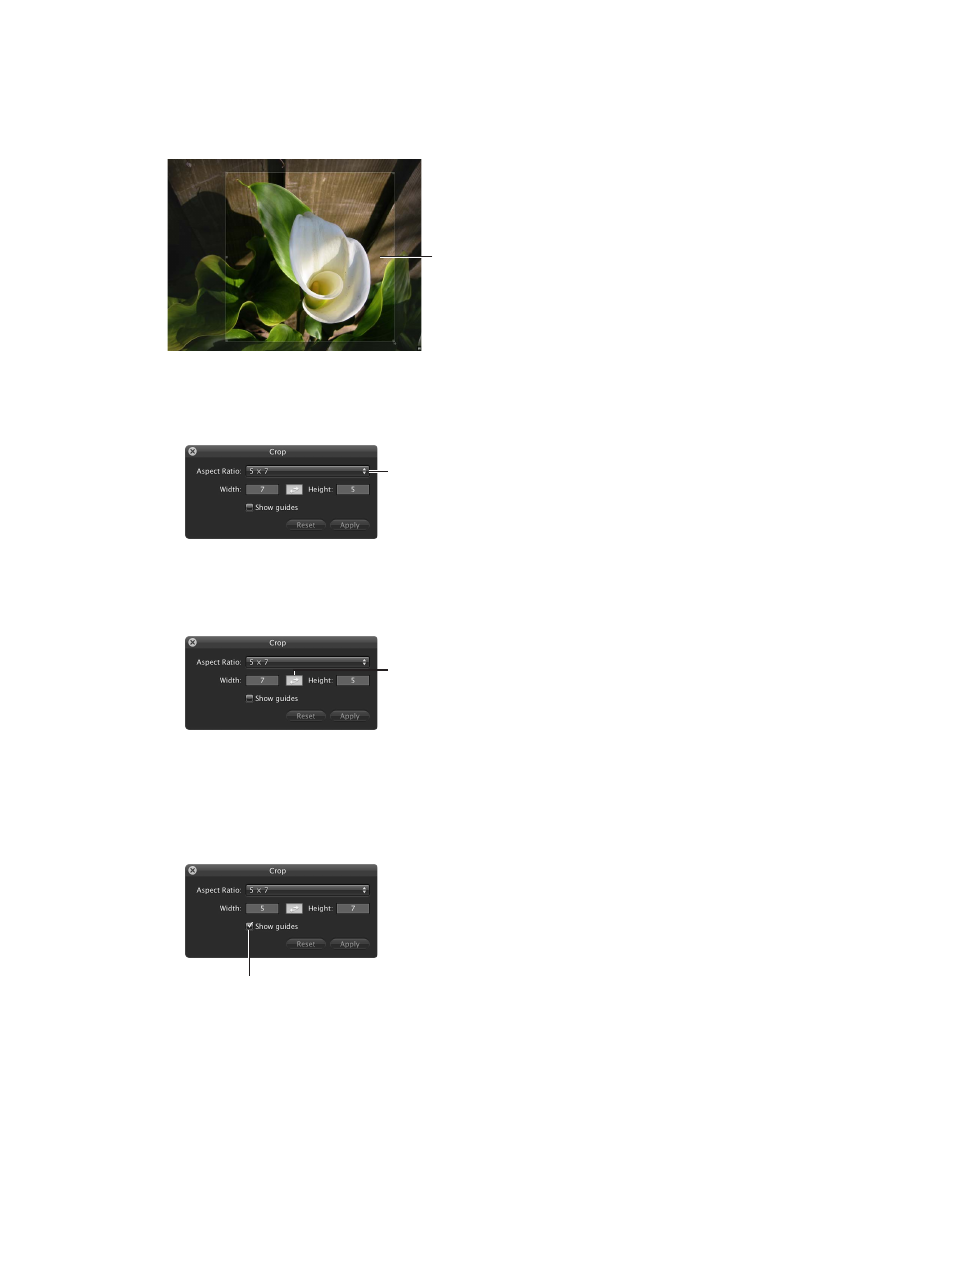
With the Crop tool selected, drag a rectangle over the image to exclude the areas that you want
to trim.
A Crop overlay appears on the image with resize handles, and the trimmed edges are dimmed.
Drag across the photo
with the Crop tool.
A dark overlay is placed
over the trimmed areas.
4
Do any of the following:
•
To set the aspect ratio of the Crop overlay: Choose an aspect ratio from the Aspect Ratio pop-up
menu, or set a custom aspect ratio by entering values in the Width and Height fields.
Choose a standard
aspect ratio for the crop
from the Aspect Ratio
pop-up menu.
Note: Aperture interprets small (single- and double-digit) numbers as inches and larger
numbers as pixels.
•
To change the orientation of the crop: Click the Switch Aspect Ratio button.
Click the Switch Aspect
Ratio button to change
the orientation to portrait
or landscape.
The values in the Width and Height fields are reversed, and the Crop overlay is updated to
show the new orientation. (Entering a number in the Width field that is smaller than the
number in the Height field sets a portrait orientation. Entering a larger number in the Width
field sets a landscape orientation.)
•
To show cropping guides within the Crop overlay: Select the “Show guides” checkbox.
Select the “Show guides”
checkbox to display cropping
guides over the photo.
67% resize factor