Apple Aperture 3.5 User Manual
Page 234
Chapter 7
Make image adjustments
234
1
Select the photo with the brushed adjustment whose brush strokes you want to erase.
2
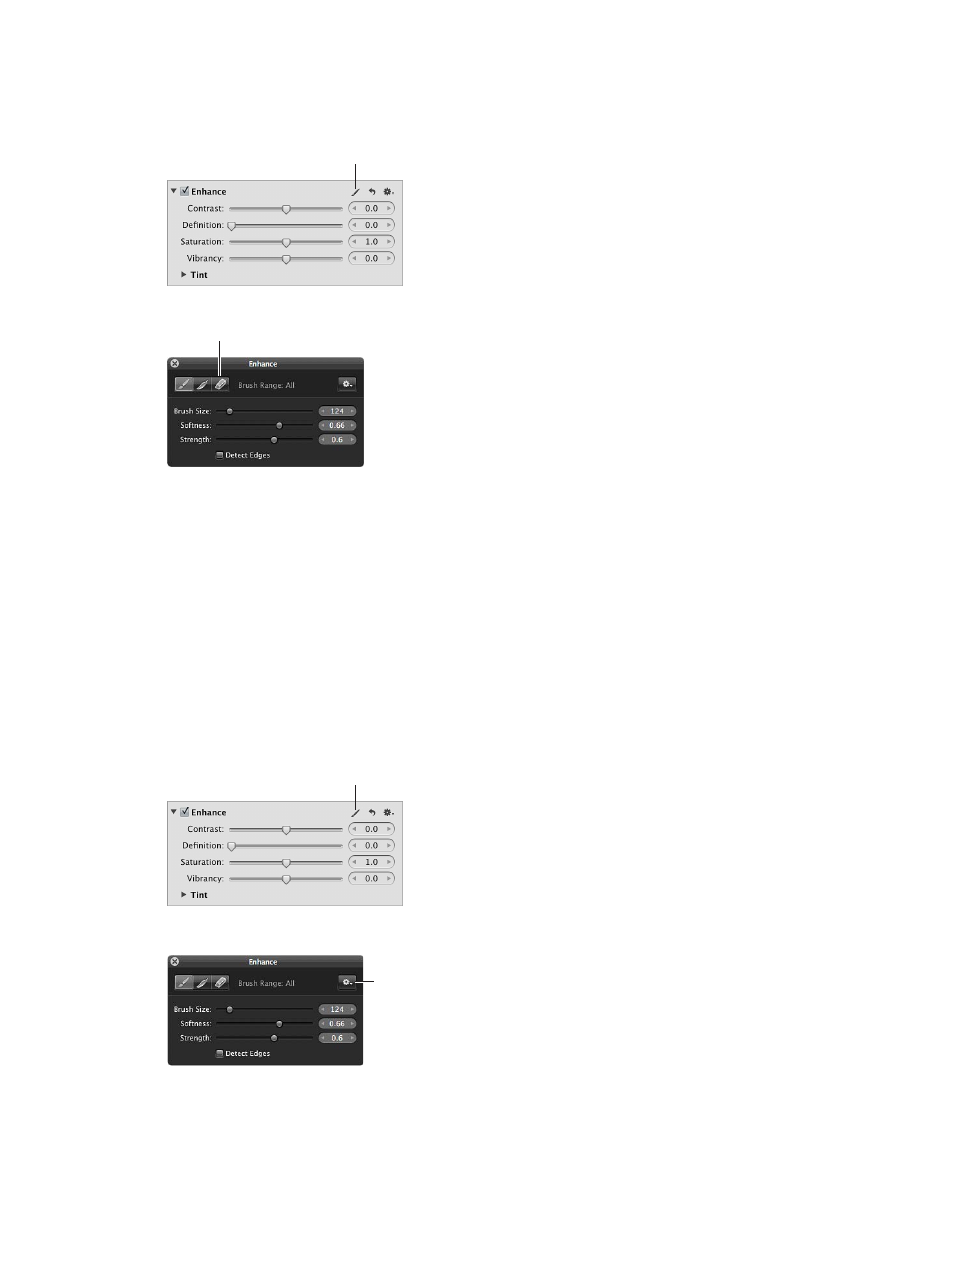
Select the brushed adjustment in the Adjustments inspector or the Adjustments pane of the
Inspector HUD, and click the Brush button in the adjustment controls.
Click the Brush button.
3
In the Brush HUD, click the Eraser button.
Click the Eraser button.
4
Specify the diameter of the brush, its softness, and its intensity using the Brush Size, Softness,
and Strength sliders and value sliders.
5
Drag the brush over the previously applied brush strokes that you want to remove.
Tip: Some brushed adjustments are so subtle that it’s difficult to identify the boundaries of the
brush strokes or even the brush strokes themselves. In some cases, one brushed adjustment
can obscure another when brushed over the same area. To help identify brush strokes, it’s a
good idea to use overlays. For more information, see
Work with brushed adjustment overlays
on
page 235.
Remove all brush strokes for a specific adjustment from an image
1
Select the photo with the brushed adjustment whose brush strokes you want to remove.
2
Select the brushed adjustment in the Adjustments inspector or the Adjustments pane of the
Inspector HUD, and click the Brush button in the adjustment controls.
Click the Brush button.
3
In the Brush HUD, choose “Clear from entire photo” from the Brush Action pop-up menu.
Choose “Clear
from entire photo”
from the Brush
Action pop-up
menu.
67% resize factor