Simulation flow, Simulation flow -15 – Altera Embedded Peripherals IP User Manual
Page 149
USER COMMANDS Section
The master transactor USER COMMANDS section contains the commands that initiate the PCI transac‐
tions you want to run for your tests. The list of events that are executed by these commands is defined in
the TASKS sections. Customize the USER COMMANDS section to execute the sequence of commands
needed to test your design.
Simulation Flow
This section describes the simulation flow using Altera PCI testbench.
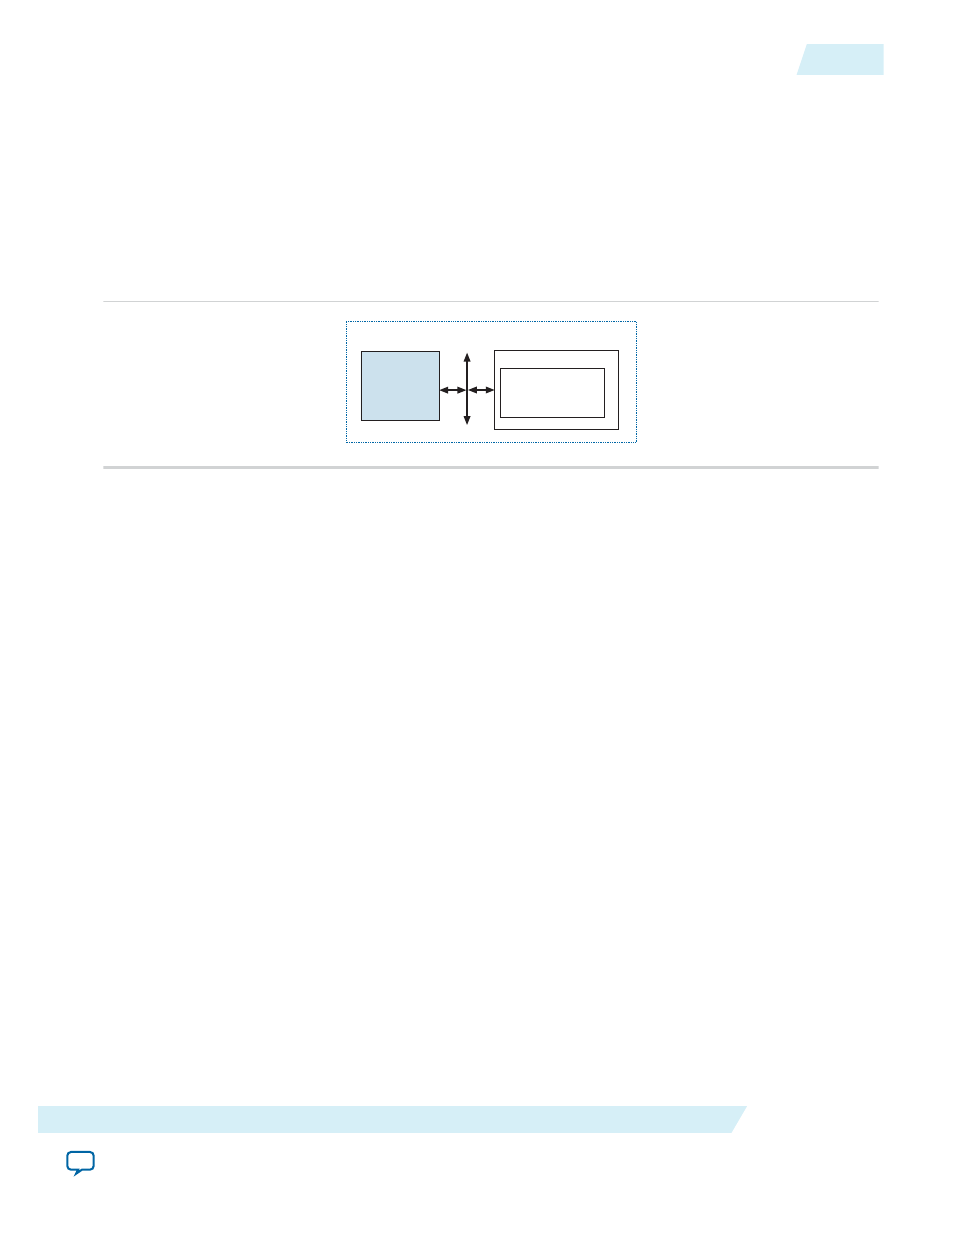
Figure 14-5: Typical Verification Environment Using the PCI Testbench
Altera Device
PCI Bus
Altera PCI Testbench
PCI
Testbench
System Generated
Using SOPC Builder
The simulation flow using Altera PCI testbench comprises the following steps.
1. Use SOPC Builder to create your system. SOPC creates the
your project directory.
2. Source pci_constraints.tcl.
3. Copy
trgt_tranx_mem_init.dat to
4. Edit the top level HDL verilog files in the testbench. Insert the following lines just before
module
test_bench
.
‘include “
/ip/sopc_builder_ip/altera_avalon_pci_lite/pci_sim/
verilog/pci_lite/pci_tb.v”
‘include “
verilog/pci_lite/clk_gen.v”
‘include “
verilog/pci_lite/arbiter.v”
‘include “
verilog/pci_lite/pull_up.v”
‘include “
verilog/pci_lite/monitor.v”
‘include “
verilog/pci_lite/trgt_tranx.v”
‘include “mstr_tranx.v”
Note: Modify
mstr_tranx.v
in your project directory to add the PCI transactions to your system. If you
regenerate your system, SOPC Builder overwrites the testbench files in the
directory. If you want the default testbench files, regenerate the system. Then resource
pci_
constraints.tcl
or simply copy the
mstr_tranx.v
from
altera_avalon_pci_lite/pci_sim/verilog/pci_lite into your project folder and repeat steps 3 and 4.
UG-01085
2014.24.07
Simulation Flow
14-15
PCI Lite Core
Altera Corporation