HEIDENHAIN TNC 407 (280 580) User Manual User Manual
Page 274

9-7
TNC 425/TNC 415 B/TNC 407
9
3D Touch Probes
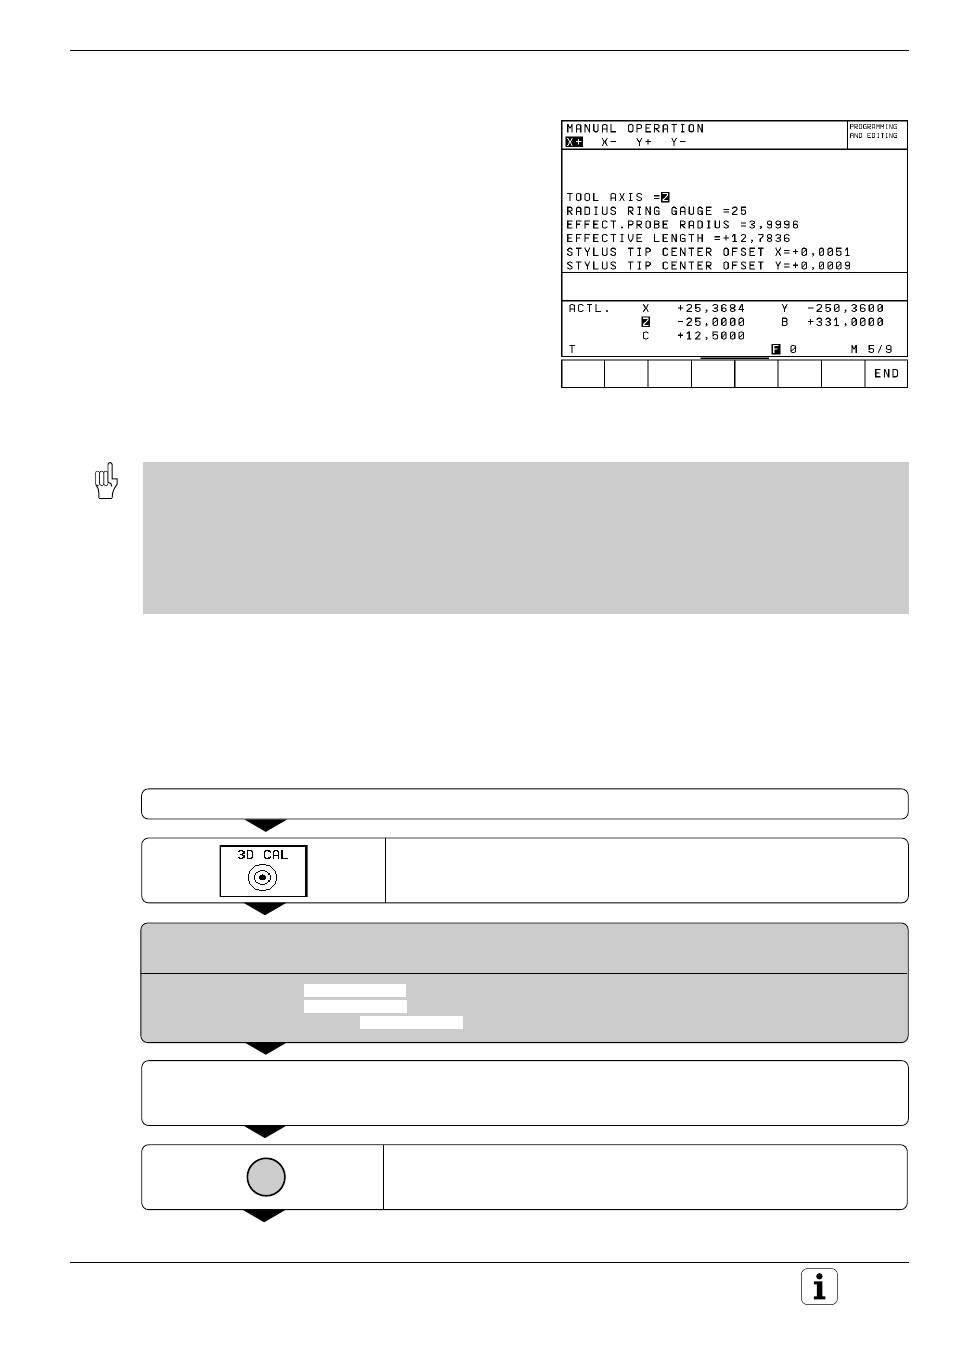
Displaying calibration values
The effective length and radius of the 3D touch
probe and the value of center misalignment are
strored in the TNC for use whenever the touch
probe is needed again. You can display the values
on the screen by pressing the soft keys CAL L and
CAL R.
Calibrating the measuring touch probe
• If the error message STYLUS ALREADY IN CONTACT appears, select the menu for 3D calibration and press
the soft key RESET 3D.
• The measuring touch probe must be calibrated after every power interruption and every change in the touch
probe tool-parameter.
• The effective length is calibrated in the same way as with the triggering touch probes. You must also enter
tool radius R2 (corner radius).
• With MP6321 (see page 12-5) you can set whether the TNC calibrates the measuring touch probe with or
without automatic probing to find the stylus center.
The TNC calibrates the touch probe in a 3D calibration cycle which full-
automatically measures a standard ring gauge (supplied with the touch
probe). The standard ring gauge is fixed to the machine table with fixing
clamps.
From the data measured during calibration, the TNC calculates the spring
rate of the touch probe, the stylus deflection and the stylus center
misalignment. At the end of the calibration cycle, these values are auto-
matically stored in the input menu.
Touch Probe Cycles in the MANUAL and ELECTRONIC HANDWHEEL Operating Modes
Fig. 9.8:
Menu for touch probe radius and center
misalignment
•
•
•
Move the touch probe to a position approximately in the center of the standard ring gauge and set it to 180°.
Select the 3D calibration cycle.
Enter the values for stylus radius 1, stylus radius 2 and ring gauge diameter (engraved on the standard ring gauge).
Enter the same value for stylus radius 1 and 2 if you are using a stylus with a ball tip.
Enter different values for stylus radius 1 and 2 if you are using a stylus with a corner radius.
I
Start the calibration cycle. The touch probe measures the standard
ring gauge in a programmed sequence of steps.
MANUAL OPERATION
ROTATE TOUCH PROBE TO 180 DEGREES
STYLUS RADIUS 1 =
STYLUS RADIUS 2 =
DIAMETER RING GAUGE =
