1 general information on touch probes – HEIDENHAIN TNC 407 (280 580) User Manual User Manual
Page 269

TNC 425/TNC 415 B/TNC 407
9-2
9
3D Touch Probes
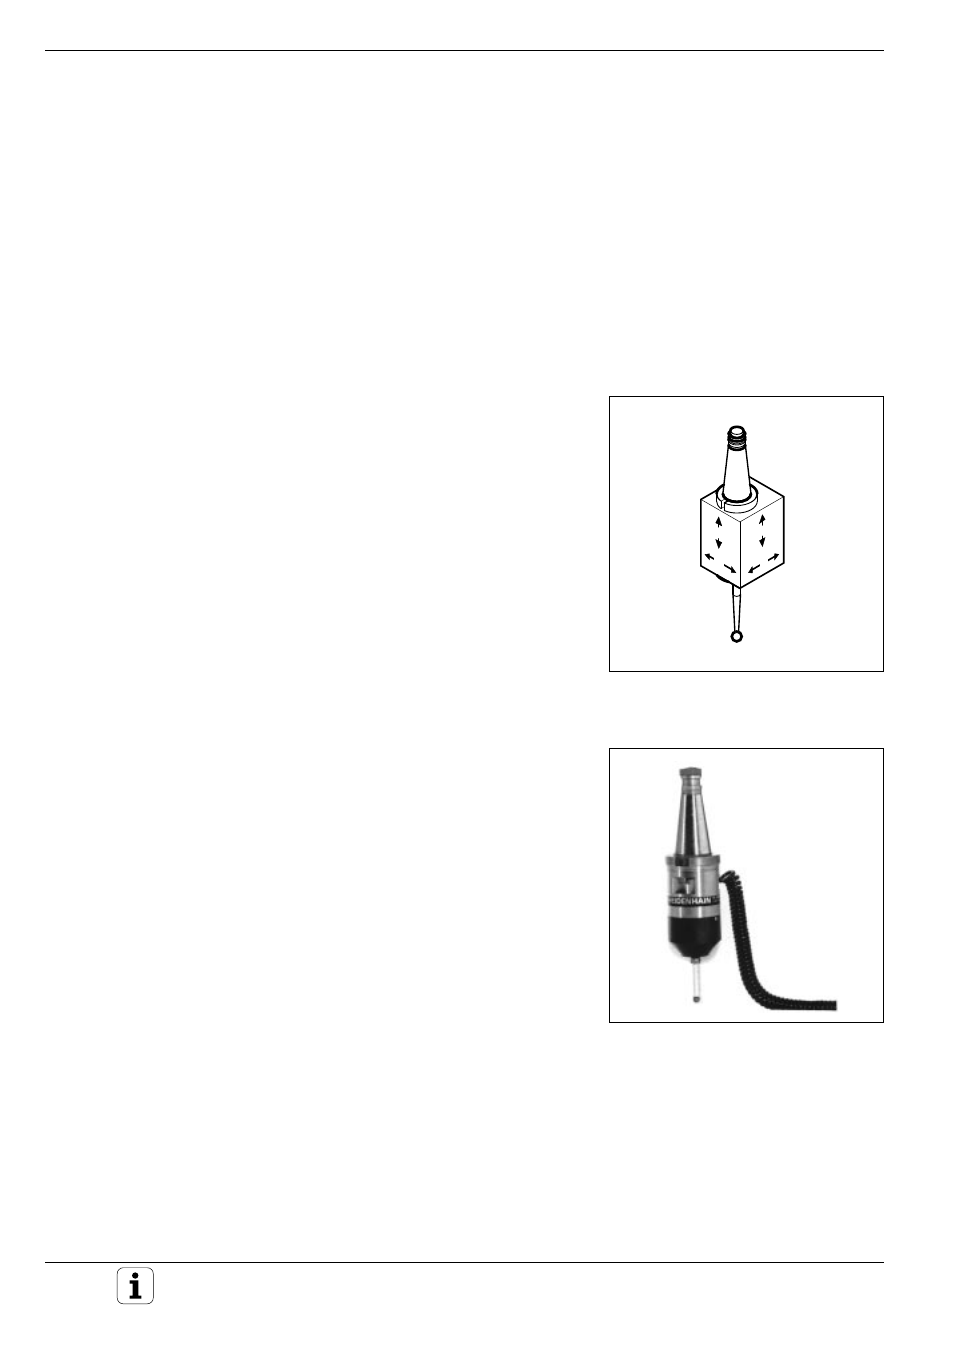
Fig. 9.2
TS 120 triggering touch probe
Fig. 9.1
TM 110 measuring touch probe
Z
Z
X
Y
9.1 General Information on Touch Probes
The TNC provides touch probe functions for application of a HEIDENHAIN
touch probe. Typical applications for the touch probe systems are auto-
matic datum setting, full-automatic tool measurement and digitizing 3D
surfaces. The following 3D touch probe systems are available:
• TM 110 measuring touch probe for quick digitizing (not on TNC 407)
• TS 120 triggering touch probe for cost-effective digitizing
• TS 511 triggering touch probe for machines with automatic tool chang-
ers
• TT 110 table-top touch probe for tool measurement
TM 110 measuring touch probe (not on TNC 407)
The TM 110 measuring touch probe was developed primarily for applica-
tions that require frequent digitizing. The TM 110 touch probe enables you
to reach digitizing speeds up to 3000 mm/min.
The TNC uses the incremental measuring systems of the touch probe to
calculate the position of the ball tip relative to the tool holder. The digitiz-
ing software integrated in the TNC then generates a program containing
straight line blocks in HEIDENHAIN format from the measured data. This
program is output through the data interface and stored in a PC. You can
subsequently use the HEIDENHAIN evaluation software SUSA for
processing the digitized data, such as calculating male/female transforma-
tions, tool paths for tool radii and tool shapes that differ from the shape of
the probe stylus tip.
You can also use the TM 110 touch probe – in combination with the TNC's
touch probe cycles – for easy datum setting or workpiece measurement.
TS 120 triggering touch probe
The TS 120 triggering touch probe is a cost-effective alternative for
applications where digitizing is not frequently required. The TS 120 touch
probe provides digitizing speeds up to 300 mm/min (at a probe point
interval of 0.5 mm).
The principle of a triggering touch probe is based on an electrical triggering
signal that is generated as soon as the stylus is deflected. The touch
probe transmits the signal to the TNC through the connecting cable.
Within fractions of a second the TNC calculates the actual position of the
touch probe from the machine's position encoders and stores the position
data. It then generates a program containing straight line blocks in HEI-
DENHAIN format from the measured data. This program is output through
the data interface and stored in a PC. You can subsequently use the
HEIDENHAIN evaluation software SUSA for processing the digitized data,
such as calculating male/female transformations, tool paths for tool radii
and tool shapes that differ from the shape of the probe stylus tip.
You can also use the TM 110 touch probe – in combination with the TNC's
touch probe cycles – for easy datum setting or workpiece measurement.
