Setting up a display grid, Using the toolbars – Rockwell Automation FactoryTalk View Site Edition Users Guide User Manual
Page 396
F
ACTORY
T
ALK
V
IEW
S
ITE
E
DITION
U
SER
’
S
G
UIDE
16–8
• •
•
•
•
If the Size property is set to Use Current Size, Zoom to Fit behaves in the same way as
Cancel Zoom; it returns a display to its original size.
Setting up a display grid
To size and position objects precisely, use the grid items on the View menu. You can
change the grid settings any time during the drawing process.
Use the grid to simplify aligning and sizing objects. When the grid is on, all objects you
draw or place are aligned to the grid automatically.
If you select Snap to Grid, the grid is activated, and the next object you draw or position
will be pulled to the closest grid point. Turning on the grid does not affect the placement
of existing objects.
If you clear Snap to Grid, the grid is passive, and does not affect the position of objects.
Turn off the grid to draw or position an element between the grid lines.
Using the toolbars
The toolbars are a convenient way to perform an action. You can:
Hide or show the toolbars using the items on the View menu. If there is a check mark
beside the toolbar name, the toolbar is visible.
Drag the toolbars anywhere on the screen.
Dock the toolbars to an edge of the FactoryTalk View Studio workspace (except the
ActiveX Toolbox).
Selecting a drawing tool
The Objects toolbar contains tools for creating, selecting, and rotating objects. The tools
are also available on the Objects menu.
To draw an object, click a tool in the toolbox or on the Objects menu. When you do this,
the pointer changes to show which tool is active.
To stop using a drawing tool, click the Select tool, or click another drawing tool.
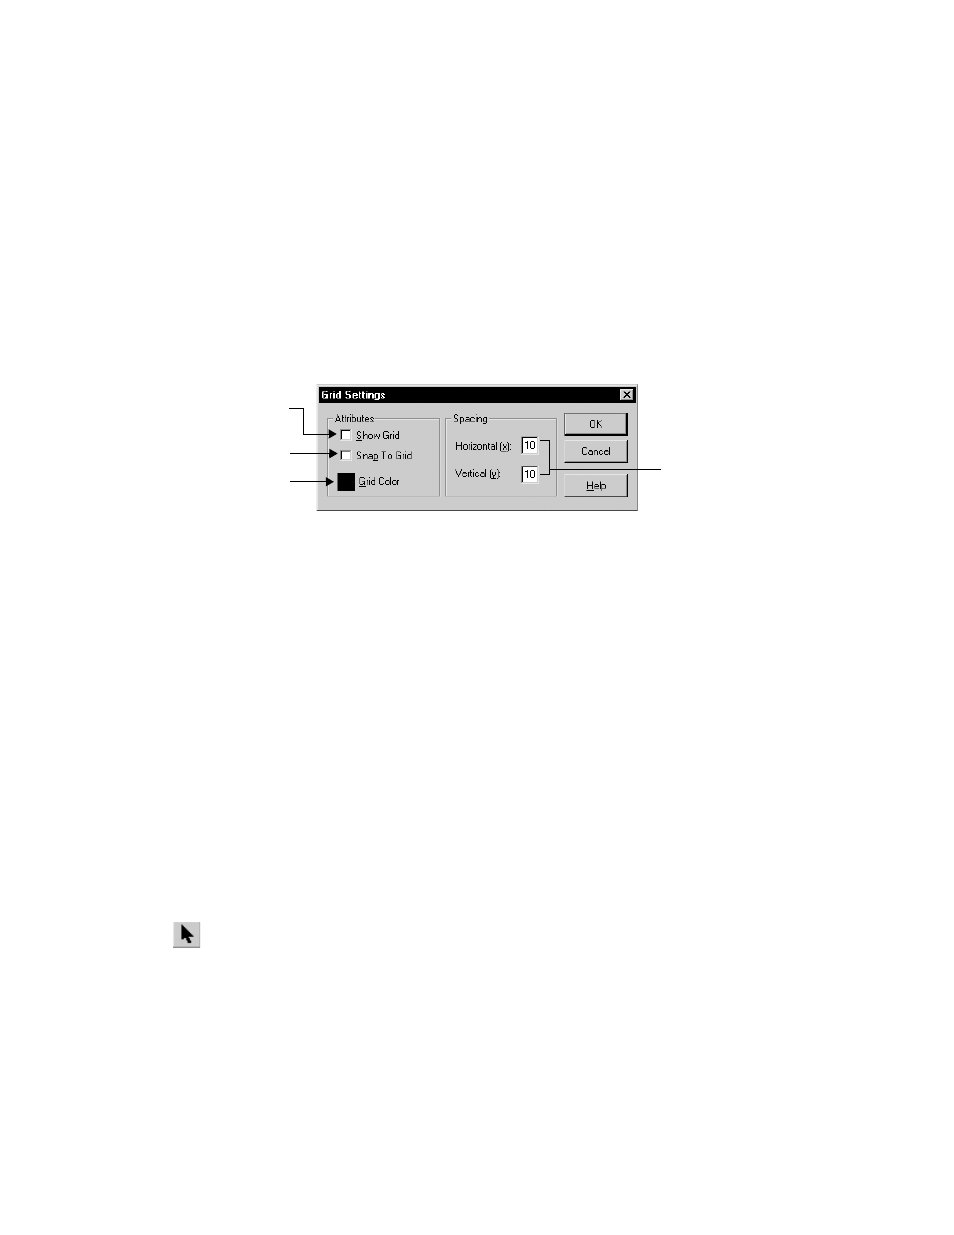
Select this check box to
make the grid visible.
Select this check box to
make the grid active.
Select a color for the
grid points.
Set the spacing
of the grid points
in pixels.
Select tool