3 project structure (project tree), Project structure (project tree), Project structure (project tree) ( 18) – Lenze Engineer v2.21 User Manual
Page 18: User interface
User interface
Project structure (project tree)
18
Lenze · Engineer · 2.13 EN - 10/2014
_ _ _ _ _ _ _ _ _ _ _ _ _ _ _ _ _ _ _ _ _ _ _ _ _ _ _ _ _ _ _ _ _ _ _ _ _ _ _ _ _ _ _ _ _ _ _ _ _ _ _ _ _ _ _ _ _ _ _ _ _ _ _ _
Representing the project view bar in a reduced size/masking it out
Tip!
In order to increase the workspace, you can use the context menu (right-hand mouse
button) to reduce the size of the buttons in the project view bar or mask them out.
Alternatively, the settings of the project view bar can be executed via the menu command
ExtrasOptions in the Environment.
3.3
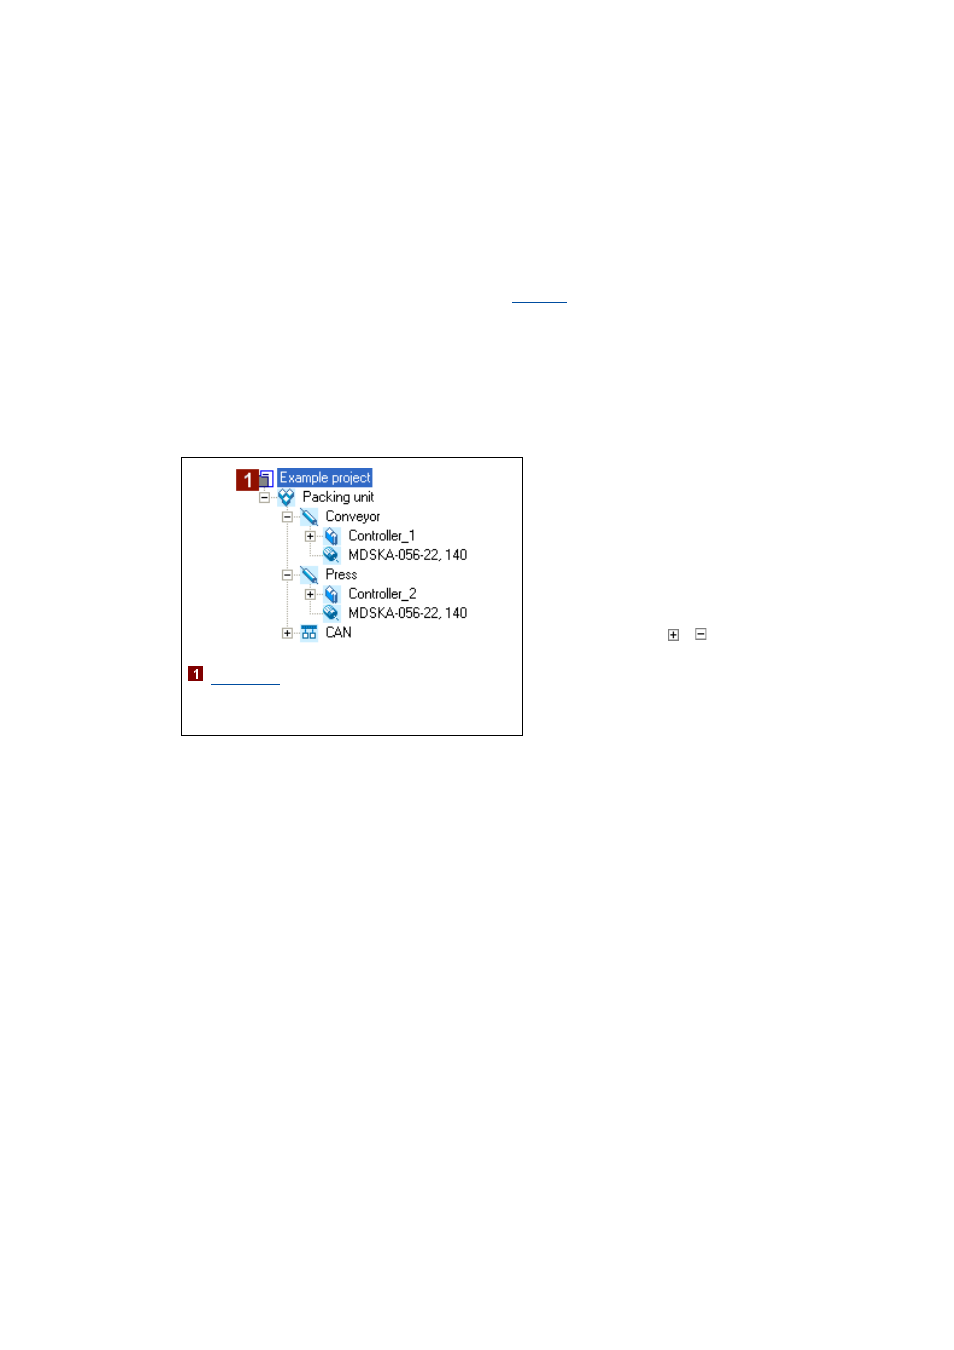
Project structure (project tree)
Similar to the folder view in the Windows Explorer, the project structure shows the individual
machine components in the form of a tree topology:
[3-1]
Example for the hierarchical representation of the project structure in the Project tree
Tip!
You can alter the width and height of the Project view by using the mouse pointer to shift
the screen divider between the Project view and the Workspace or between the Project view
and the Message window.
By clicking with the right-hand mouse button, you can open a Context menu containing
functions relevant to the elements.
:
• If you select a project element and then
change to the workspace, the project
element is still shown on a grey
background and is underlined at the same
time.
• Like this you can clearly see which
project element the active workspace
belongs to.
• By clicking the / icons, sub-elements
can be shown / hidden.
• In the workspace, the properties and
settings of the currently selected element/
device are shown and can be edited there.