Creating a customized layout – Brocade Network Advisor IP User Manual v12.3.0 User Manual
Page 482
430
Brocade Network Advisor IP User Manual
53-1003153-01
IP topology map components
9
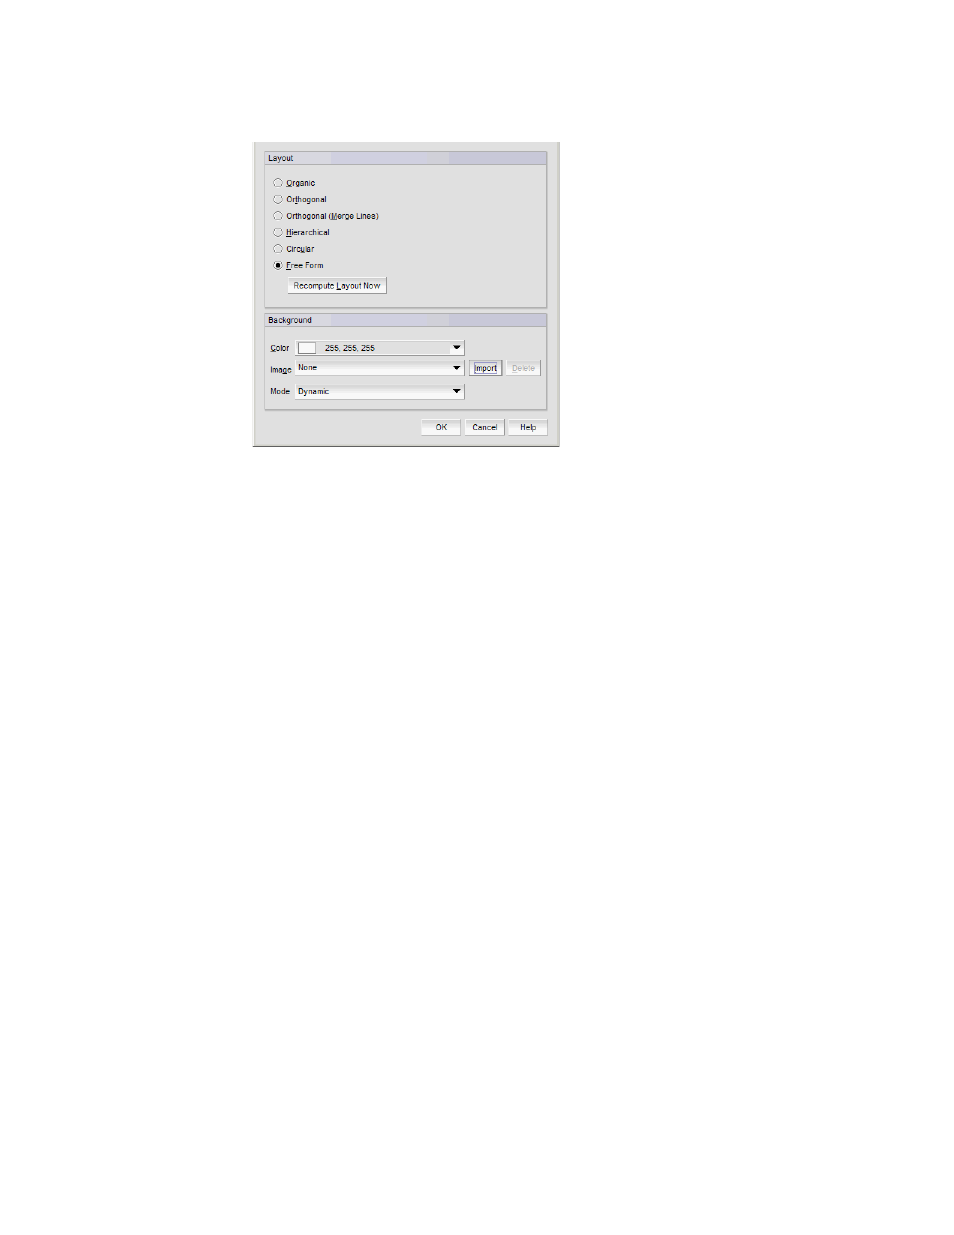
FIGURE 188
Topology Display dialog box
3. Select one of the following topology layouts in the Layout area.
•
Organic
•
Orthogonal
•
Orthogonal (Merge Lines)
•
Hierarchical
•
Circular
•
Free Form
4. Click Recompute Layout Now.
The Management application redraws the Topology Map.
5. Click OK on the Topology Display dialog box.
Creating a customized layout
You can create one customized layout for each group node in each topology view.
To customize the layout for a topology map, complete the following steps.
1. Select the view you want to customize from the view list on the Product List toolbar.
•
IP Topology
•
L2 Topology
•
Ethernet Fabrics
•
VLAN Topology
2. Click a node and drag it to a new position on the map.
The application automatically changes the layout to Free Form. To move one or more nodes at
the same time, complete the following steps: