Report templates, Templates toolbar – Brocade Network Advisor IP User Manual v12.3.0 User Manual
Page 347
Brocade Network Advisor IP User Manual
293
53-1003153-01
Reports
7
A list of scheduled reports display.
3. Select the schedule you want to deactivate and click Deactivate.
Report templates
The Templates page enables you to run, import, export, share, or delete reports.
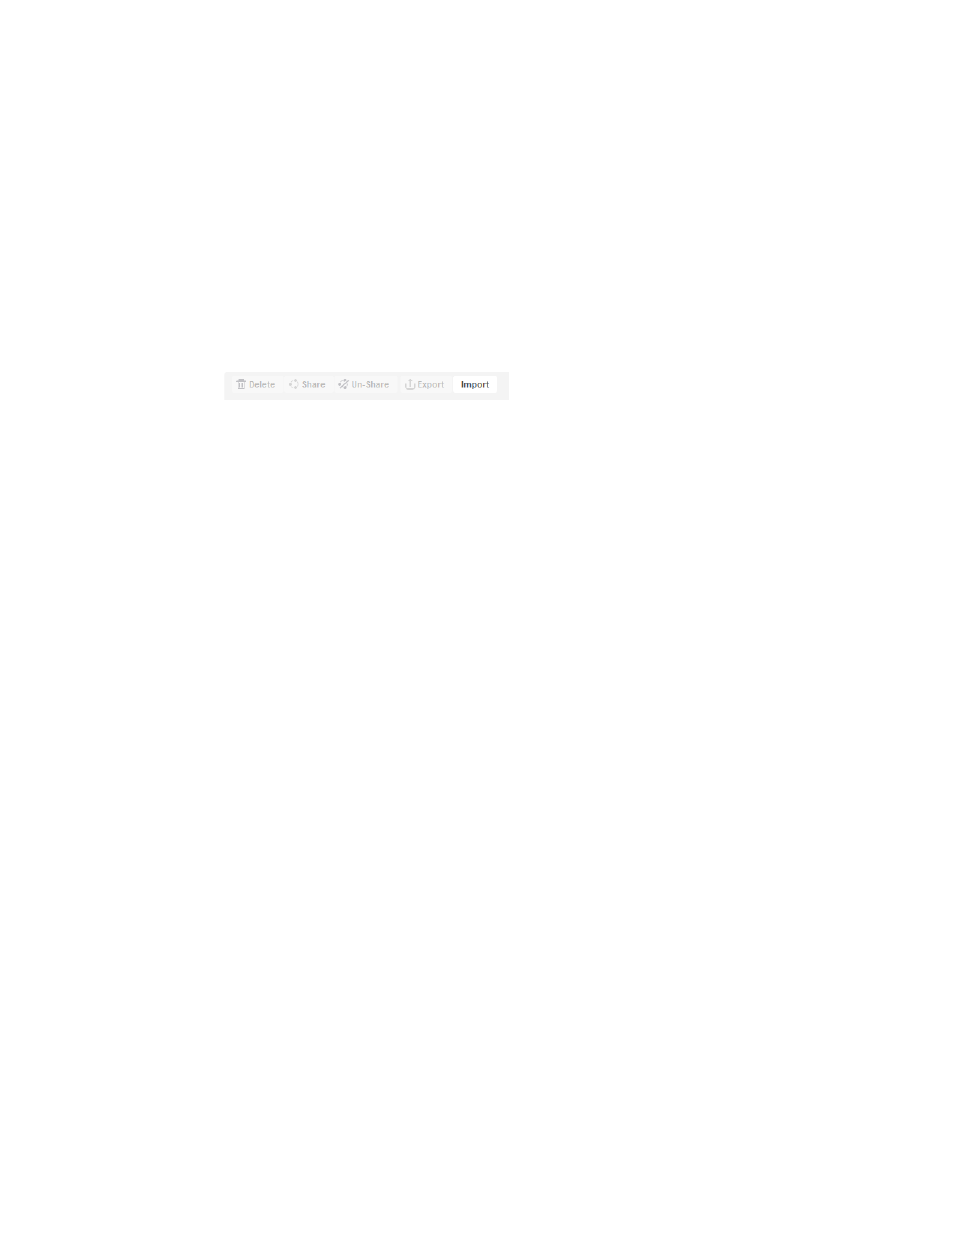
Templates toolbar
The toolbar is located on the upper right side of the tab and provides buttons and fields to perform
various functions.
FIGURE 134
Templates toolbar
1. Delete button — Select one or more templates that you want to remove from the list and click to
delete. You can only delete templates that you create. For step-by-step instructions, refer to
“Deleting reports, schedules, or templates”
2. Share button — Select a schedule and click to share a template. For step-by-step instructions,
refer to
3. Un-Share button — Select a schedule and click to stop sharing a template. For step-by-step
instructions, refer to
“Removing a report from the shared templates”
4. Import button — Click to import a template. For step-by-step instructions, refer to
5. Export button — Select a schedule and click to export a template. For step-by-step instructions,
refer to
Viewing report templates
You can import external report design (.rptdesign) files into the Management application. The
report title must be unique.
1. Click the Reports icon.
The Reports page displays with two panes: Templates list and Reports tabs.
2. Click All Templates in the Templates list.
3. Click the Templates tab.
A list of existing report templates display. The Templates tab includes the following fields and
components:
•
Templates table — Displays a list of all reports.
•
Unnamed check box — Use to select a template.
•
Title — Displays the title of the report, which must be unique. Click to launch the selected
report. For step-by-step instructions, refer to
•
Data — Displays the date and time the report was last run.
•
Generated By — Displays the user (for example, System or Administrator) who modified the
report last.