Generated reports, Generated reports toolbar – Brocade Network Advisor IP User Manual v12.3.0 User Manual
Page 339
Brocade Network Advisor IP User Manual
285
53-1003153-01
Reports
7
Generated reports
The Reports tab provides quick access to all generated reports.
Generated Reports toolbar
The toolbar is located on the upper right side of the tab and provides buttons and fields to perform
various functions.
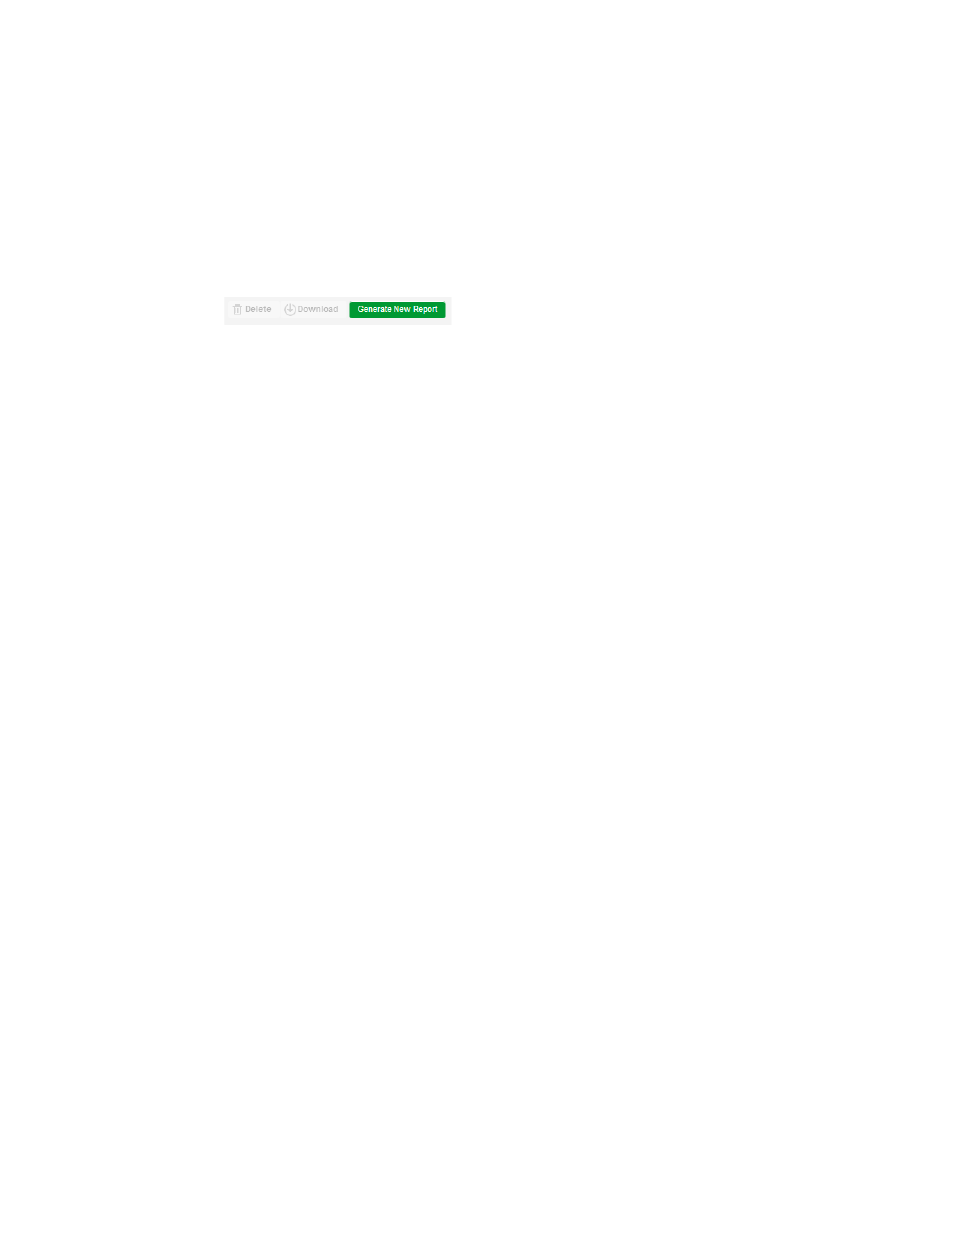
FIGURE 127
Generated Reports toolbar
1. Delete button — Select one or more reports that you want to remove from the list and click to
delete. You can only delete reports that you generate. For step-by-step instructions, refer to
“Deleting reports, schedules, or templates”
2. Download button — Select one report and click to download the report. For step-by-step
instructions, refer to
“Downloading a generated report”
3. Generate New Report button — Select one report and click to generate the report. Only displays
if you select a report in the expand navigation bar. For step-by-step instructions, refer to
Viewing generated reports
1. Click the Reports icon.
2. Click the Generated Reports tab.
A list of generated reports display in the right pane. The Reports tab contains the following
information in table format:
•
Name — The name of the generated report. The generated report name uses the following
format:
•
Date — The date and time the report was generated.
•
Schedule — An icon in this column indicates that this report was triggered by a schedule.
This field is blank when a report is run manually.
•
Email icon — An check mark in this column indicates that e-mail is enabled for this report.
•
Folder icon — An check mark in this column indicates that copy to file is enabled for this
report.
•
Table functions — For a description of how to use the Events table functionality, refer to
3. Click the name of the report you want to view from the list of generated reports.
The report launches in a new browser tab. For detailed information about the default reports,
refer to