Exporting and saving ip reports to a file, Exporting ip reports to e-mail recipients, Exporting and saving ip reports – Brocade Network Advisor IP User Manual v12.3.0 User Manual
Page 1417: To a file, Exporting ip reports to e-mail, Recipients, Exporting and saving ip reports to a file 5, Exporting ip reports to e-mail recipients 5, Exporting, And saving ip reports to a file
Brocade Network Advisor IP User Manual
1365
53-1003153-01
Exporting and saving IP reports to a file
41
•
Sort the report by a single column by clicking any column header. Reverse the sort order by
clicking the column header again.
•
Access additional data or applications (such as, a device element manager) by clicking a
link in the table.
4. Click the close (X) button to close the report.
Exporting and saving IP reports to a file
You can save a report to a CSV (comma separated values) or HTML file. Each report has an Export
list at the top right corner of the page.
1. Select one of the following from the Export list:
•
Select Export as HTML.
•
Select Export as CSV.
2. Browse to the location where you want to save the file and click Save.
Exporting IP reports to e-mail recipients
You can e-mail a report in a CSV or HTML file format. To export reports to an e-mail recipient, you
must configure e-mail event notification (refer to
“Configuring e-mail notification”
If you want to export the report to an e-mail recipient, complete the following steps.
1. Select one of the following from the E-mail list:
•
Select E-mail as HTML.
•
Select E-mail as CSV.
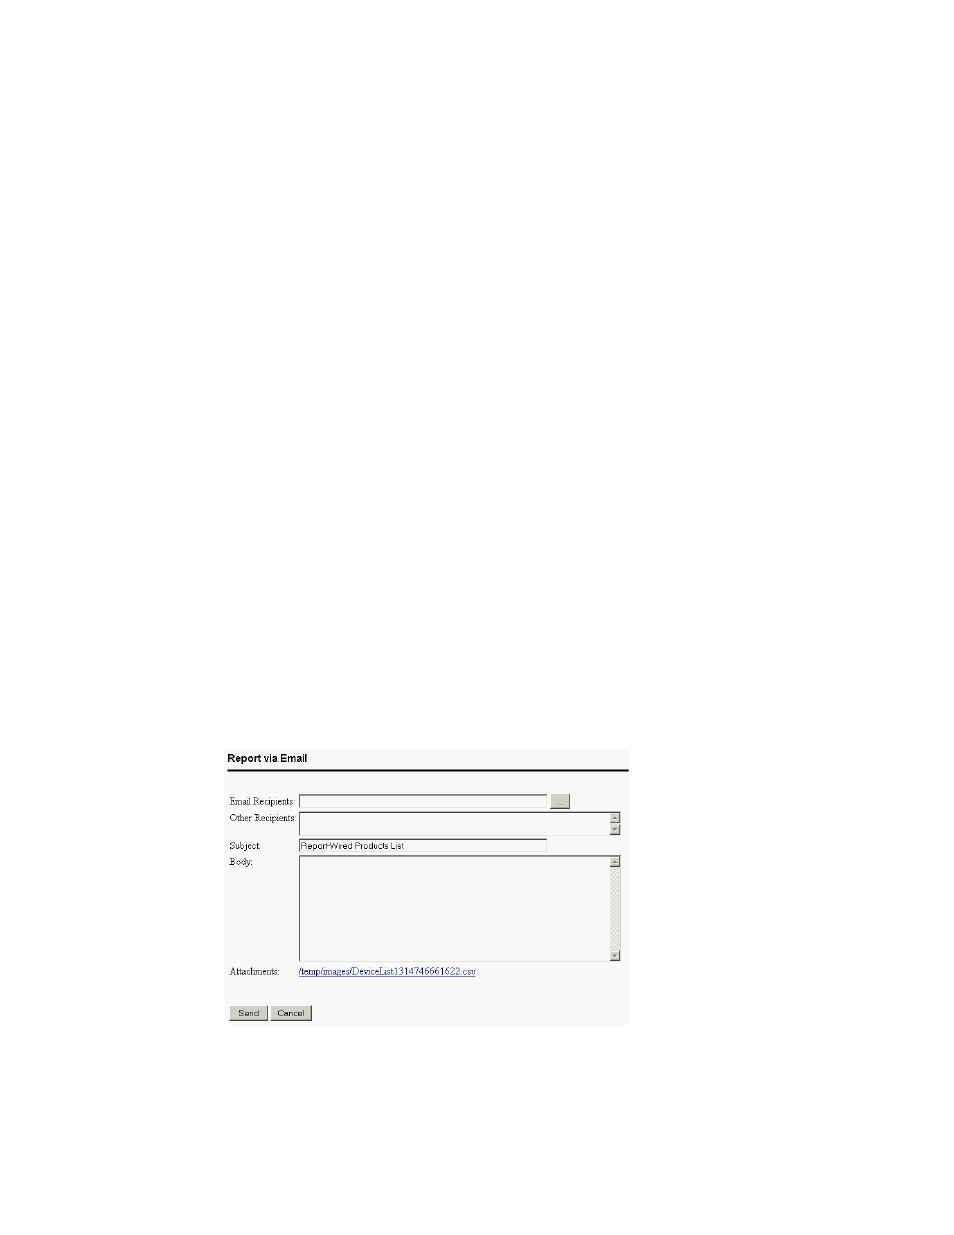
The Report via E-mail dialog box displays (
FIGURE 576
Report via E-Mail dialog box
2. Click the ellipsis button next to the E-mail Recipients field.
The Users dialog box displays.