H3C Technologies H3C WX6000 Series Access Controllers User Manual
Page 350
33-14
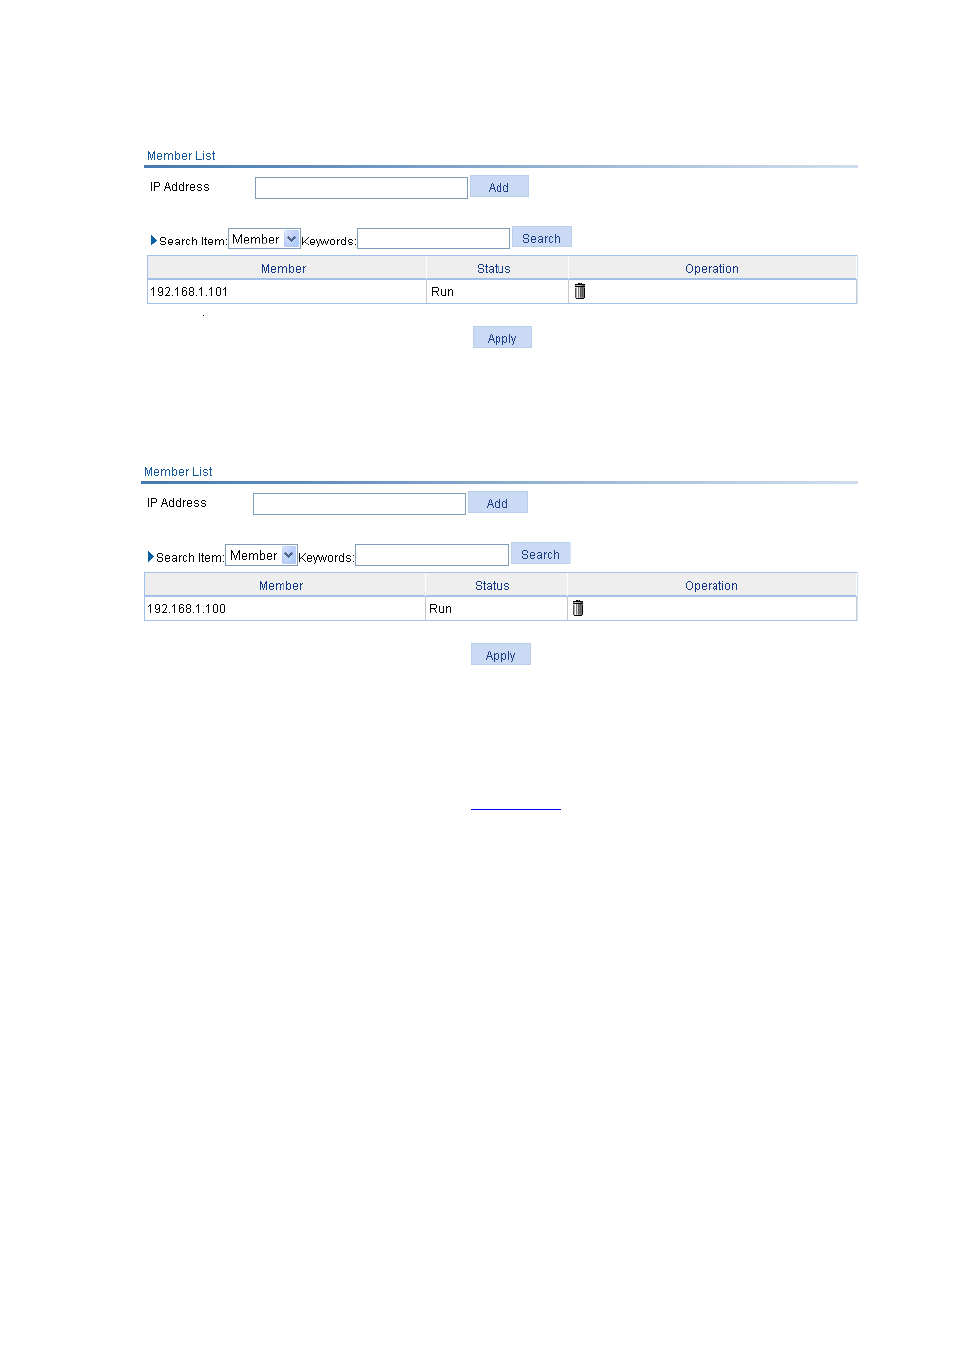
Figure 33-17 Check the roaming group state
On AC 2, you can see:
Figure 33-18 Check the roaming group state:
You can see from the above figure that the roaming group is in the running state.
2) Verification by displaying the client information
After the client roams from AP 1 to AP 2, select Roam > Roam Client on AC 1, and you can see that the
client roams out of 192.168.1.100, as shown in
; select Roam > Roam Client on AC 2, and
you can see that the client roams in to 192.168.1.100.
3) Verification by viewing the AC to which the client connects and the Roam Status field
Before roaming, select Summary > Client on the web interface of AC 1. If you can view the
roaming information of the client, the client has been associated with AP 1.
After roaming, select Summary > Client on the web interface of AC 1. No client information will be
displayed because client has roamed from AP 1 to AP 2. Select Summary > Client on the web
interface of AC 2. Then select the Detail Information tab, and click the desired client to view the
roaming information of the client. You will see Inter-AC roam association is displayed on the
Roam Status field, which indicates that the client is associated with AP 2 through inter-AC
roaming.