H3C Technologies H3C MSR 50 User Manual
Page 655

270
1.
Type 1 for Group ID.
2.
Type 1100.. for Numbers in the Group.
3.
Click Add to add numbers into the group.
4.
Click Apply.
Enter the number group configuration page again to add another number group:
5.
Type 2 for Group ID.
6.
Type 1200.. for Numbers in the Group.
7.
Click Add to add numbers into the group.
8.
Click Apply.
# Add a call route for place B: specify the call route ID as 2000, the destination number as 2..., and use
a proxy server for SIP routing on the call route configuration page.
# Crete a call route for place C: specify the call route ID as 3000, the destination number as 3...,and use
a proxy server for SIP routing on the call route configuration page.
# Add a call route for place B: specify the call route ID as 2100, the destination number as 2…, and trunk
route line as 5/0:15 on the call route configuration page. In addition, you need to select the Send All
Digits of a Called Number option in the Called Number Sending Mode area when you configure the
advanced settings of this call route.
# Add a call route 3… for place C: specify the call route ID as 3100, the destination number as 3..., and
the trunk route line as 5/1:15 on the call route configuration page. In addition, you need to select the
Send All Digits of a Called Number option in the Called Number Sending Mode area when you
configure the advanced settings of this call route.
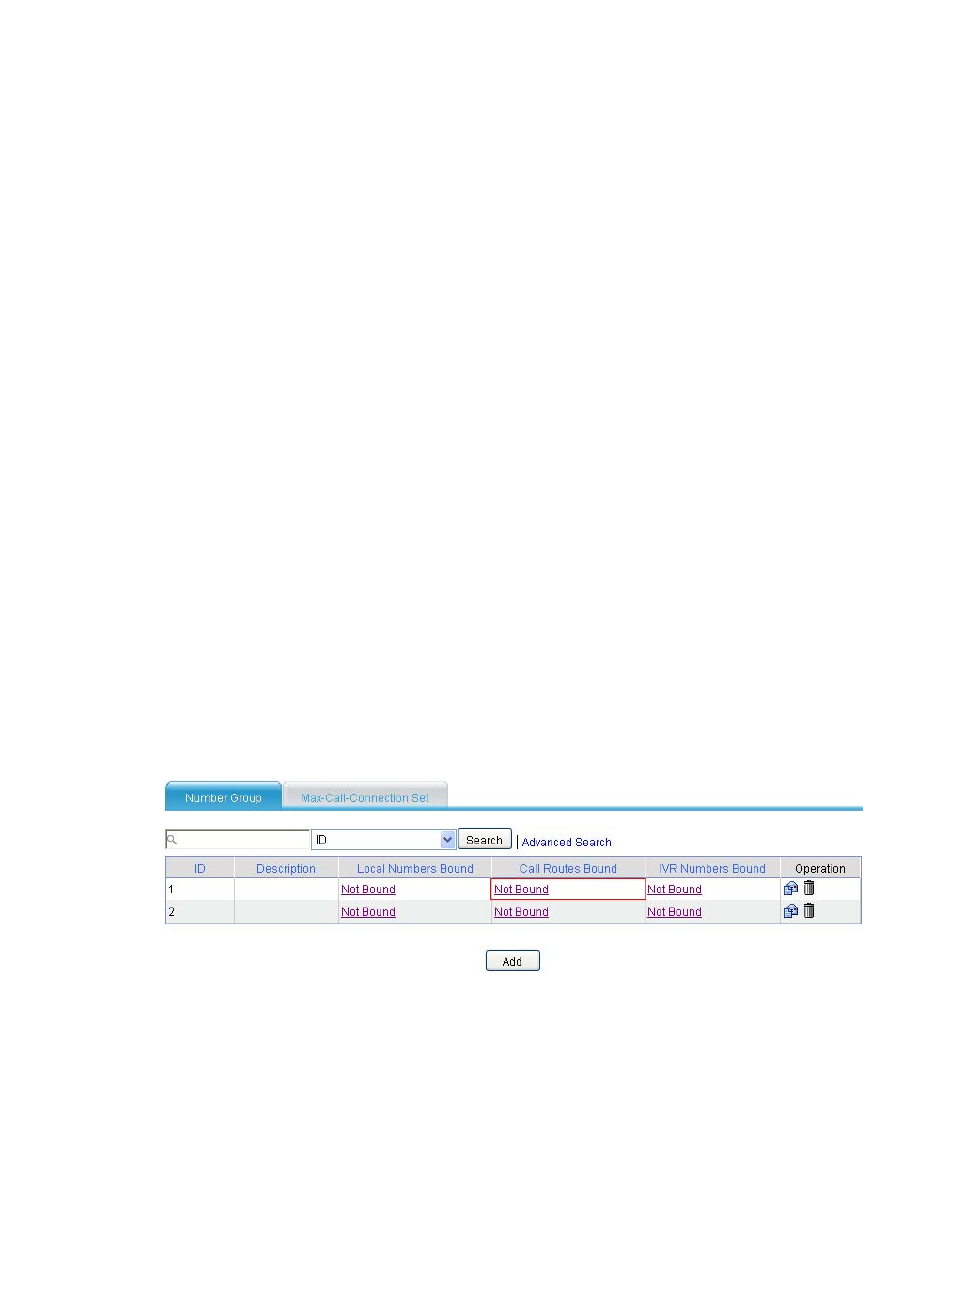
# Bind a call route to number group 1 to allow that subscribers whose telephone numbers beginning with
1100 at place A can originate calls to place B.
Select Voice Management > Dial Plan > Call Authority Control from the navigation tree to access the
page as shown in
Figure 659 Binding call route configuration page (I)
Click Not Bound in the Call Routes Bound column to access the call route binding page of number group
1.
