Managing the local user database – Brocade Mobility 7131 Access Point Product Reference Guide (Supporting software release 4.4.0.0 and later) User Manual
Page 258
246
Brocade Mobility 7131 Access Point Product Reference Guide
53-1002517-01
6
7. Click Logout to securely exit the Access Point applet. A prompt displays confirming the logout
before the applet is closed.
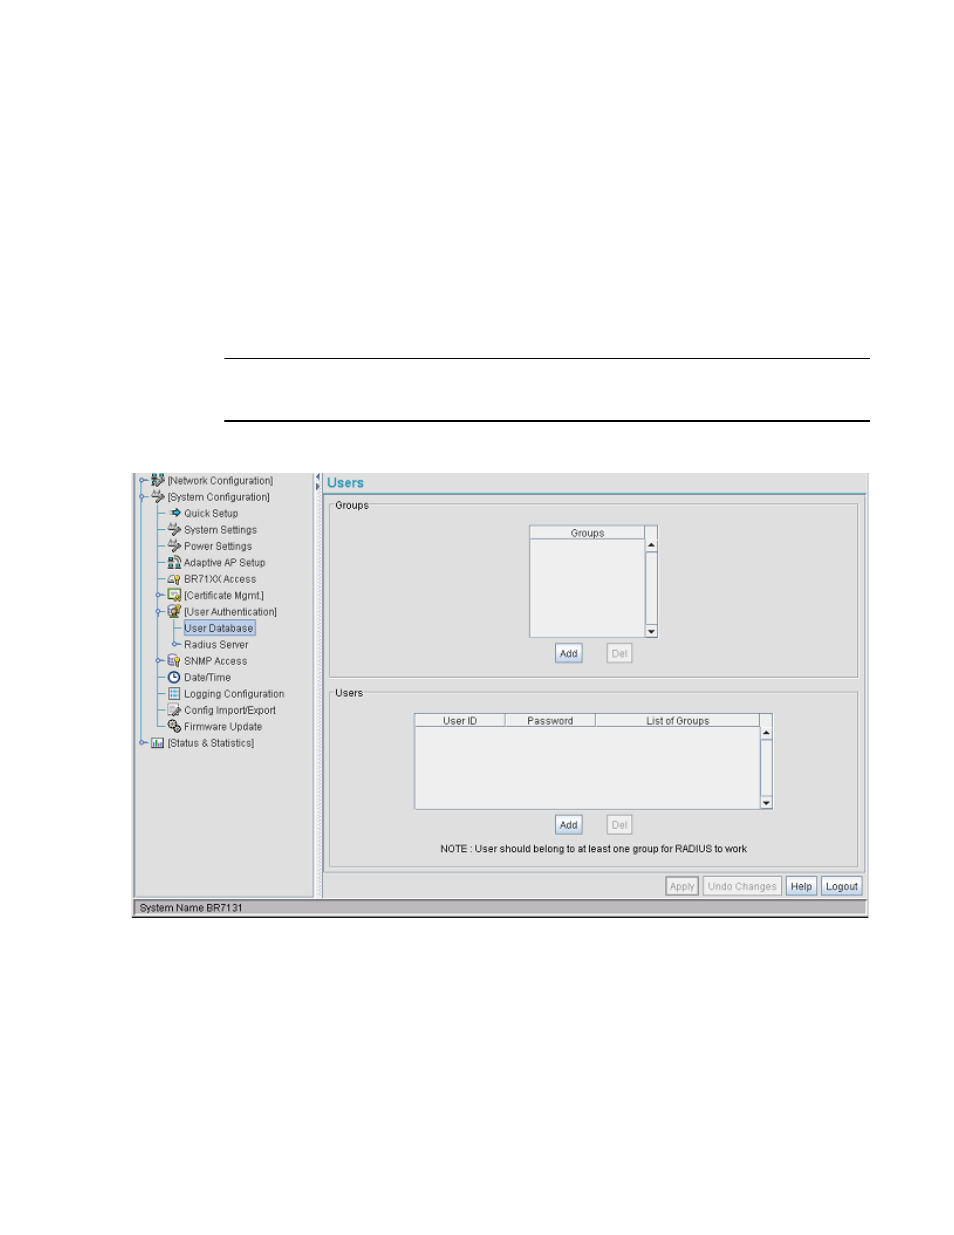
Managing the Local User Database
Use the User Database screen to create groups for use with the Radius server. The database of
groups is employed if Local is selected as the Data Source from the Radius Server screen. For
information on selecting Local as the Data Source, see Configuring the Radius Server on page
6-241.
To add groups to the User database:
NOTE
Each group can be configured to have its own access policy using the Access Policy screen. For more
information, see Defining User Access Permissions by Group on page 6-248.
1. Select System Configuration -> User Authentication -> User Database from the menu tree.
Refer to the Groups field for a list of all groups in the local Radius database. The groups
are listed in the order added. Although groups can be added and deleted, there is no
capability to edit a group name.
2. Click the Add button and enter the name of the group in the new blank field in the Groups
table.
3. To remove a group, select the group from the table and click the Del (Delete) key.
The Users table displays the entire list of users. Up to 100 users can be entered here. The
users are listed in the order added. Users can be added and deleted, but there is no
capability to edit the name of a group.