Brocade Mobility 7131 Access Point Product Reference Guide (Supporting software release 4.4.0.0 and later) User Manual
Page 189
Brocade Mobility 7131 Access Point Product Reference Guide
177
53-1002517-01
5
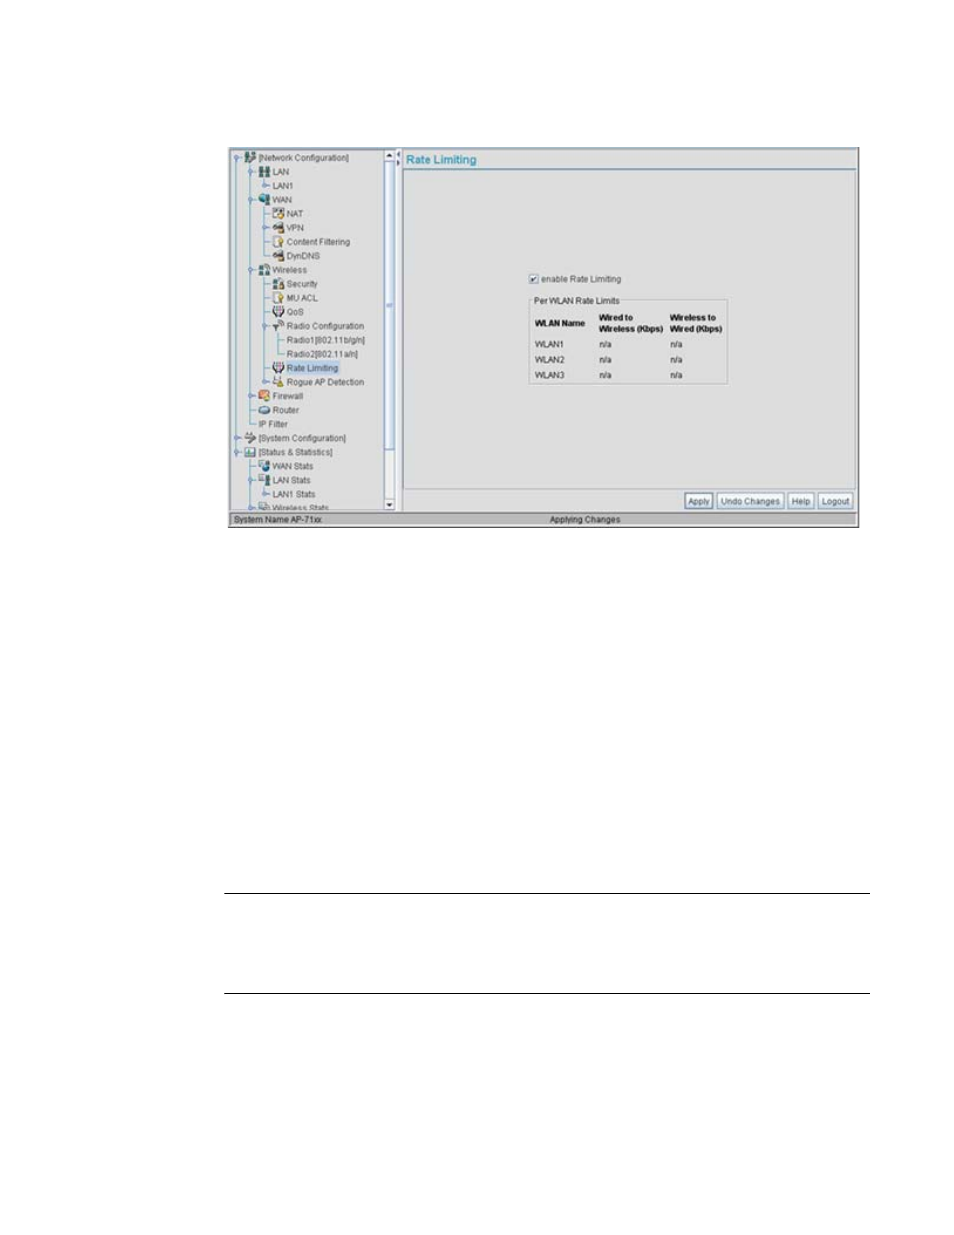
2. Select the Enable MU Rate Limiting option to globally enable MU rate limiting for each of the
access point’s 16 WLANs.
Once enabled, MU rate limiting still needs to be enabled for a specific WLAN, then the rate
limit allocation needs to be defined for MU traffic within that specific WLAN. To modify a
WLAN-to-radio assignment, see Creating/Editing Individual WLANs on page 5-139.
3. Refer to the Per WLAN Rate Limits field to review the rate limits defined thus far for any of the
access point’s 16 WLANs.
The rates are displayed in Kbps for both wired to wireless and wireless to wired traffic
flows from the WLAN and its radio configuration.
4. Click Apply to save any changes to the Bandwidth Management screen. Navigating away from
the screen without clicking Apply results in all changes to the screens being lost.
5. Click Undo Changes (if necessary) to undo any changes made. Undo Changes reverts the
settings displayed on the Bandwidth Management screen to the last saved configuration.
6. Click Logout to securely exit the Access Point applet. A prompt displays confirming the logout
before the applet is closed.
NOTE
Though the Rogue AP and Firewall features appear after the Bandwidth Management features
within the Mobility 7131 Access Point menu tree, they are described in
, as both items are data protection functions. More specifically, see,
Configuring Firewall Settings on page 6-210 and Configuring Rogue AP Detection on page 6-234.