Screen reference, On this form, Maps , cameras , and camera-views – Interlogix VEREX Director User Manual
Page 78
70
Verex Director V4.9.1 User's Guide
21-0381E v4.9.1
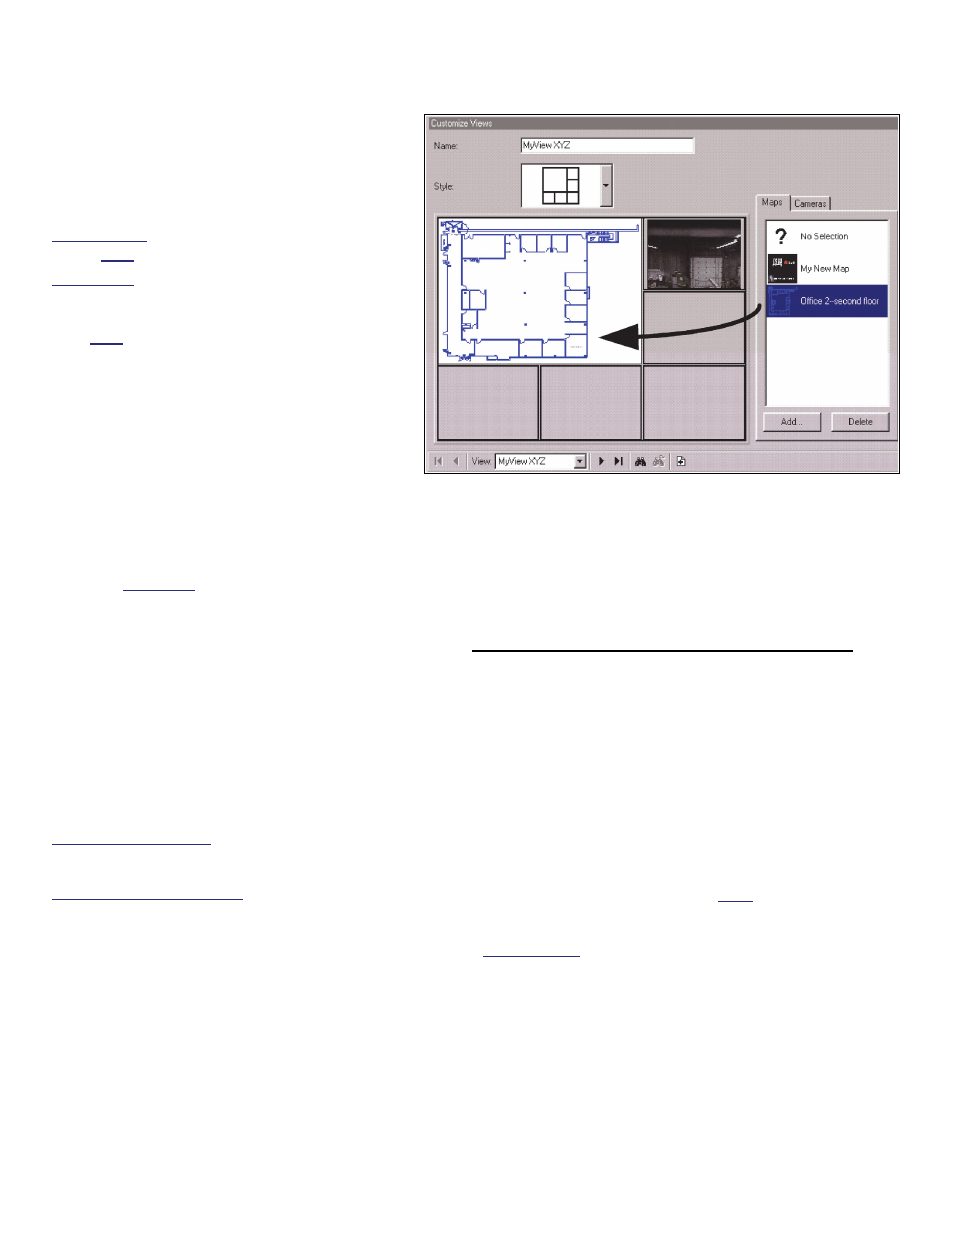
Step 2: Set up Views
"Views" are definable layouts for maps and
camera images. These must be set up to
allow viewing maps and/or cameras.
Topic Locator:
MyTools Bar: Customize Views, and (login
with a user name & ID if needed).
In the Tree: Click your site/account button in
the tree, open Control & Status, and Panel
Control & Status (click the "+"), and login with
your user ID and PIN if prompted for this.
Then, select: "Visual Director" (click the "+"),
Customize Views.
Multi-Account Systems: First select [Account
Folders] in the 'tree', and double-click the desired
account.
Tip: For additional space, it's a good idea to turn off
the event/monitoring window when setting up
'Views'. (Click [Events] on the main toolbar.)
-------------------------
Creating a New View: Click
[+]
at the
bottom of the form, or right-click the form,
and select
Add New View
from the pop-up
menu.
Alternative: You can also select "New
View" from the list (bottom of the window).
Changing an Existing View: Select the
desired "View" from the pop-up list at the
bottom of the window.
Searching for an Existing View: Click the
'binoculars' symbol. Then, enter the name
(or the first few characters + "*" ), and click
[Find]
.
Then, refer to the selection-descriptions for
this screen while viewing or changing
settings as desired.
To Copy an Entire View: Right-click, "Copy View";
right-click, "Add New View"; right-click, "Paste View".
Then, change the name and other items as desired.
If you Need to Delete a View: Right-click a blank
area on the view, and select "Delete View".
Screen Reference
- View (bottom of the form): This allows
selecting an existing 'View' (or select "New
View" to set up a new one).
On This Form
- Name: This is a description for the displayed
map/camera view;
- Style: This is a basic layout style for the
displayed map/camera view (the centre of the
screen will change per your selection);
Maps , Cameras , and
Camera-Views
These 'tabs' show a list of the presently defined
Maps and Cameras. Click-and-drag items to the
desired location.
Tip: For items that have already been placed on the
left, you can click the item to have it identified on the
right. (Try it! )
To remove an item from a 'view', drag the item back
into the list (or drag to item called "No Selection" to the
item's location).
Notes: Each item can appear only once within a
single view. The software will attempt to connect with
cameras right-away.
Camera-views: These allow you to set where specific
types of event-triggered camera images will appear
(for each view that uses this feature). Each camera-
view shows the last-triggered camera associated with
it. Be sure to use additional camera-views for
cameras that are to appear in different locations on-
screen. (For more information, see step 3b.)
Visual Director Customize Views