Screen reference, Area groups, And multi-panel arm/disarm – Interlogix VEREX Director User Manual
Page 247: Setting up area groups, Pick-lists (bottom of the form), On this form
21-0381E v4.9.1
Welcome Report Control Admin
Sys Config
Tech-Ref
239
Setting up Area Groups
About Area Groups
Area groups provide an easy way to
arm and disarm named groups of
areas through an LCD keypad. You
can define up to 16 of these area
groups. Area groups of the same
name can be armed (On) and
disarmed (Off) across multiple panels
through a keypad connected to any one of the
panels. (Details appear at the end of this
topic.)
Enable/Configure: This feature can be enabled or
disabled through the “Area Group Mode” setting for
each specific panel. Related: Configuration, System,
Intrusion, Standard
Intrusion Settings for a Panel
User Authorities: Only areas in the group for which the
user issuing the command has the required arm/disarm
authority will be affected. Ensure user authorities are
set appropriately.
Related Topic: "Authorities for Users/Entrants".
Areas Assigned to the Keypad: Similarly, each LCD
keypad can affect only the areas assigned to it.
For details, refer to "Expansion Modules".
How to Get Here
Multi-Account Systems: First select [Account Folders]
in the 'tree', and locate and double-click the desired
account.
MyTools Bar: Area Group
In the Tree: Configuration (+), Areas (+),
Area Group
(Under the specific panel group and
panel--if listed in the 'tree'.)
Related Topic: "Other Desktop Choices"
Tip: The Grid / Form toolbar-button allows selecting
your preferred view-mode.
Forms view: Details for one item at a time;
Grid View: All defined items in a list.
Things You Can Do
Add an Area Group: Click [+] at the bottom
of the form, or right-click the form and select
"Add New" from the pop-up menu.
View/Change an Existing One: Select one
from the pop-up list at the bottom of the
form.
Search for an Area Group: Click the
'binoculars' symbol. Then, enter the name
and click [Find].
Tip: You can search by name or the 1
st
few
characters--e.g., nam*
Alternative: You can also switch to grid view to see
all area group names on one screen.
Delete an Area Group: Right-click a blank
area on the form (
If grid view: Right-click the
item in the list
), and select "Delete". When
prompted to confirm, select Yes.
Working in Grid View: You can:
View or enter values;
Right-click an item and select from the pop-up menu;
Click a column heading to sort on that column; Click
[...] in the "Areas" column to view or assign areas for a
group.
Screen Reference
Pick-Lists (bottom of the Form)
-
Panel Group & Panel references (optional):
This is where you select a specific panel-
group and panel in a multi-panel system
where the 'tree' is not set to show items on a
panel-by-panel basis. For more information,
refer to "Other Desktop Choices".
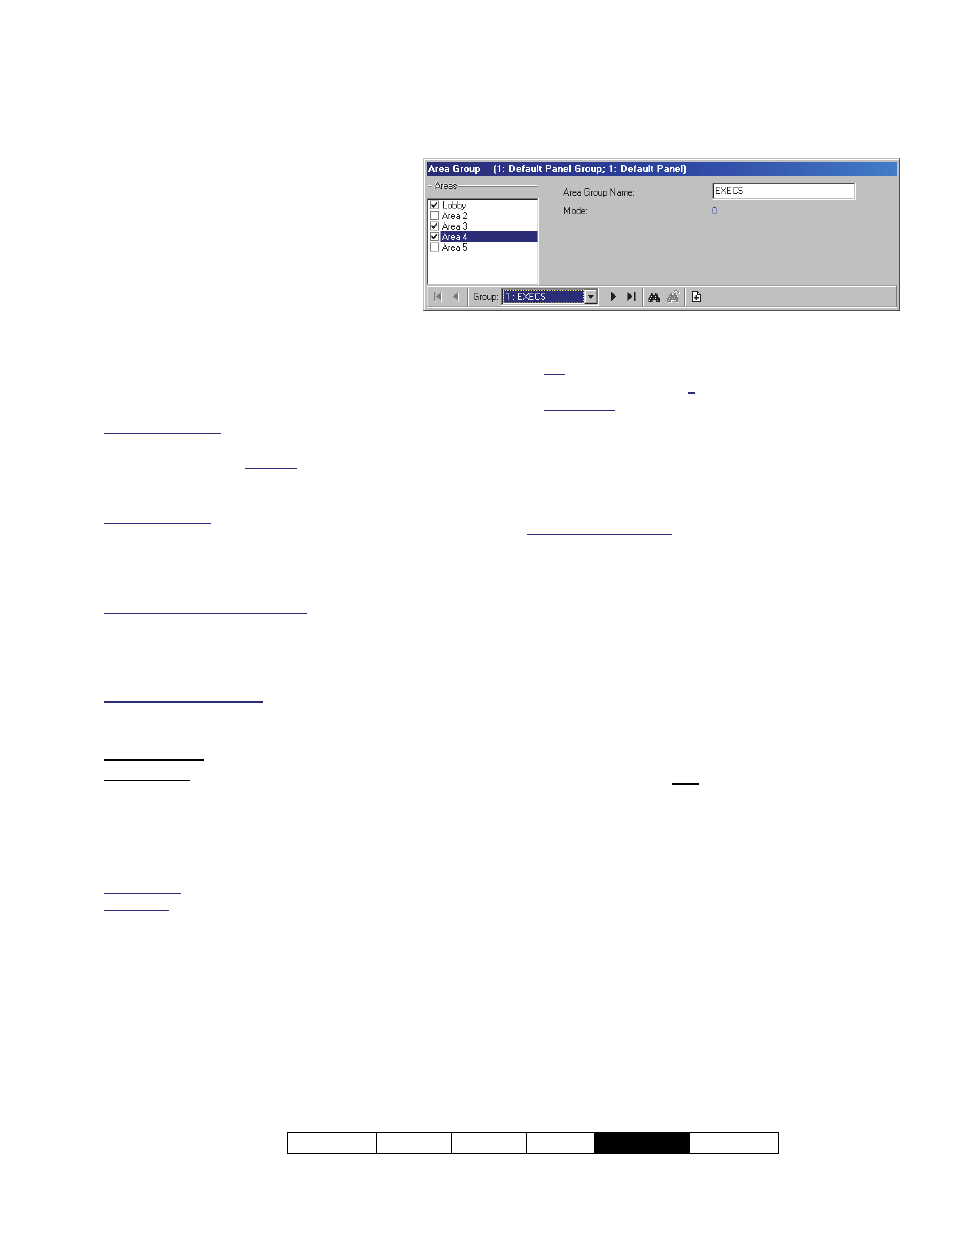
- Group: This is where you select an area group
to view or edit. This shows a reference number
assigned by the system, and the name of the
selected group, once defined;
On this Form
Areas
- A list of the defined areas is shown on the left
side of the screen. Click the check-box to select
or deselect desired areas;
-------------------------
- Area Group Name: A suitable name for the
group of areas (e.g., FL2OFFICES).
Note: Since this will appear on keypad LCD screens,
Area Groups
(
V4.4)
and Multi-panel Arm/Disarm
(
V4.5)
Configuration, Areas, Area Group