Screen reference – Interlogix VEREX Director User Manual
Page 73
21-0381E v4.9.1
Welcome Report
Control
Admin Sys
Config Tech-Ref
65
Step 1a: Define Source Maps
Map image files need to be identified
to the system before they can be
displayed.
Topic Locator:
MyTools Bar: Customize Views,
(login with a user name & ID if needed),
select the Maps .
In the Tree: Click your site/account
button in the tree, open Control &
Status, and Panel Control & Status
(click the "+"), and login with your user
ID and PIN if prompted for this. Then,
select: "Visual Director" (click the "+"),
Customize Views, Maps.
Multi-Account Systems: First select
[Account Folders] in the 'tree', and double-
click the desired account.
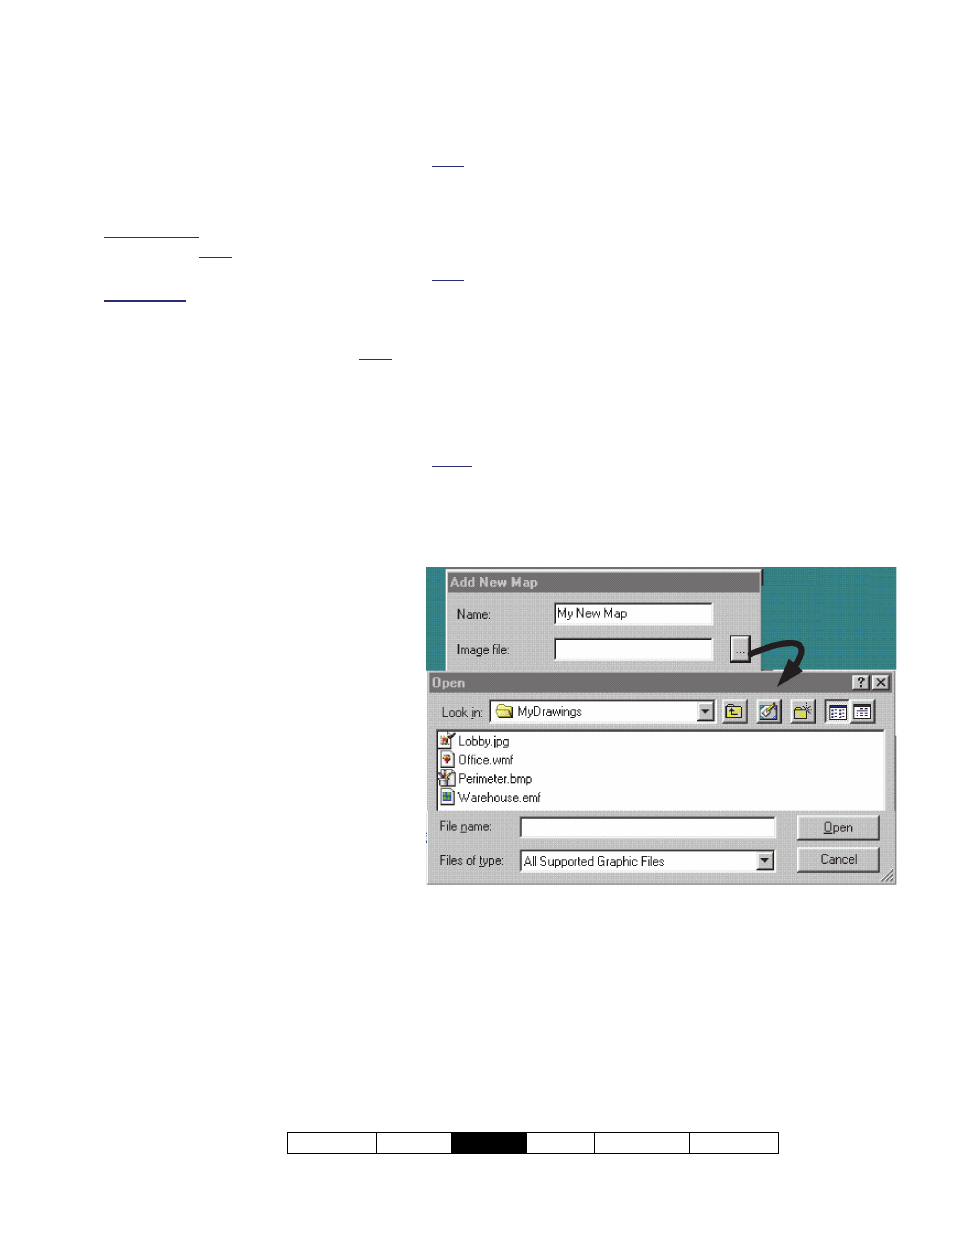
Click
[Add]
to set up a new map, or
right-click an existing one and select
Edit Map
. Then, set the name as
desired, and click [...] to browse for a
desired image file
(select the file and click
[Open] )
.
See the selection-descriptions for more
information (especially "Create Duplicate
Map").
Screen Reference
Visual Director Customize Views Maps
- [Add]: Allows identifying a new map image;
Note: Scalable graphics work best (EMF, WMF), and are
recommended--especially for more detailed maps.
- [Delete]: Allows deleting an existing map from the list.
After Right-clicking an Existing Map in the List
- Add New Map: Allows identifying a new map image;
Note: Scalable graphics work best (EMF, WMF), and are
recommended--especially for more detailed maps.
- Edit Map: Allows changing the name or source file for a map
that has already been identified to the system;
- Create Duplicate Map: When areas and devices are added
to a specific map (step 3a, to follow/below), all views that use
the same map will show the same items. "Create Duplicate
Map" allows setting up different maps based on the same
image file.
Notes: For a map with devices already placed on it, the device
placement will be copied as well (delete/change these as desired).
- Delete Map: Allows deleting an existing map from the list.
Visual Director Customize Views Maps
[Add]
(or right-click a map in the list, and select "Edit Map")
- Name: Enter a suitable name for the map. (This will typically
refer to the location or department associated with the image.)
- Image File: This is the location (path) and filename of the
map image file. Tip: Click [...] to browse for the file.
(Select the file and click [Open] ).