Screen reference, Optional features (photo-badging option) – Interlogix VEREX Director User Manual
Page 167
21-0381E v4.9.1
Welcome Report Control
Admin
Sys Config
Tech-Ref
159
Optional Features
(Photo-Badging Option)
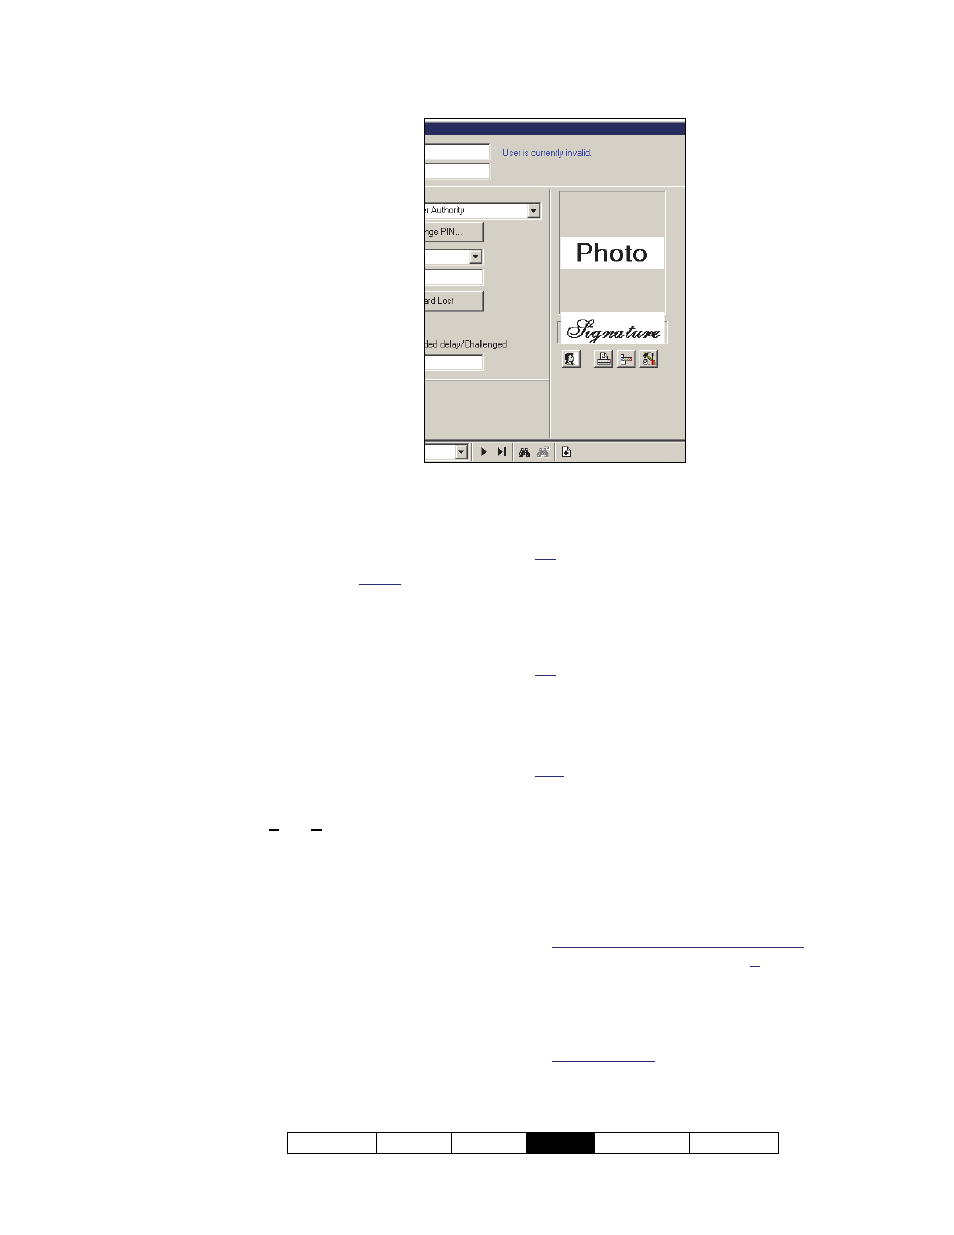
Printing a Card
(Requires the Photo-Badging Option)
Find the user form for the specific
person as described
previously/above;
Ensure the displayed image and
other settings are correct;
Click
[Print Badge]
(printer symbol)
--
bottom-right portion of the user
screen. Then, locate and double-
click your previously saved card
design template (.gdr file).
In the next screen, select your printer
(plus any desired properties) and
click
OK
.
In the print preview window, magnify and/or
view your sample as desired. To print the
card, click
on the toolbar
(printer symbol)
.
For more information, refer to the [Print Badge]
item-description.
Designing Cards
(Requires the Photo-Badging Option)
Open the User screen with any user showing
on-screen;
Click
[Create Badge]
(tools symbol)
-- bottom-
right portion of the user screen, and design
your new card layout as desired, or open a
previous one to edit. When finished, be sure to
save your settings (File, Save).
For more information, look for "[Create Badge] (tools
symbol)" in the item-descriptions.
Screen Reference
- [Print Badge]
(printer symbol)
: This allows
selecting a card-layout file, and printing the
person's photo and data onto an access card;
Tip: The printer set-up button in the print-preview
window provides access to additional settings (after
you select a printer and click OK).
- [Card Printer Encoder Setup]
(colored bands
symbol)
: This provides additional settings for a
card printer encoder.
Tip: Additional information is provided separately.
(Click the button, and then press F1 for help.)
- [Create Badge]
(tools symbol)
: This allows
designing card templates (i.e., setting up the
layout and data to appear on sets of cards).
Tips:
This launches as a separate program. For
details on using this software, refer to its on-line help
and/or printed manual (as applicable).
You can create a new layout, or open an existing
one to edit.
Look to the right of K O near the right-hand end of
the toolbar. This field allows inserting (or
converting) common user-data fields instead of
plain text via the T button.
For multiple items printed as one field: You must
first set up an 'expression'.
Edit, Define
Expression.
Select a field and click the "Up
Arrows" button.
Type a "+" before each additional
item, and enclose any additional text in double-
quotes. Example:
Last Name+", "+First Name
*Card Number*: Whenever you see 'Card Number'
enclosed in asterisks (*), this pertains to magstripe
encoding for use as access cards. For other card
uses (or to print the card number), select 'Card
Right-Hand side of the User Form