Interlogix VEREX Director User Manual
Page 360
352
Verex Director V4.9.1 User's Guide
21-0381E v4.9.1
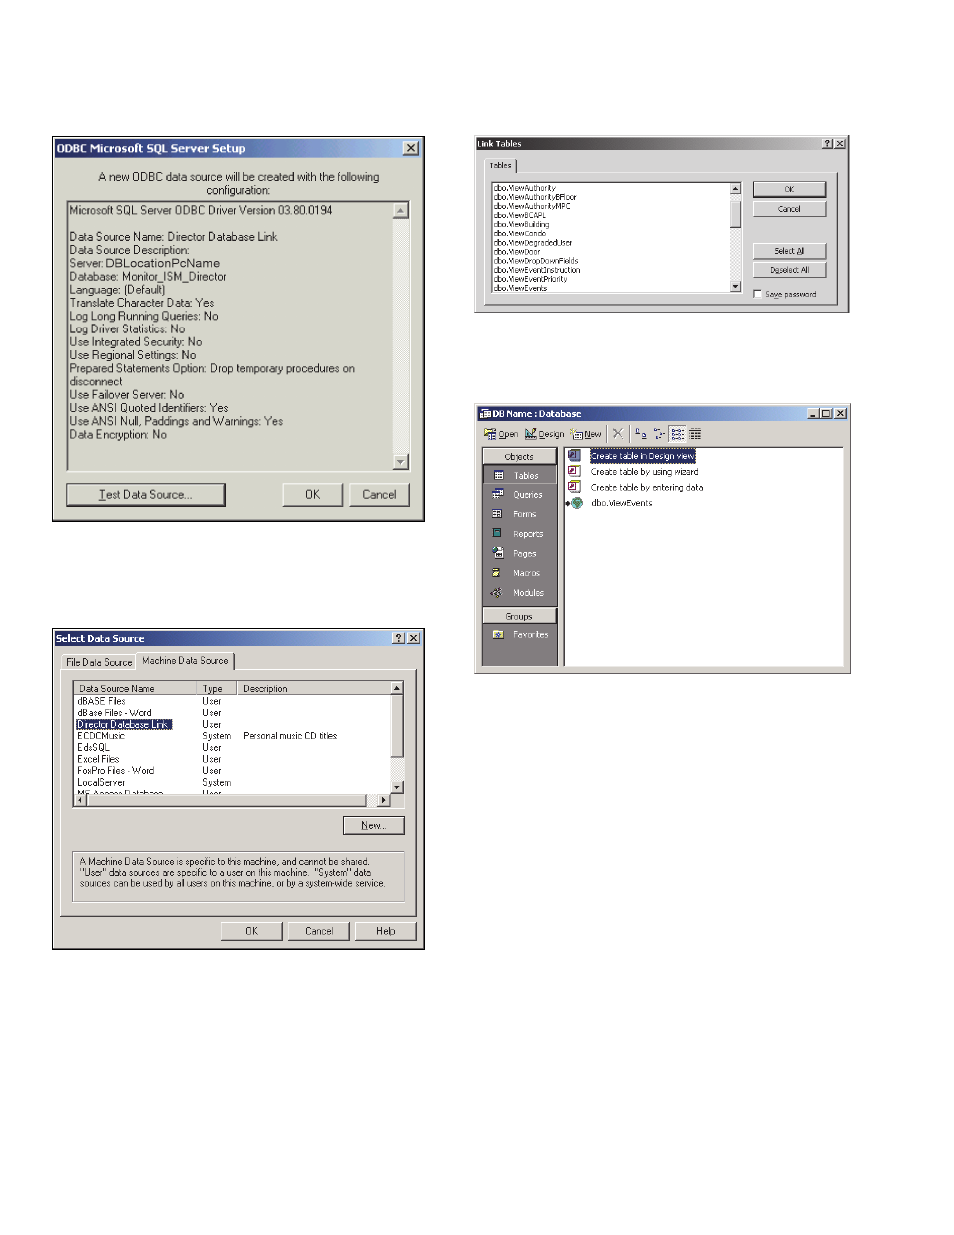
13) In the next screen, click [OK], or [Test Data
Source], as desired:
Tip: A successful "Test" indicates you've entered
correct login data, etc.
14) In the next screen, select Machine Data
Source at the top:
Then, select the "data source" you created,
and click [ OK ].
15) Now, select the VEREX Director database
view(s) that you want to be available to you:
When ready, click [ OK ].
16) Your selected VEREX Director database
view(s) are now linked to your new database.
Now, you can apply the full power of your
database software and programming skills to
meet your requirements (set up database
queries, etc.).
Understanding the Data
SID is an account identifier.
The remaining initial columns (up to 3 or 4)
comprise the "Primary Key" that uniquely
identifies each row.
For details on additional columns, refer to
the specific screens in the Director software
(and/or the applicable help topics).
For more information, and details on
encoded values, search your Director CD for
a file pertaining to "Database Views".