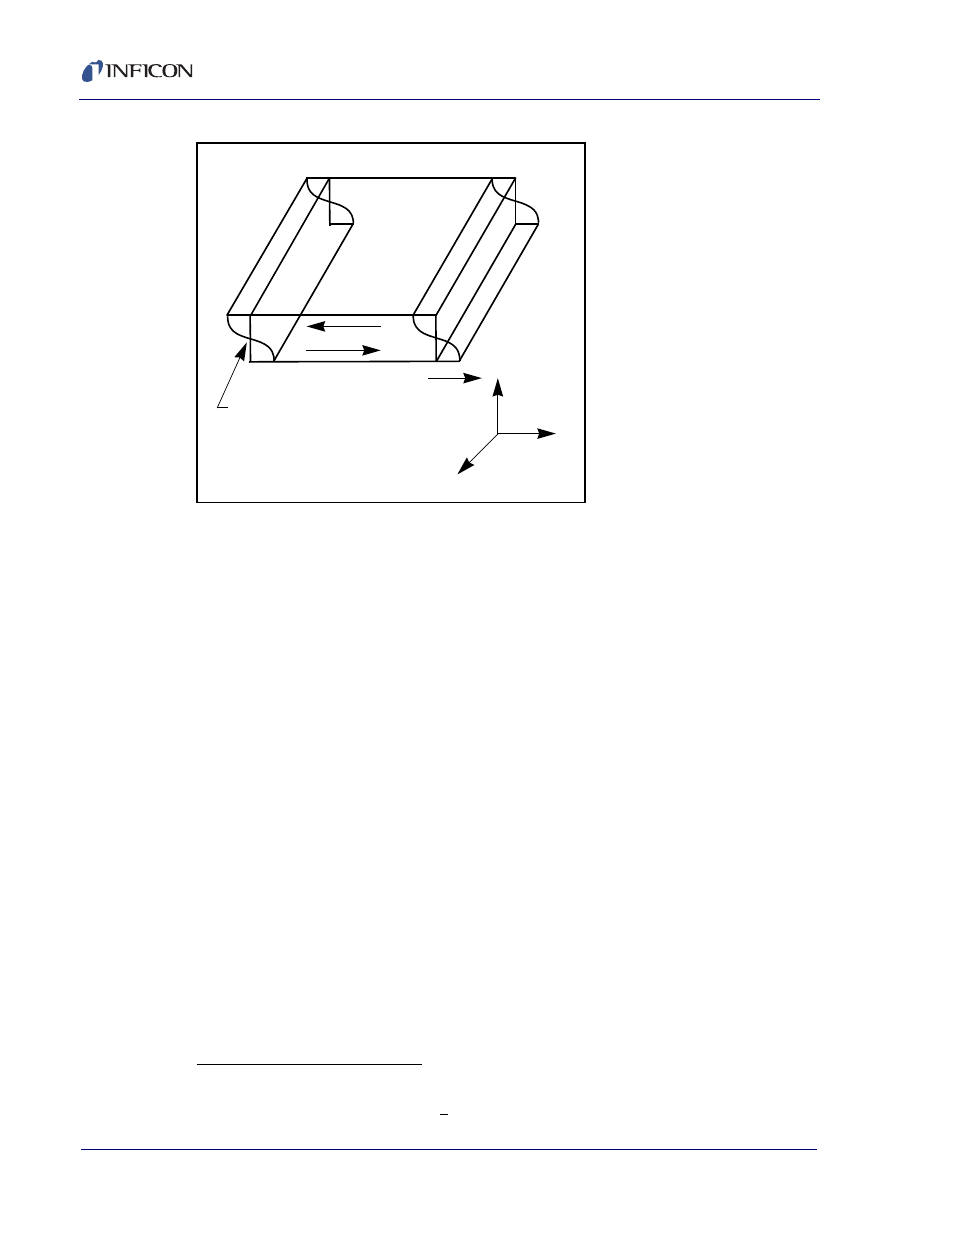
2 period measurement technique, Figure 16-3 – INFICON IC6 Thin Film Deposition Controller User Manual
Page 312

16 - 4
PN
07
4-
50
5-
P1
F
IC6 Operating Manual
Figure 16-3 Thickness shear displacement
16.1.2 Period Measurement Technique
Although instruments using
were very useful, it was soon noted they
had a very limited range of accuracy, typically holding accuracy for DF less than
0.02 F
q
. In 1961 it was recognized by Behrndt
4
that:
[3]
where T
c
and Tq
are the periods of oscillation of the crystal with film (composite)
and the bare crystal respectively. The period measurement technique was the
outgrowth of two factors; first, the digital implementation of time measurement, and
second, the recognition of the mathematically rigorous formulation of the
proportionality between the crystal’s thickness, I
q
, and the period of oscillation, T
q
= 1/F
q
. Electronically the period measurement technique uses a second crystal
oscillator, or reference oscillator, not affected by the deposition and usually much
higher in frequency than the monitor crystal. This reference oscillator is used to
generate small precision time intervals which are used to determine the oscillation
period of the monitor crystal. This is done by using two pulse accumulators. The
first is used to accumulate a fixed number of cycles, m, of the monitor crystal. The
second is turned on at the same time and accumulates cycles from the reference
oscillator until m counts are accumulated in the first. Since the frequency of the
reference is stable and known, the time to accumulate the m counts is known to an
accuracy equal to ± 2/F
r
where F
r
is the reference oscillator’s frequency. The
displacement node
X
X
X
2
1
3
E
4.K. H. Behrndt, J. Vac. Sci. Technol. 8, 622 (1961)
M
f
M
q
-------
T
c
T
q
–
T
q
----------------------
F
F
c
-----------
=
=
