Basler Electric DECS-250N User Manual
Page 185
9440500990 Rev D
169
DECS-250N
Communication
5.
At this point you can also add any or all of the detected devices to the Device Directory. This
prevents the need to scan for connected devices each time a connection is desired. Simply select
a device from the list and click Add. Clicking Add All will add all detected devices from the list to
the Device Directory. The Device Directory stores the name, model, and address of devices you
have added. Click the radio button for Select Device to Connect to, select the device from the
Device Directory list, and click the Connect button at the top of the DECS-250N Connection
window.
6.
Choose the desired device from the list and click Connect. Wait for connection to complete
(Figure 146).
Figure 146. Waiting for Connection
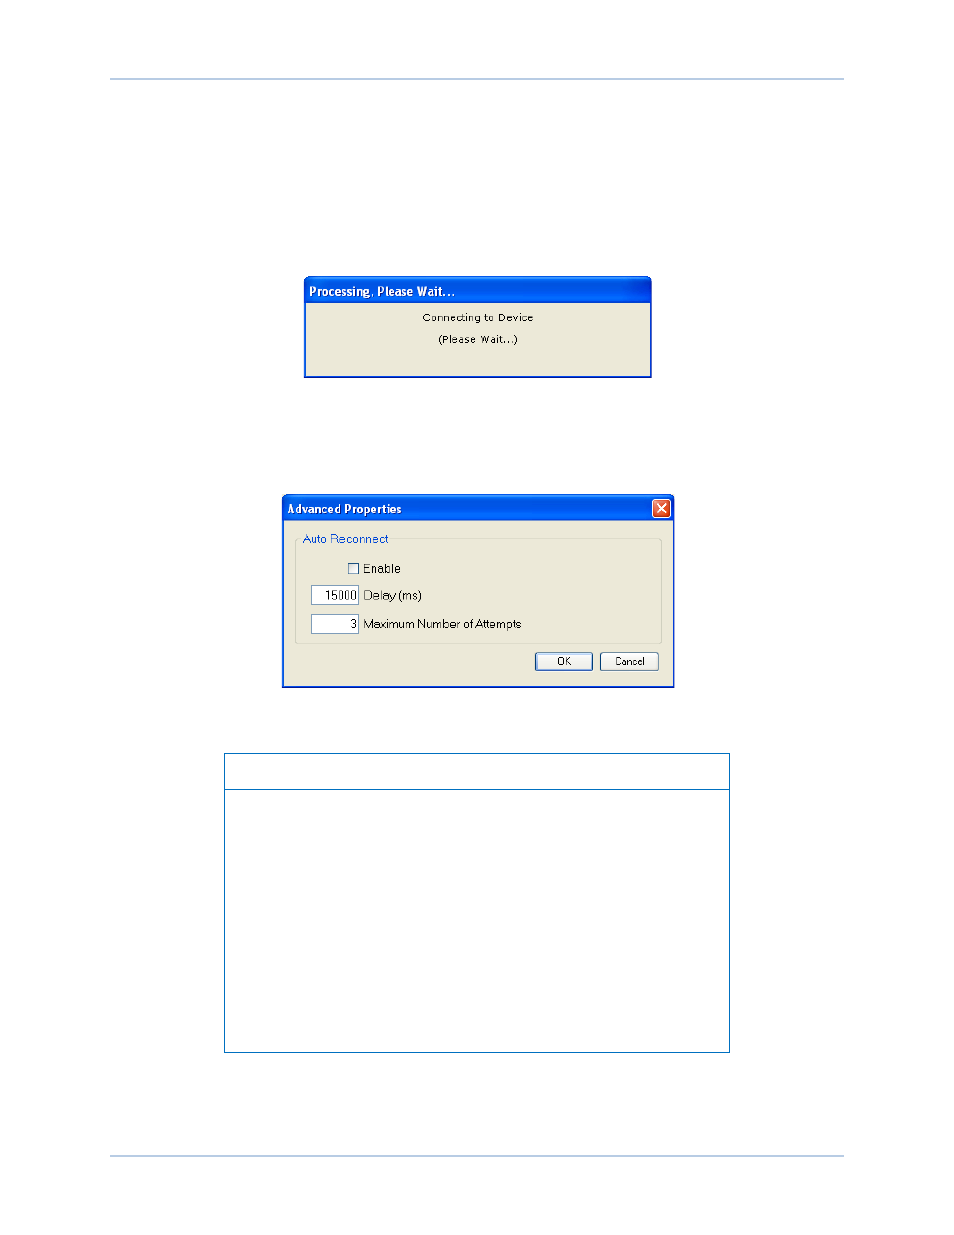
7.
The Advanced button displays the following window. It contains options for enabling Auto
Reconnect, the delay between retries (in milliseconds), and the maximum number of attempts.
(Figure 147)
Figure 147. Advanced Properties, Auto Reconnect
Note
The PC running BESTCOMSPlus software must be configured
correctly to communicate with the DECS-250N. The PC must have an
IP address in the same subnet range as the DECS-250N if the
DECS-250N is operating on a private, local network.
Otherwise, the PC must have a valid IP address with access to the
network and the DECS-250N must be connected to a properly
configured router. The network settings of the PC depend on the
operating system installed. Refer to the operating system manual for
instructions.
On most Microsoft Windows based PCs, the network settings can be
accessed through the Network Connections icon located inside the
Control Panel.