Add and remove rows and columns – Adobe Dreamweaver CC 2014 v.13 User Manual
Page 255
Change a row’s height visually
Drag the lower border of the row.
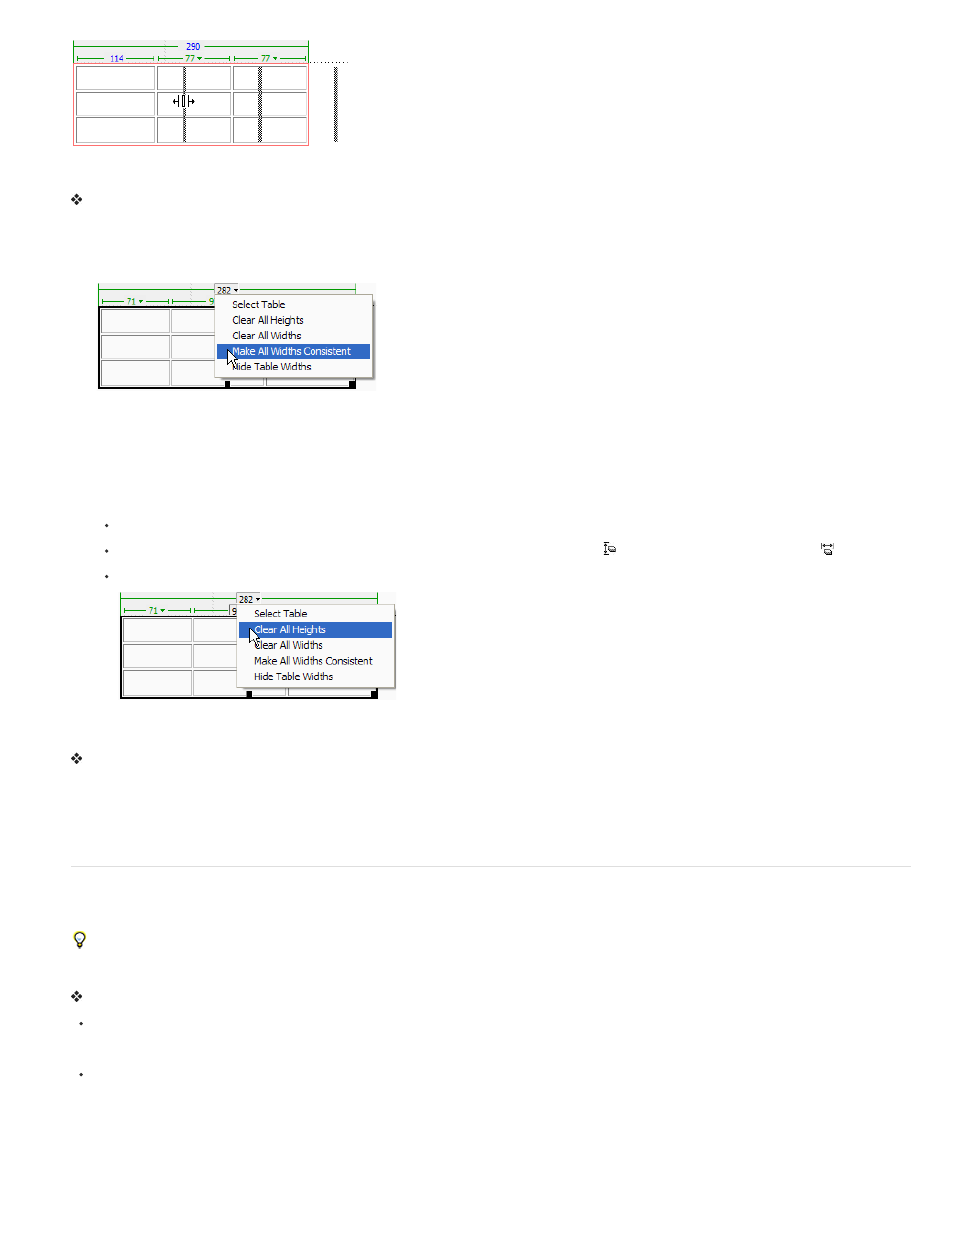
Make column widths in code consistent with visual widths
1. Click in a cell.
2. Click the table header menu, then select Make All Widths Consistent.
Dreamweaver resets the width specified in the code to match the visual width.
Clear all set widths or heights in a table
1. Select the table.
2. Do one of the following:
Select Modify > Table > Clear Cell Widths, or Modify > Table > Clear Cell Heights.
In the Property inspector, (Window > Properties), click the Clear Row Heights button
or the Clear Column Widths button
.
Click the table header menu, then selectClear All Heights or Clear All Widths.
Clear a column’s set width
Click in the column, click the column header menu, and select Clear Column Width.
Enable or disable table and column widths and menus
1. Select View > Visual Aids > Table Widths.
2. Right-click (Windows) or Control-click (Macintosh) in the table, then select Table > Table Widths.
Add and remove rows and columns
To add and remove rows and columns, use the Modify > Table or column header menu.
Pressing Tab in the last cell of a table automatically adds another row to the table.
Add a single row or column
Click in a cell and do one of the following:
Select Modify > Table > Insert Row or Modify > Table > Insert Column.
A row appears above the insertion point or a column appears to the left of the insertion point.
Click the column header menu, and then select Insert Column Left or Insert Column Right.
248