Adobe Dreamweaver CC 2014 v.13 User Manual
Page 233

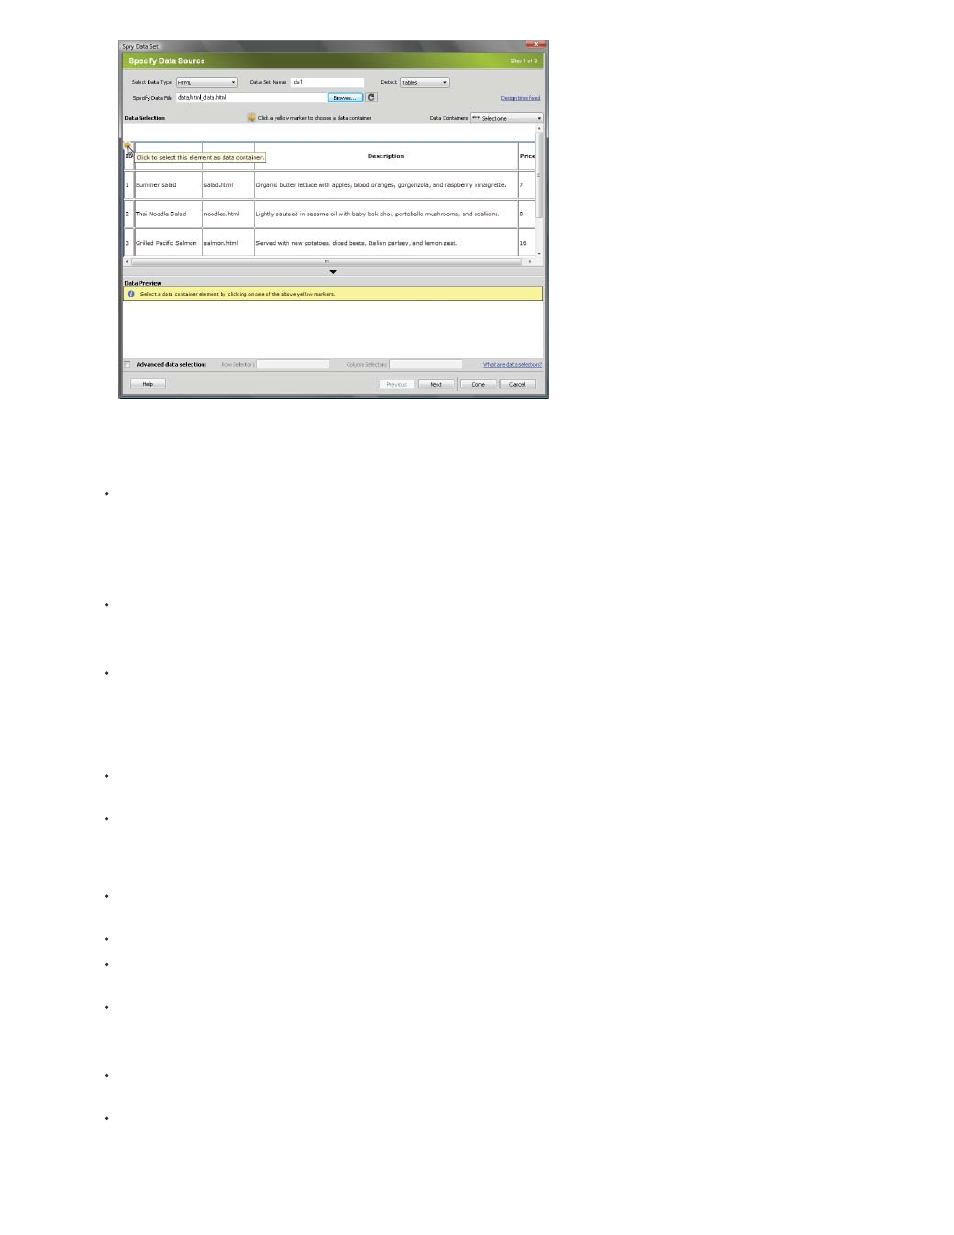
Selecting the element for the HTML data set data container.
For lengthy files, you can click the Expand/Collapse arrow at the bottom of the Data Selection window to see more of the data.
Once you select the container element for the data set, Dreamweaver displays a preview of the data set in the Data Preview window.
(Optional) Select Advanced Data Selection if you want to specify CSS data selectors for the data set. For example, if you specified
.product in the Row Selectors text box, and .boximage in the Column Selectors text box, the data set would include only those rows
with the .product class assigned to them, and only those columns with the .boximage class assigned to them.
If you want to type more than one selector in a given text box, separate the selectors with a comma.
For more information, see About Spry data selectors.
When you’re finished in the Specify Data Source screen, click Done to create the data set right away, or click Next to go on to the Set
Data Options screen. If you click Done, the data set becomes available in the Bindings panel (Window > Bindings).
4. In the Set Data Options screen, do the following:
(Optional) Set data set column types by selecting a column, and choosing a column type from the Type pop-up menu. For example, if a
column in the data set contains numbers, select the column and choose number from the Type pop-up menu. This option is only
important if you want your user to be able to sort the data by that column.
You can select a data set column by clicking its header, by choosing it from the Column Name pop-up menu, or by navigating to it using
the left and right arrows in the upper-left corner of the screen.
(Optional) Specify how you want to sort the data by selecting the column you want to sort by from the Sort Columns pop-up menu. Once
you’ve selected the column, you can specify whether to sort it in ascending or descending order.
(Optional: tables only) Deselect Use First Row as Header if you want to use generic column names (that is column0, column1, column 2,
and so on) instead of the column names specified in your HTML data source.
Note: If you’ve selected something other than a table for the container element of your data set, this option and the next option are not
available. Dreamweaver automatically uses column0, column1, column2, and so on, for the column names of non-table-based data sets.
(Optional: tables only) Select Use Columns as Rows to reverse the horizontal and vertical orientation of the data in the data set. If you
select this option, columns will be used as rows.
(Optional) Select Filter out Duplicate rows to exclude duplicate rows of data from the data set.
(Optional) Select Disable Data Caching if you always want to have access to the most recent data in the data set. If you want data to
autorefresh, select Autorefresh Data and specify a refresh time in milliseconds.
When you’re finished in the Set Data Options screen, click Done to create the data set right away, or click Next to go on to the Choose
Insert Options screen. If you click Done, the data set becomes available in the Bindings panel (Window > Bindings).
5. In the Choose Insert Options screen, do one of the following:
Select a layout for the new data set, and specify the appropriate setup options. For more information, see Choose a layout for the data
set.
Select Do Not Insert HTML. If you select this option, Dreamweaver creates the data set, but does not add any HTML to the page. The
data set becomes available from the Bindings panel (Window > Bindings), and you can manually drag pieces of data from the data set to
the page.
226
