Konica Minolta bizhub PRESS C8000e User Manual
Page 497
bizhub PRESS C8000/e
10-83
10.7
[02 Administrator Setting] - [01 System Setting]
10
10.7.27
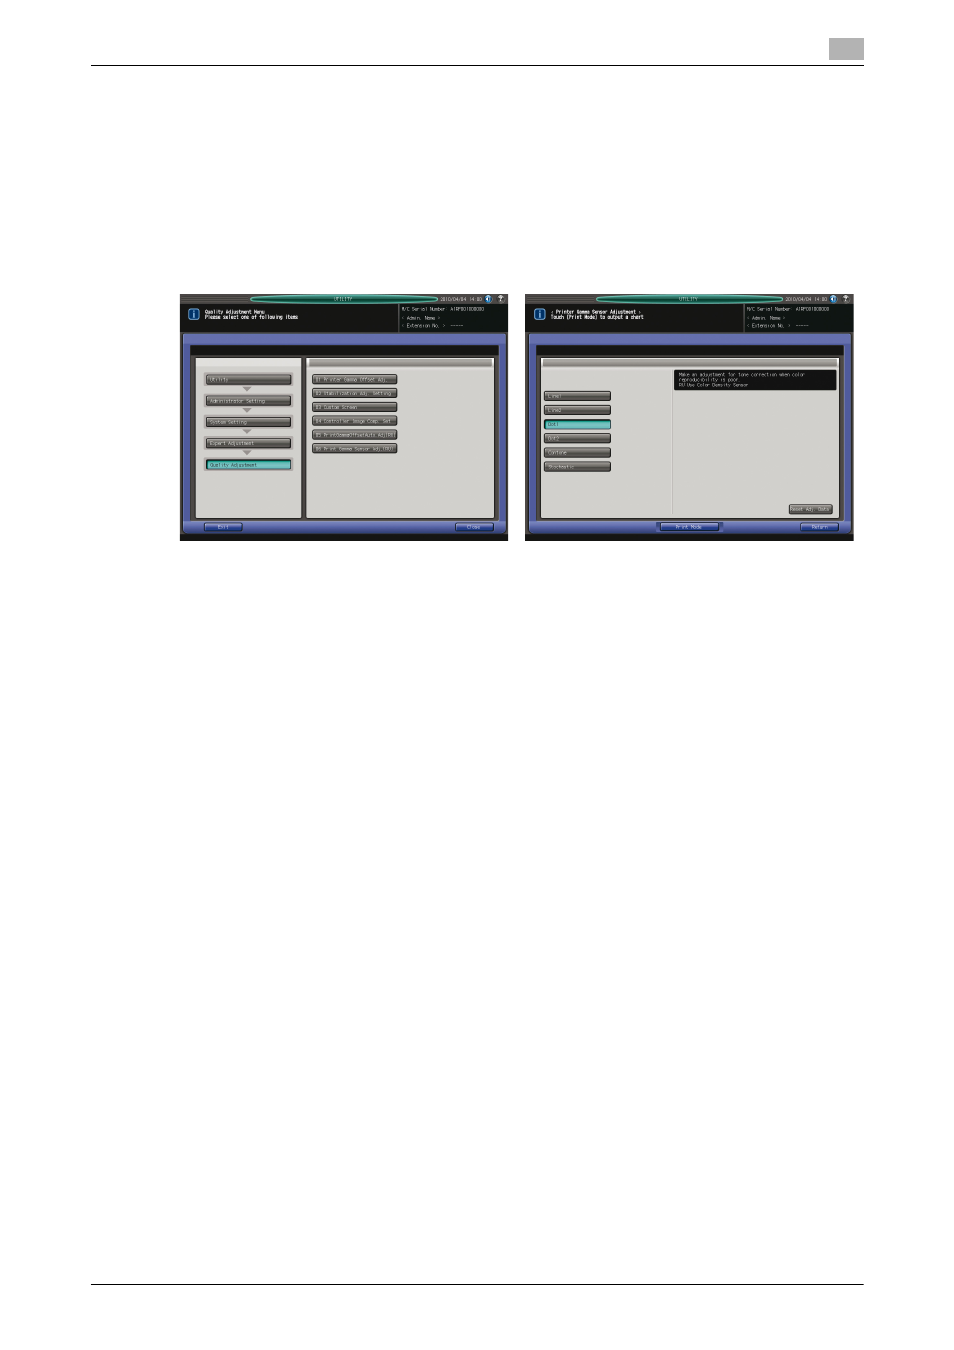
[04/05 Expert Adjustment] - [04 Quality Adjustment] - [06 Print Gamma Sen-
sor Adj. (RU)]
Correct the internal IDC sensor using the color density sensor attached to Relay Unit RU-508 in order to
make the gamma correction properly.
The printer gamma correction curve formed by the color density sensor cannot be adjusted.
NOTICE
The title number given to [Expert Adjustment] will be [04] for the machine without Image Controller IC-601,
or [05] for the machine with that option mounted.
1
Follow the procedure on page 10-3 to display the Administrator Setting Menu Screen.
2
Press [01 System Setting], [04/05 Expert Adjustment], [04 Quality Adjustment], and [06 Print Gamma
Sensor Adj. (RU)] in sequence.
The Printer Gamma Sensor Adjustment Screen will be displayed.
3
Press the desired screen key to select the screen to be adjusted.
4
Press [Print Mode].
The Print Mode Screen will be displayed.
5
Select a tray to be used for the adjustment, then press Start on the control panel.
A printed chart will be output through the color density sensor of Relay Unit RU-508 for color meas-
urement.
The Printer Gamma Sensor Adjustment Screen will be restored.
The measured chart will be delivered to an output tray.
% When [Input Sensor Value Error] is displayed, check the size of the output chart. Repeat steps 4 to
5 until the error message does not appear.
% When [Acquisition Sensor Value Error] or [Regression Calculation Error] is displayed, repeat steps 4
to 5 until the error message does not appear.
% If the error message displays repeatedly, contact your service representative.
% To reset the adjustment value for the sensor of selected screen, press [Reset Adj. Data].
6
Press [Return] to restore the Quality Adjustment Menu Screen.