Konica Minolta bizhub PRESS C8000e User Manual
Page 372
9.8
[03 Finisher Adjustment] (Perfect Binder PB-503)
9
bizhub PRESS C8000/e
9-54
10
Check that the edge of the left cover page extends out of the body set by the desired amount.
11
If any adjustment is required, press [Exit Print Mode] to return to the Cover Lead Edge Adjustment
Screen.
12
Use the touch panel keypad or control panel keypad to enter the setting data.
% Use [+/-] to specify the value to be positive or negative.
% Press [Set] to change the current data.
% Adjustable range: -128 (Short) to +127 (Long) (1 step = 0.1 mm)
13
Repeat the steps from 7 to 12 until the desired result is obtained.
14
Press [Return] to restore the Perfect Binder Adjustment Menu Screen.
9.8.3
[07 Perfect Binder Adjustment] - [03 Spine Corner Forming Pos.]
Adjust the state of spine corners formed in cover sheets using Perfect Binder PB-503.
Objects of adjustment: Up/Down Forward Adj. (Front), Up/Down Rear Adj. (Rear)
1
Press [Adjustment] on the Machine Screen to display the Adjustment Menu Screen.
2
Press [03 Finisher Adjustment], [07 Perfect Binder Adjustment], and [03 Spine Corner Forming Pos.] in
sequence.
The Spine Corner Forming Position Adjustment Screen will be displayed.
3
Load cover sheets in either cover tray of perfect binder or any other tray.
4
Load paper for body sets in the desired tray.
5
Press [Print Mode].
6
Select the tray key loaded with paper for body sets.
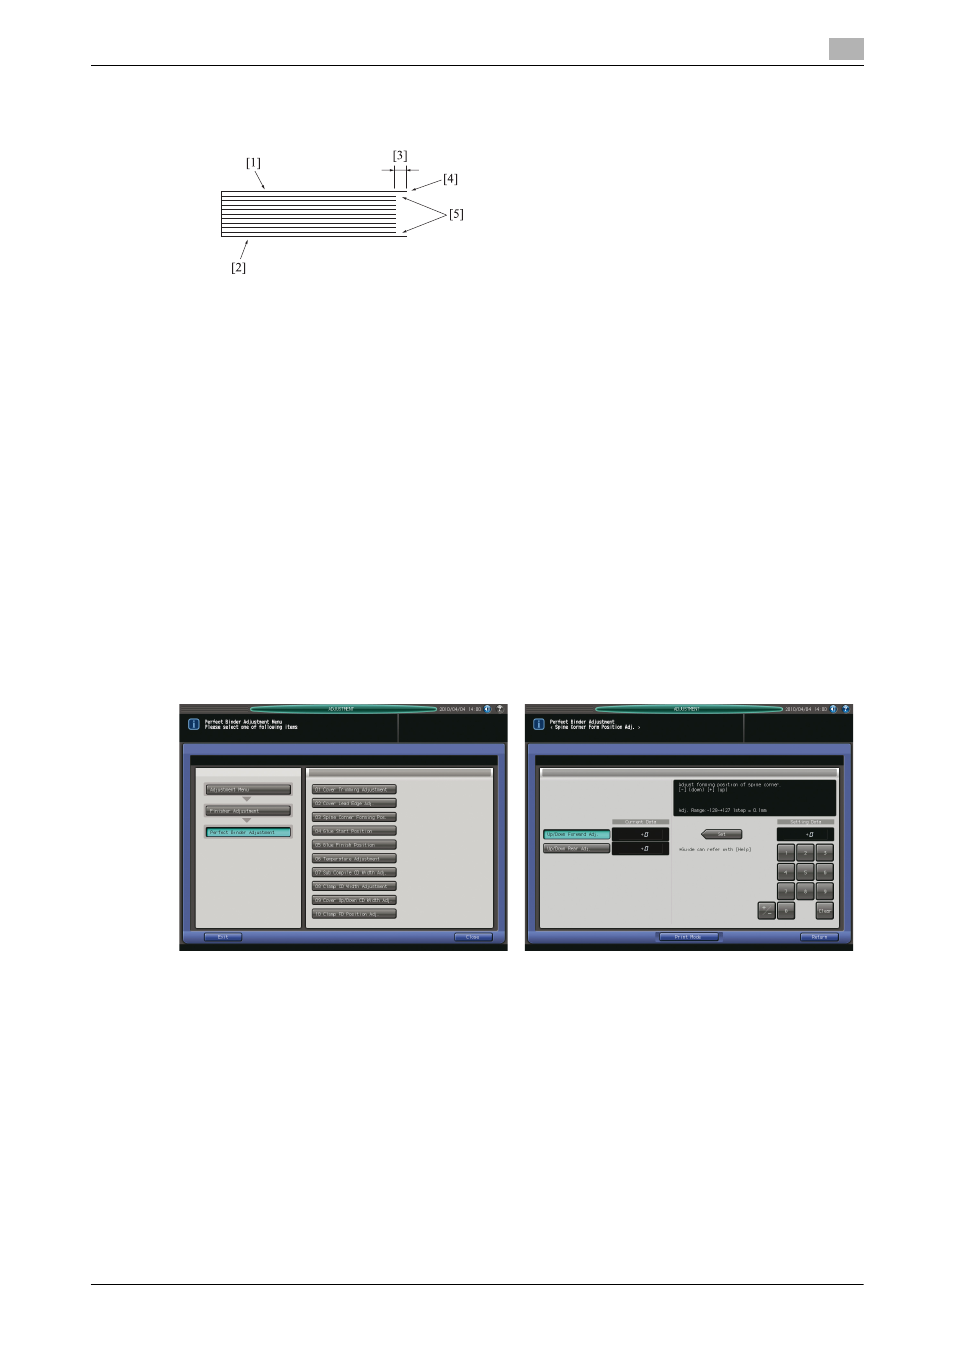
[1] Left cover page [2] Right cover page [3] Length differential [4] Edge of the left cover page [5] Body
pages