Konica Minolta bizhub PRESS C8000e User Manual
Page 406
9.12
[05 Color Density Control]
9
bizhub PRESS C8000/e
9-88
d
Reference
For details of the gamma correction of the IDC sensor, see page 10-78.
1
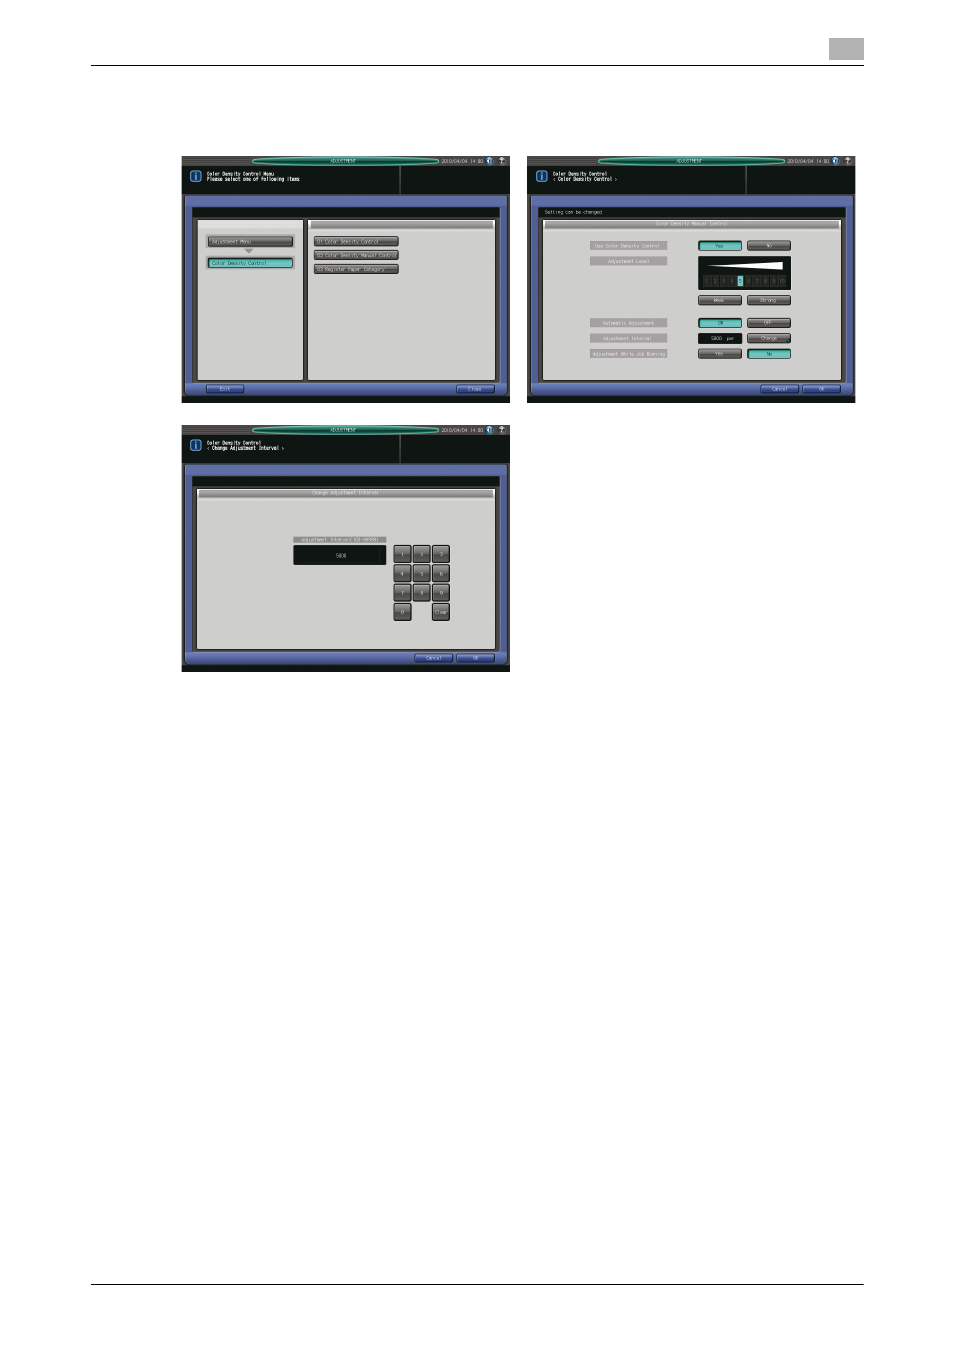
Press [Adjustment] on the Machine Screen to display the Adjustment Menu Screen.
2
Press [05 Color Density Control] and [01 Color Density Control] in sequence.
The Color Density Screen will be displayed.
3
Select either [Yes] or [No] for [Use Color Density Control].
% Select [Yes] to make the Color Density Control adjustment. Select [No] to operate the gamma cor-
rection using the IDC sensor internally mounted on the machine.
% If you select [Yes], be sure to perform Color Density Manual Control before making any job opera-
tion.
4
Select either [ON] or [OFF] for [Automatic Adjustment].
% Select [ON] to operate the color density control automatically, or select [OFF] to operate it manually.
% With [OFF] specified by [Color Density] in Paper Setting, the adjustment will not be made even if
[ON] is selected for [Automatic Adjustment]. Select either [Default Adj. Data] or [Paper Category] for
[Color Density] in Paper Setting. See page 5-16 for details.
5
For the automatic adjustment selected in step 4, specify the adjustment level using [Weak] and [Strong]
provided for [Adjustment Level].
% Specifying [1], for example, eases a drastic change due to the adjustment, by adopting the correc-
tion curve added with 10% change, in comparison to the difference between the data scanned from
charts and the base data.
6
For the automatic adjustment selected in step 4, check the interval of the adjustment displayed on the
right side of [Adjustment Interval], then change it as needed.
% To change the interval, press [Change] to display the Change Adjustment Interval Screen, then use
the touch panel keypad to enter the desired value. Available range is from 100 to 99999. When com-
pleted, press [OK].