Konica Minolta bizhub PRESS C8000e User Manual
Page 394
9.11
[04 Density Balance Adjustment]
9
bizhub PRESS C8000/e
9-76
1
Press [Adjustment] on the Machine Screen to display the Adjustment Menu Screen.
2
Press [04 Density Balance Adjustment] and [01 Density Balance Chart Output] in sequence.
3
Select the desired spectrophotometer and type of chart to be used.
% To use Spectrophotometer i1iSis XL, select [Type 1] or [Type 2] provided under "Measure Spectro-
photometer-1 (i1-iSis)."
% To use Spectrophotometer i1Pro, select [Type 1] or [Type 2] provided under "Measure Spectropho-
tometer-2 (i1-Pro)."
4
Press [Print Mode].
The Print Mode Screen will be displayed.
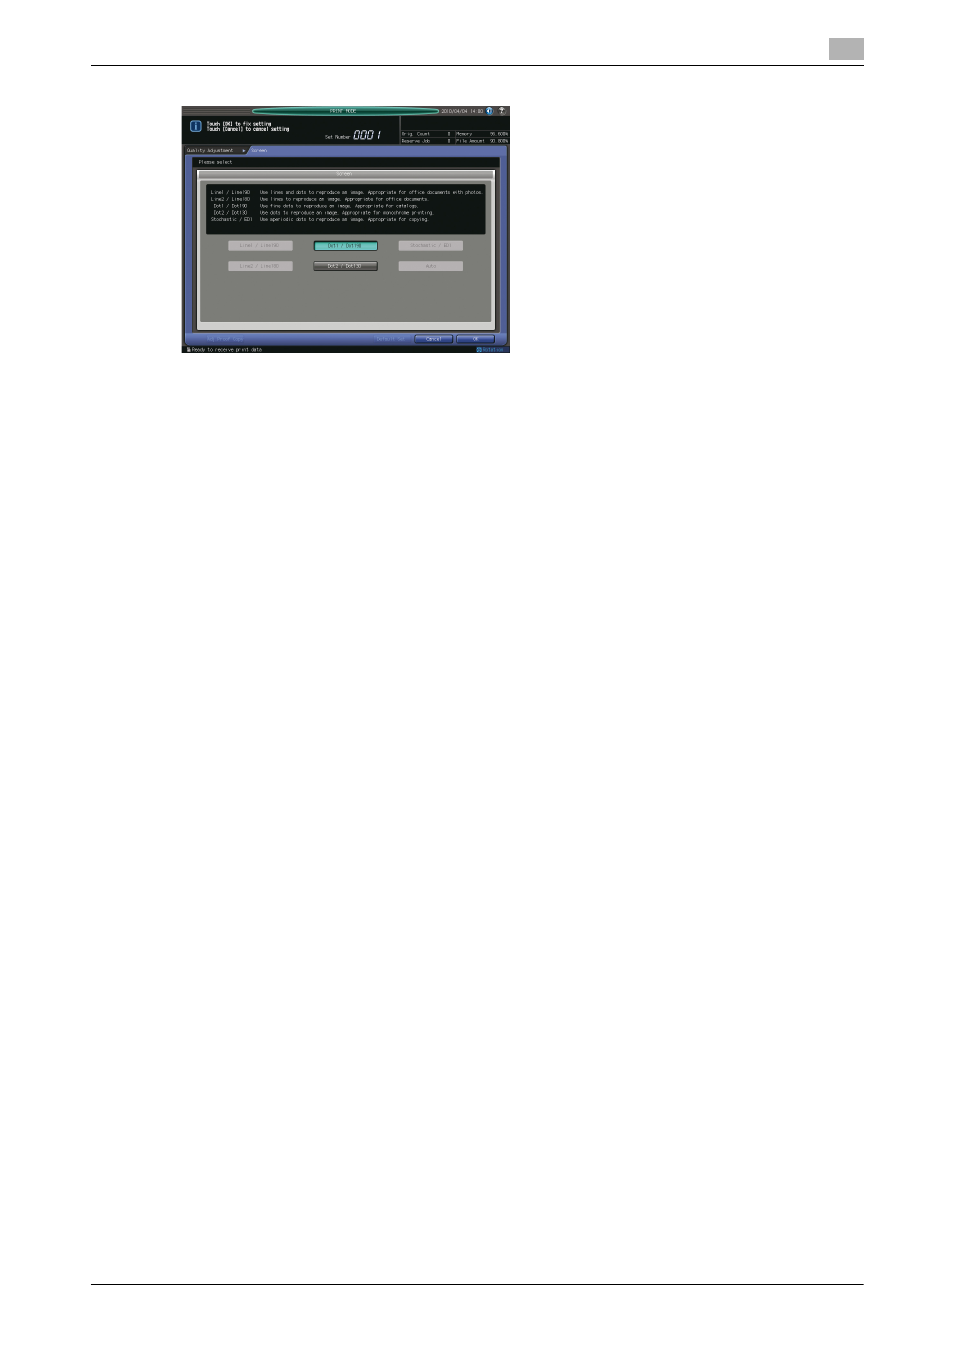
5
Select the screen type.
% Press [Quality Adj.] to display the Quality Adjustment Screen.
% Press [)] on the right side of [Screen] to display the desired screen type. Or, press [Screen] to dis-
play the Screen Setting Screen, then select the desired screen type. Press [OK] on the Screen Set-
ting Screen, if displayed.
% Press [Close] on the Quality Adjustment Screen.
6
Select a paper size for the chart.
% Load 12 e 18 w, SRA3 w, 11 e 17 w, or A3 w paper in a tray, then select that tray.
7
Press Start on the control panel.
The machine will output a sheet of chart with [Type 1] of "Measure Spectrophotometer-1 (i1-iSis)" se-
lected in step 3, or two sheets of chart with [Type 2] selected.
For "Measure Spectrophotometer-2 (i1-Pro)," one sheet of chart will be output with either of [Type 1]
and [Type 2] selected.
8
Press [Exit Print Mode]. The Density Balance Chart Output Screen will be restored
9
Press [Return] to restore the Density Balance Adjustment Menu Screen.
10
Press [02 Density Balance Data Reg/Del] to display the Density Balance Adjustment Data Register/De-
lete Screen.
NOTICE
Proceed to "Registering colorimetric data measured with spectrophotometer" on page 9-77.