Accessing a panorama view – CCTV Camera Pros Geovision 8.2 Multicam Digital Surveillance System User Manual
Page 112
98
Note: For the best result, position the points in the overlapping areas on both images. Avoid placing
the points in a cluster or lining them up straight.
6. The resulting image is displayed in the Preview window. If satisfied with the result, click OK to exit
the setup dialog box. If not, re-enter the 3 points for stitching.
7. If you want to stitch a third image or more, click Manual Setting and repeat Steps 3 to 5 multiple
times.
8. When you finish stitching images, click the Save Before Exit button (No.6, Figure 1-93) to save
the created panorama view before exiting the Panorama View Setup dialog box.
Note: The panorama view has a resolution limit of 1920 x 1080. Once the limit is reached, you
cannot stitch more images to the created panorama view.
84
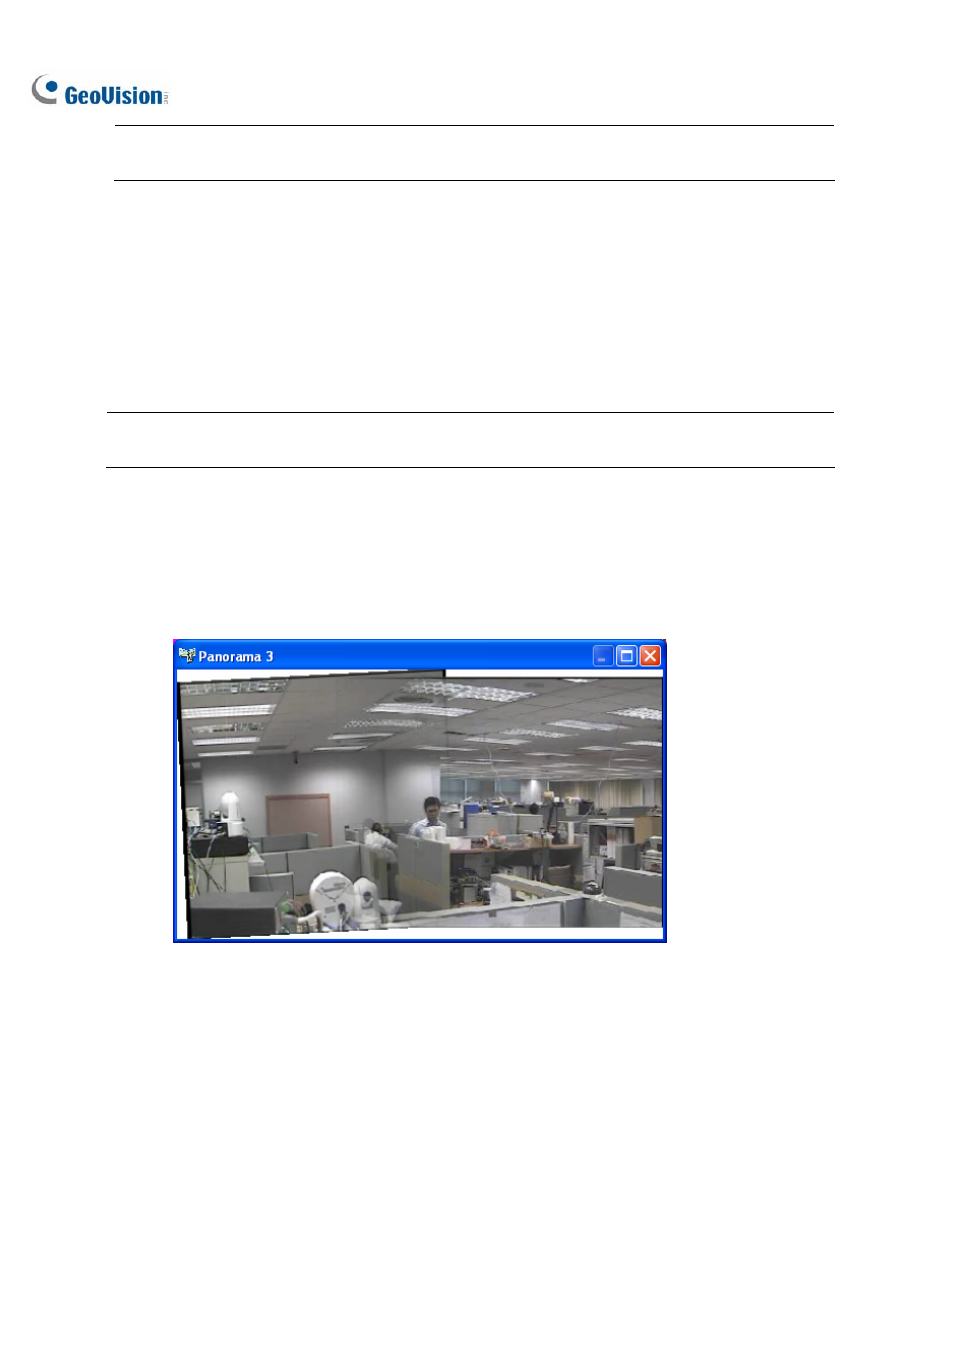
Accessing a Panorama View
Click the ViewLog button (No.13, Figure 1-2), point to Live Panorama View, and select the desired
panorama set from the list. This window appears.
Figure 1-96
Panorama View Controls
Right-click the panorama view to have these options:
Snapshot: Save the current panorama view as an image file.
Blending: Make the two images smoothly blended together. If this is not set, there can be harsh
edges in the panorama.
Refresh Rate: When the panorama view is enabled, the system load will increase. Change the
refresh rate for the panorama images to optimize system performance. The refresh rate is from
Speed 1 (Slow) to Speed 5 (Fast).