Selecting a separator – Grass Valley Maestro Master Control v.2.4.0 User Manual
Page 348
MAESTRO — User Manual
344
Visualization Tool
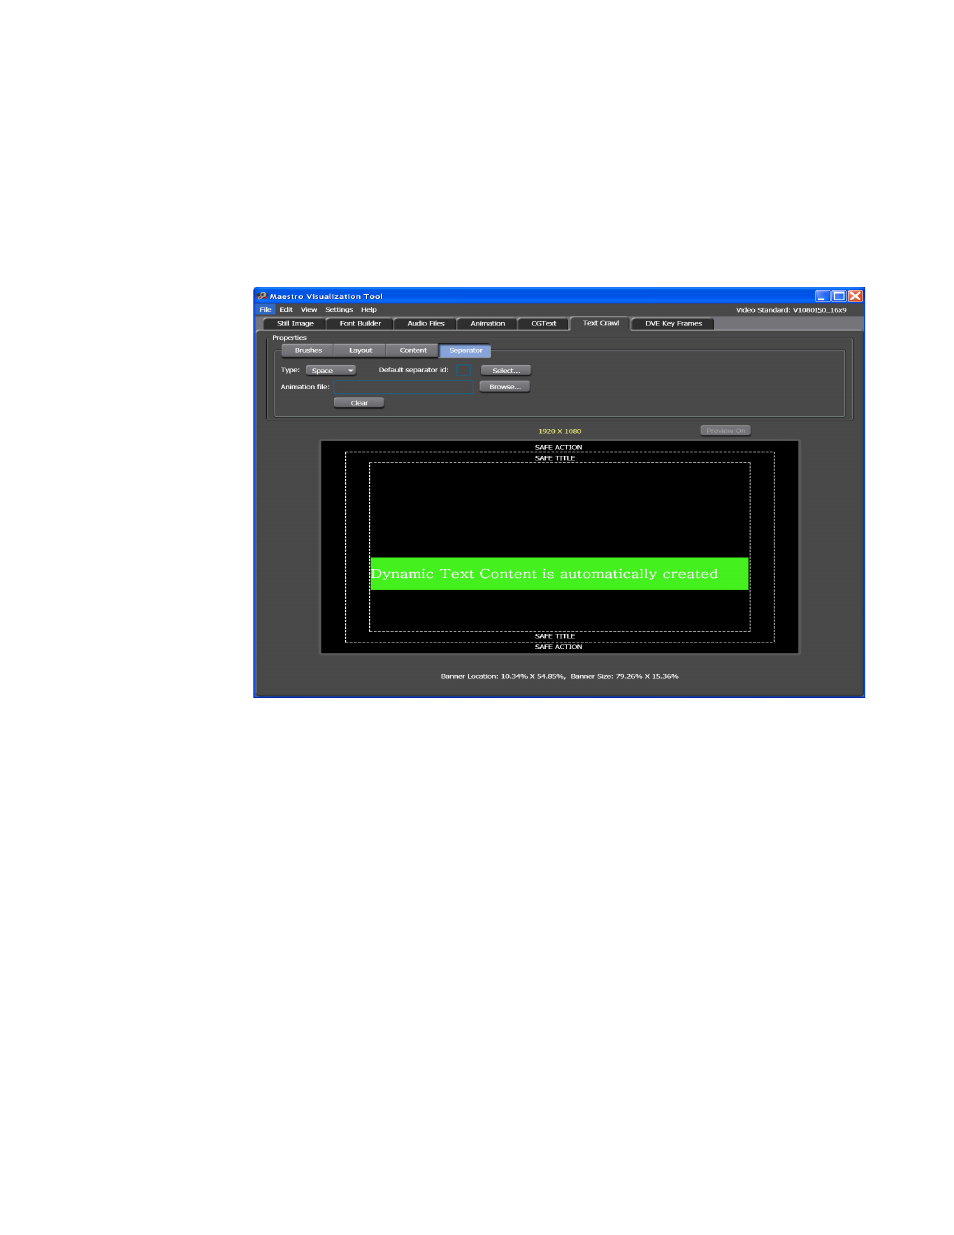
Selecting a Separator
Follow these steps to select a separator:
1.
Click the
Separator
button in the Properties section in the upper left-
hand corner of the interface. The Separator settings are shown in
Figure 243. Branding Visual Tool - Separator Settings
2.
Select the type of separator you wish to use from the Type drop-down
menu. The options are space, still, or animation; Space is the default
option.
Selecting a Still Image
Follow these steps to select a still image:
1.
Select the Still option from the Type drop-down menu.
2.
Click the
Select
button. The Default Image ID dialog will then appear.
This manual is related to the following products:
- Maestro Master Control v.2.2.0 Maestro Master Control v.2.3.0 7600REF v5.0 Installation 7600REF v3.0.0.8 Installation 7600REF v3.0.0.8 7600REF v5.0 7620PX-5 Installation 2012 7620PX Installation 2012 Kayenne Installation v.3.0 Kayenne K-Frame Installation v.6.0 Kayenne K-Frame Installation v.7.0 Kayenne K-Frame Installation v.8.0 Karrera K-Frame S-Series Installation v.8.0 Karrera Video Production Center Installation v.6.0 Karrera Video Production Center Installation v.7.0 Karrera Video Production Center Installation v.4.1 Karrera Video Production Center Installation v.4.0 Kayenne Installation v.4.0 7620PX 2012 7620PX-5 2012 7620PX 2008 MVMC 3G VMCR 3G 8900F GeckoFlex Frames Concerto Compact Routing System Concerto Routing Matrix v.1.8.1 Concerto Routing Matrix v.1.7.6.1 Concerto Routing Matrix v.1.7.5 GPIO-4848 Jupiter Maestro Master Control v.2.0.0 Maestro Master Control Installation v.2.0.0 Maestro Master Control Installation v.2.3.0 Maestro Master Control Installation v.2.4.0 KayenneKayenne v.2.0 v.2.0 Maestro Master Control Installation v.1.5.1