Grass Valley Maestro Master Control v.2.4.0 User Manual
Page 346

MAESTRO — User Manual
342
Visualization Tool
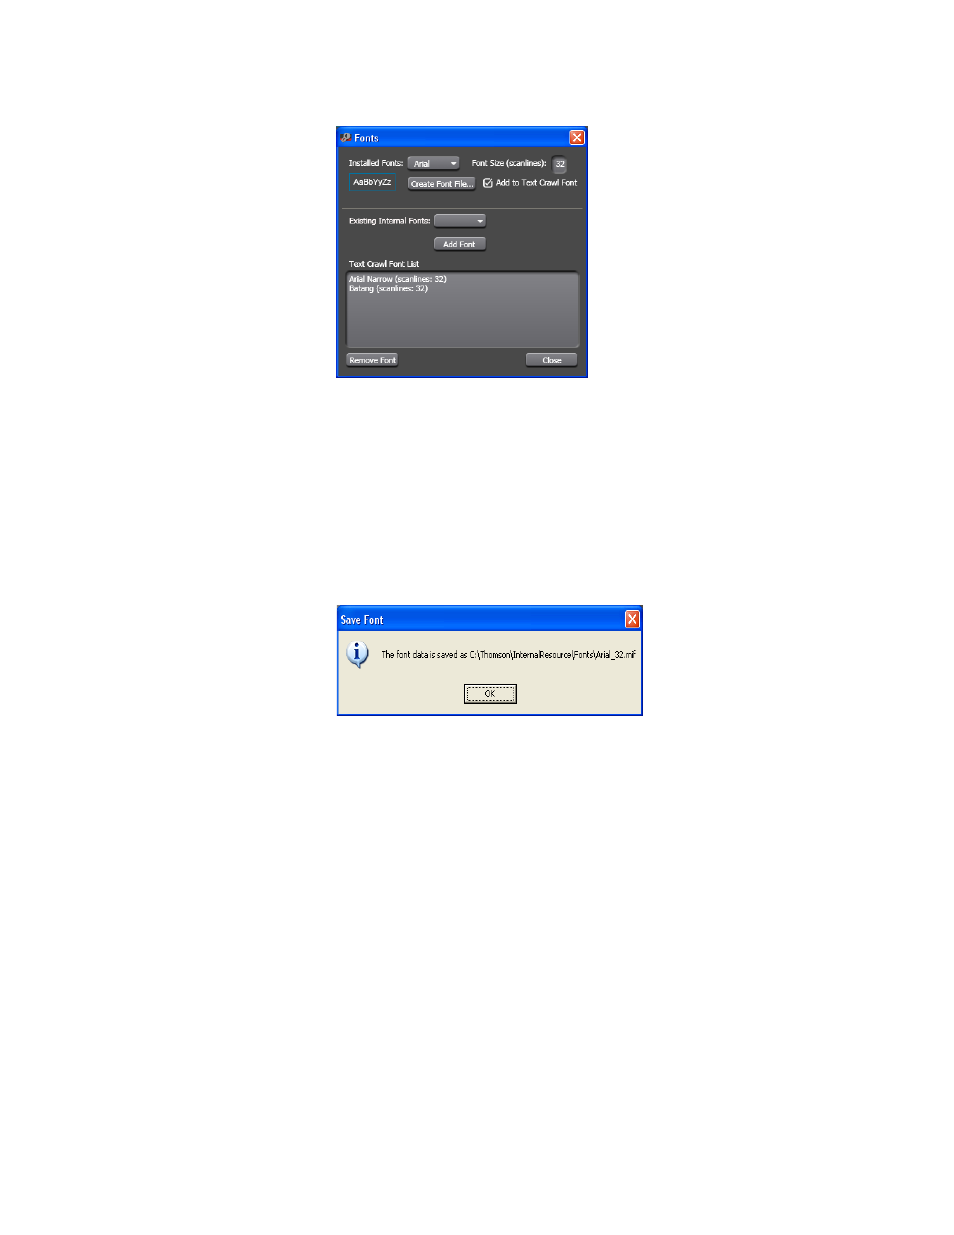
Figure 239. Visualization Tool - The Fonts Dialog
2.
Click the Installed Fonts drop-down list. Arial has been selected in the
3.
Adjust the font to the preferred size by entering the font size in the Font
size (Scanlines) field.
4.
Click the
Create Font File
button. Maestro’s font tool will then begin to
process the font. The Save Font dialog will then appear (
).
Figure 240. Visualization Tool - The Save Font Dialog
5.
Click the
OK
button to close the dialog.
6.
Select the new font from the Existing Internal Fonts drop-down list in
the lower section of the dialog.
7.
Click the
Add Font
button. The font will then appear in the Text Crawl
Font List (
This manual is related to the following products:
- Maestro Master Control v.2.2.0 Maestro Master Control v.2.3.0 7600REF v5.0 Installation 7600REF v3.0.0.8 Installation 7600REF v3.0.0.8 7600REF v5.0 7620PX-5 Installation 2012 7620PX Installation 2012 Kayenne Installation v.3.0 Kayenne K-Frame Installation v.6.0 Kayenne K-Frame Installation v.7.0 Kayenne K-Frame Installation v.8.0 Karrera K-Frame S-Series Installation v.8.0 Karrera Video Production Center Installation v.6.0 Karrera Video Production Center Installation v.7.0 Karrera Video Production Center Installation v.4.1 Karrera Video Production Center Installation v.4.0 Kayenne Installation v.4.0 7620PX 2012 7620PX-5 2012 7620PX 2008 MVMC 3G VMCR 3G 8900F GeckoFlex Frames Concerto Compact Routing System Concerto Routing Matrix v.1.8.1 Concerto Routing Matrix v.1.7.6.1 Concerto Routing Matrix v.1.7.5 GPIO-4848 Jupiter Maestro Master Control v.2.0.0 Maestro Master Control Installation v.2.0.0 Maestro Master Control Installation v.2.3.0 Maestro Master Control Installation v.2.4.0 KayenneKayenne v.2.0 v.2.0 Maestro Master Control Installation v.1.5.1
