Using the take button to complete a transition, Other transition buttons – Grass Valley Maestro Master Control v.2.4.0 User Manual
Page 190

MAESTRO User Manual
186
Using the Take Button to Complete a Transition
Using the Take Button to Complete a Transition
A transition is normally initiated by pressing the
Pre Roll Take
and then the
Take
button. The rate of a transition is determined by the four buttons on the
bottom left area of the panel marked
Slow, Med, Fast
, and
Cut
. Each rate
button is programmed with a specific duration during configuration, using
the Channel Setup table.
By default, the transition will begin and execute with the same rate on both
video and audio (to vary the timing or rate between video and audio, see
DVE Effects
.The transition duration is automatically displayed
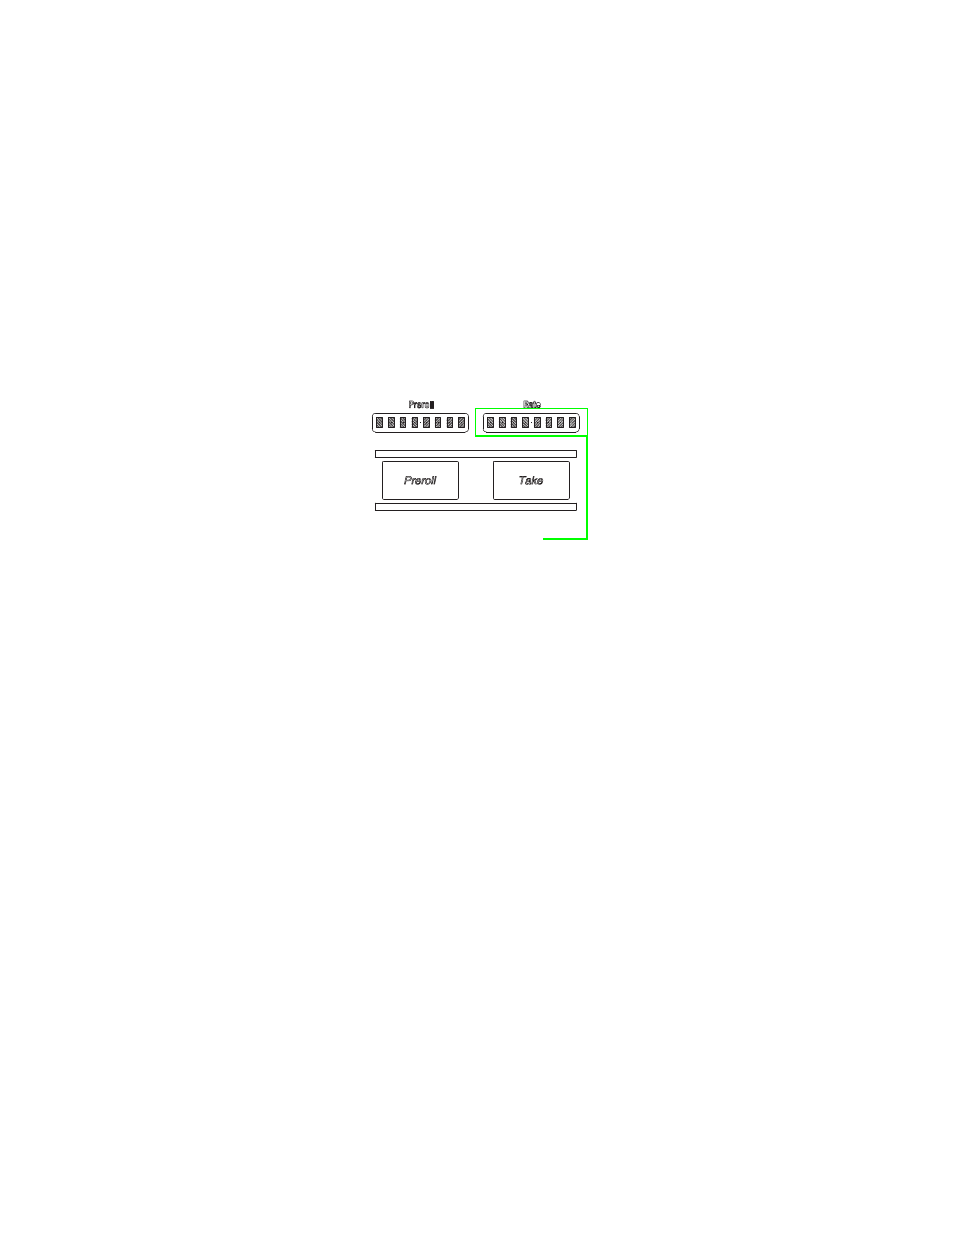
in the Rate display above the
Take
button (
Figure 113. Rate Display
Each transition will cause all information that is contained on the Preset
(PST) bus to be transferred to the Program (PGM) bus, and vice versa.
When a transition occurs, all the Preset audio gains and balances, the key
source and key information such as clips, background, and so forth are all
transferred to the Program bus, not just the Preset source. This transition to
the Program bus allows the next event to be completely previewed and
transferred to the Program bus with a single transition.
Grass Valley recommends that this “Preset -and then-Take” technique
should be used whenever possible; rather than taking a source directly to
Air on the Program bus.
Other Transition Buttons
Aside from the
Take
button, there are other buttons that can be used for tran-
). Each of these buttons is explained below.
The
Preroll Take
button: The button may be used to que sources before they
are played on air. The duration is defined by the parameter field in the
GPIO Definition table.
The
Silent
button: This button silences audio outputs. To return to normal
levels, press
Silent
again.
e Roll Take and Take buttons
Transition Duration Automati-
cally Displayed in the Rate
Display
- Maestro Master Control v.2.2.0 Maestro Master Control v.2.3.0 7600REF v5.0 Installation 7600REF v3.0.0.8 Installation 7600REF v3.0.0.8 7600REF v5.0 7620PX-5 Installation 2012 7620PX Installation 2012 Kayenne Installation v.3.0 Kayenne K-Frame Installation v.6.0 Kayenne K-Frame Installation v.7.0 Kayenne K-Frame Installation v.8.0 Karrera K-Frame S-Series Installation v.8.0 Karrera Video Production Center Installation v.6.0 Karrera Video Production Center Installation v.7.0 Karrera Video Production Center Installation v.4.1 Karrera Video Production Center Installation v.4.0 Kayenne Installation v.4.0 7620PX 2012 7620PX-5 2012 7620PX 2008 MVMC 3G VMCR 3G 8900F GeckoFlex Frames Concerto Compact Routing System Concerto Routing Matrix v.1.8.1 Concerto Routing Matrix v.1.7.6.1 Concerto Routing Matrix v.1.7.5 GPIO-4848 Jupiter Maestro Master Control v.2.0.0 Maestro Master Control Installation v.2.0.0 Maestro Master Control Installation v.2.3.0 Maestro Master Control Installation v.2.4.0 KayenneKayenne v.2.0 v.2.0 Maestro Master Control Installation v.1.5.1
