Grass Valley Maestro Master Control v.2.4.0 User Manual
Page 286
MAESTRO — User Manual
282
Modifying a Branding Source
3.
Press the
SEL
button above the LCD button for the source that you wish
to modify. See
4.
Press the
Menu
button.
5.
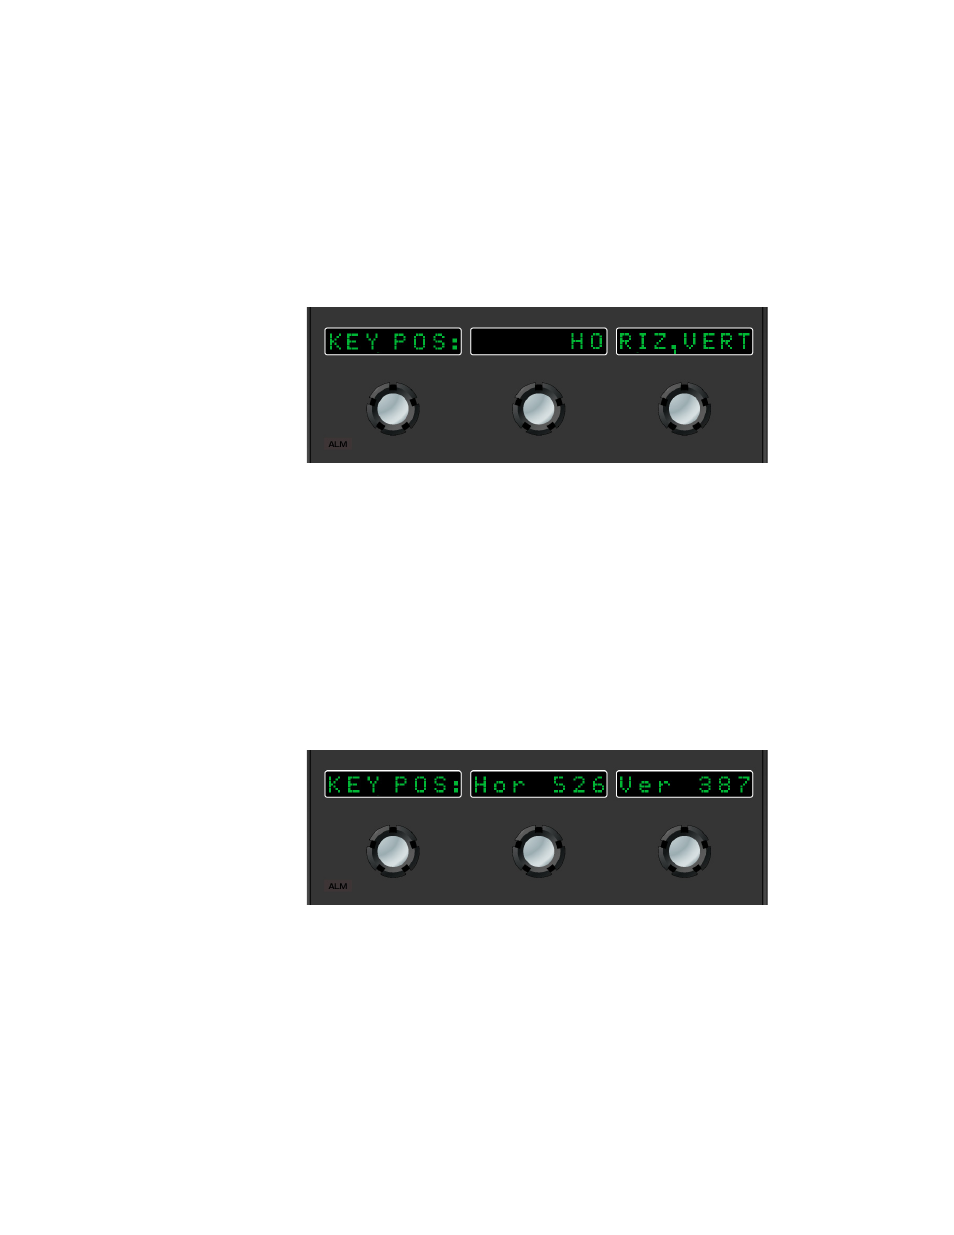
Rotate the left knob until the KEY POS: option appears in the window
at the bottom of the Keyer Control panel if it does not already appear
(
).
Figure 172. Key Position Menu Option
6.
Press the
Menu
button to select the KEY POS: menu option.
The display changes as illustrated in
to show the current hori-
zontal (in pixel) and vertical (in lines) position of the key.
Note
The number of available pixels and lines for positioning a key are determined
by the video standard assigned to the Maestro channel processor. The
numbers in the LCD windows refer to the number of horizontal pixels from
the upper left corner of the screen to the upper left corner of the key and the
number of vertical lines from the upper left corner of the screen to the upper
left corner of the key.
Figure 173. Key Horizontal and Vertical Position
7.
Rotate the knobs for horizontal and vertical position as needed to
position the key in the preferred on-screen location. Position changes
may be noted on the PST monitor.
- Maestro Master Control v.2.2.0 Maestro Master Control v.2.3.0 7600REF v5.0 Installation 7600REF v3.0.0.8 Installation 7600REF v3.0.0.8 7600REF v5.0 7620PX-5 Installation 2012 7620PX Installation 2012 Kayenne Installation v.3.0 Kayenne K-Frame Installation v.6.0 Kayenne K-Frame Installation v.7.0 Kayenne K-Frame Installation v.8.0 Karrera K-Frame S-Series Installation v.8.0 Karrera Video Production Center Installation v.6.0 Karrera Video Production Center Installation v.7.0 Karrera Video Production Center Installation v.4.1 Karrera Video Production Center Installation v.4.0 Kayenne Installation v.4.0 7620PX 2012 7620PX-5 2012 7620PX 2008 MVMC 3G VMCR 3G 8900F GeckoFlex Frames Concerto Compact Routing System Concerto Routing Matrix v.1.8.1 Concerto Routing Matrix v.1.7.6.1 Concerto Routing Matrix v.1.7.5 GPIO-4848 Jupiter Maestro Master Control v.2.0.0 Maestro Master Control Installation v.2.0.0 Maestro Master Control Installation v.2.3.0 Maestro Master Control Installation v.2.4.0 KayenneKayenne v.2.0 v.2.0 Maestro Master Control Installation v.1.5.1