Figure 117 on – Grass Valley Maestro Master Control v.2.4.0 User Manual
Page 193
189
MAESTRO User Manual
Section 2 — Basic Maestro Operation
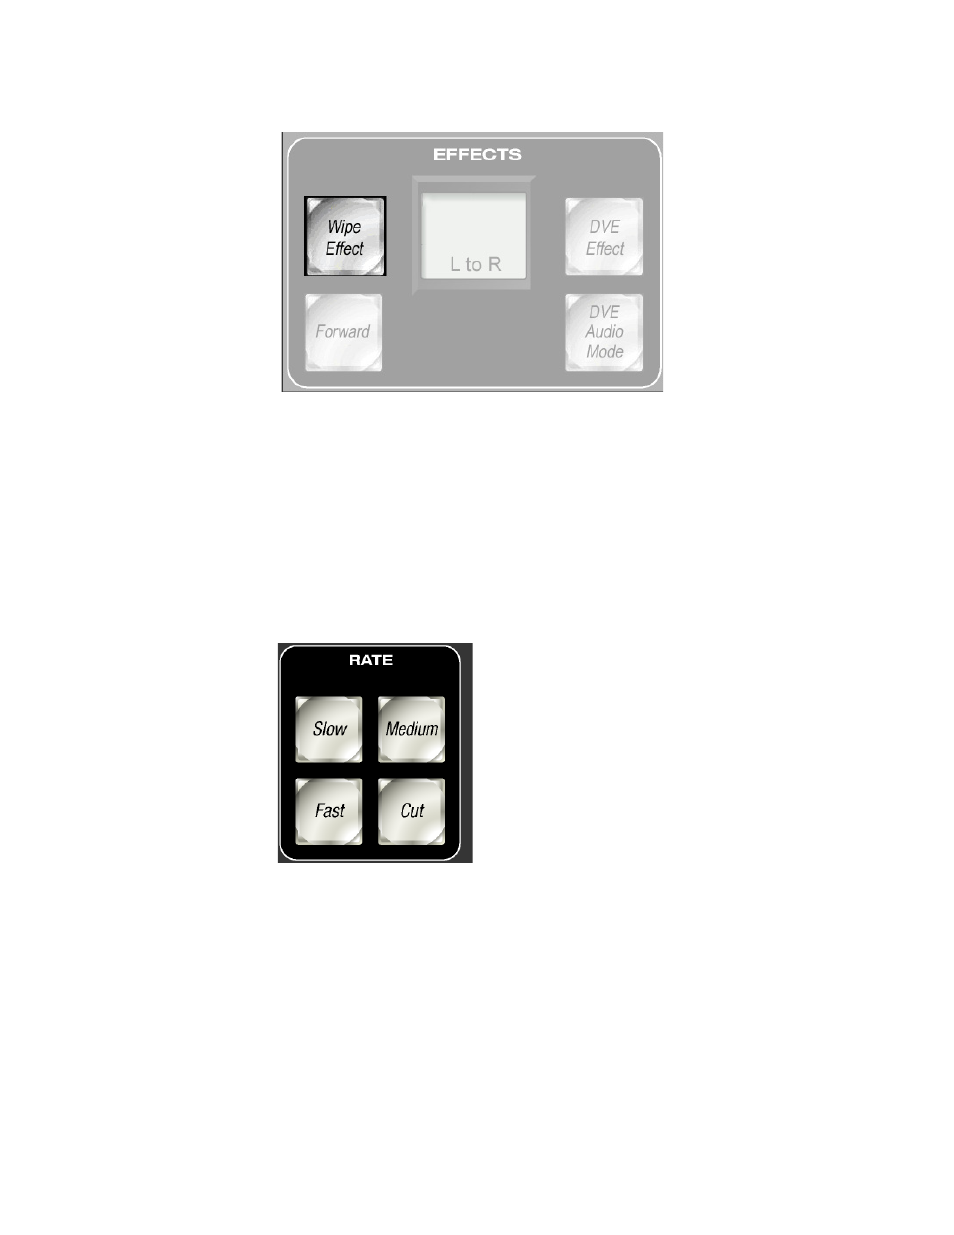
Figure 117. The Control Panel EFFECTS Button Group -The Wipe Effect Button Highlighted
To reverse the direction of the wipe name list, press the
Forward
button
(this button may be labeled
Wipe Select
on some control panels), then
press the
Wipe Effect
button again.
The wipe name list is taken from the Wipe Transitions table in the
Maestro Configuration Editor.
3.
Press the preferred Rate button in the
RATE
button group to select the
speed of the wipe (
Figure 118. The Rate Button Group
4.
Press the
Take
button to transition from the Program bus source to the
Preset bus source with the selected wipe effect.
Note
The audio transition type (cross-fade, fade-fade, etc.) is configured with the
Wipe Transition table in the Configuration Editor application.
5.
Press the
Effects
LCD button to exit the wipe transition mode (
). This action will cancel the wipe effect and causes the
illuminated
Wipe Effect
button to fade.
- Maestro Master Control v.2.2.0 Maestro Master Control v.2.3.0 7600REF v5.0 Installation 7600REF v3.0.0.8 Installation 7600REF v3.0.0.8 7600REF v5.0 7620PX-5 Installation 2012 7620PX Installation 2012 Kayenne Installation v.3.0 Kayenne K-Frame Installation v.6.0 Kayenne K-Frame Installation v.7.0 Kayenne K-Frame Installation v.8.0 Karrera K-Frame S-Series Installation v.8.0 Karrera Video Production Center Installation v.6.0 Karrera Video Production Center Installation v.7.0 Karrera Video Production Center Installation v.4.1 Karrera Video Production Center Installation v.4.0 Kayenne Installation v.4.0 7620PX 2012 7620PX-5 2012 7620PX 2008 MVMC 3G VMCR 3G 8900F GeckoFlex Frames Concerto Compact Routing System Concerto Routing Matrix v.1.8.1 Concerto Routing Matrix v.1.7.6.1 Concerto Routing Matrix v.1.7.5 GPIO-4848 Jupiter Maestro Master Control v.2.0.0 Maestro Master Control Installation v.2.0.0 Maestro Master Control Installation v.2.3.0 Maestro Master Control Installation v.2.4.0 KayenneKayenne v.2.0 v.2.0 Maestro Master Control Installation v.1.5.1