Color options, Figure 231 – Grass Valley Maestro Master Control v.2.4.0 User Manual
Page 339
335
MAESTRO — User Manual
Section 6 — Visualization Tools
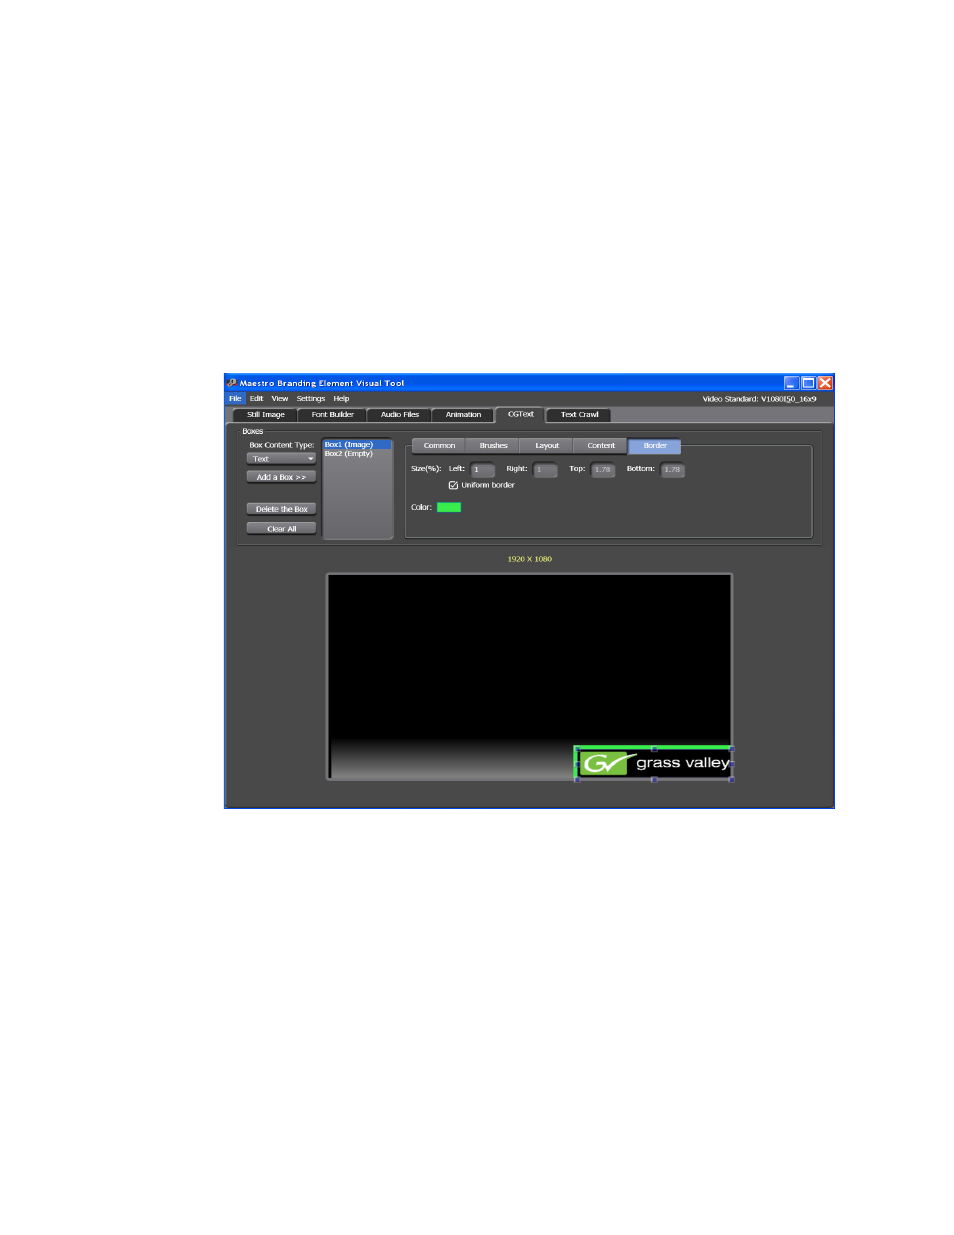
3.
Enter a number that will be the size of the border in the Left field beside
the Size (%): title.
4.
Click the color swatch by the text Color:. The color dialog will then
open. Select the color by clicking in the Color field.
Note
If you know the RGB values, you can also change the color by entering the
RGB values in the respective fields.
5.
Click the
OK
button to close the Color dialog. The Border will then have
the color applied.
Figure 231. Visualization Tool - Brushes Tab -Image Box
This manual is related to the following products:
- Maestro Master Control v.2.2.0 Maestro Master Control v.2.3.0 7600REF v5.0 Installation 7600REF v3.0.0.8 Installation 7600REF v3.0.0.8 7600REF v5.0 7620PX-5 Installation 2012 7620PX Installation 2012 Kayenne Installation v.3.0 Kayenne K-Frame Installation v.6.0 Kayenne K-Frame Installation v.7.0 Kayenne K-Frame Installation v.8.0 Karrera K-Frame S-Series Installation v.8.0 Karrera Video Production Center Installation v.6.0 Karrera Video Production Center Installation v.7.0 Karrera Video Production Center Installation v.4.1 Karrera Video Production Center Installation v.4.0 Kayenne Installation v.4.0 7620PX 2012 7620PX-5 2012 7620PX 2008 MVMC 3G VMCR 3G 8900F GeckoFlex Frames Concerto Compact Routing System Concerto Routing Matrix v.1.8.1 Concerto Routing Matrix v.1.7.6.1 Concerto Routing Matrix v.1.7.5 GPIO-4848 Jupiter Maestro Master Control v.2.0.0 Maestro Master Control Installation v.2.0.0 Maestro Master Control Installation v.2.3.0 Maestro Master Control Installation v.2.4.0 KayenneKayenne v.2.0 v.2.0 Maestro Master Control Installation v.1.5.1