Apple Final Cut Pro 6 User Manual
Page 959
174
4
When you’ve finished making a particular adjustment, release the mouse button to
insert an additional keyframe at the position of the playhead.
The sequence continues to play.
5
If there are any other audio filter parameters you want to adjust at this time, repeat
steps 1 through 4.
6
When you’ve finished making adjustments, stop playback.
To move the playhead in the Viewer from one keyframe to another, do one
of the following:
m
Click the left or right keyframe navigation button for a parameter to move the playhead
to the next keyframe to the left or right of the current position of the playhead.
m
Press Option-K to move the playhead to the next keyframe to the left of the playhead.
m
Press Shift-K to move the playhead to the next keyframe to the right of the playhead.
To adjust the value of a single keyframe, do one of the following:
m
Move the playhead to the keyframe you want to adjust, then adjust the appropriate
parameter control to set a new value.
m
Move the playhead to the keyframe you want to adjust, type a new value in the
appropriate field, and press the Return key.
m
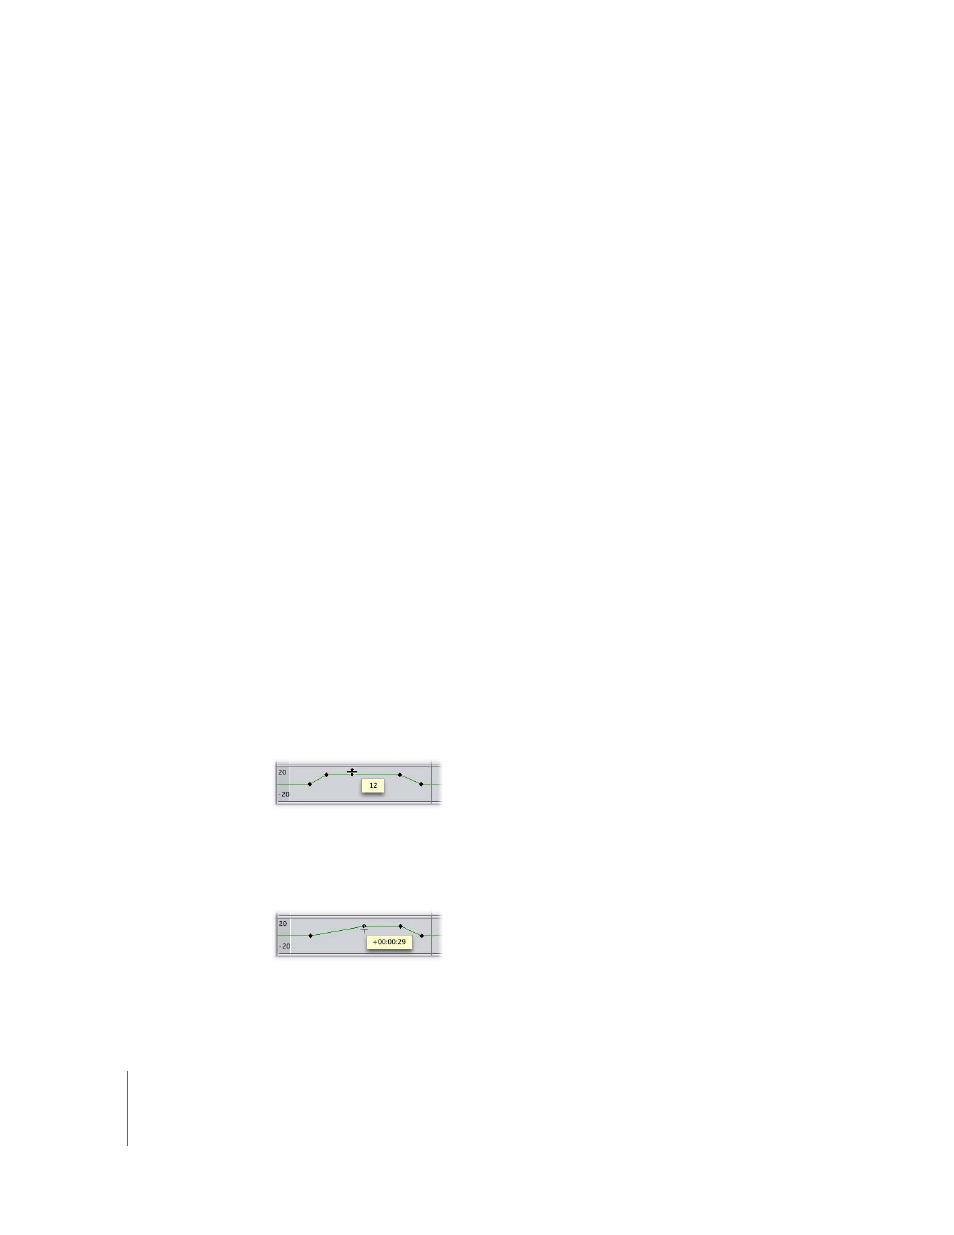
Move the pointer over the keyframe you want to modify. When the pointer becomes a
crosshair pointer, drag the keyframe up or down to change its level, or left or right to
change its location.
To adjust a section of a keyframe graph line in the middle of four keyframes:
m
Move the pointer over this section of the keyframe graph line. When the pointer turns
into the Adjust Line Segment pointer, drag just that area up or down to modify it.
The rest of the keyframe graph line before and after the four keyframes remains untouched.
To move a keyframe forward or backward in time:
m
Move the pointer over the keyframe you want to move. When the pointer becomes a
crosshair pointer, drag the keyframe forward or backward along the keyframe graph line.
As you drag, a box displays the timecode duration of the change you’re making.