Adjusting all opacity keyframes of a clip, Example:using keyframes to make opacity changes, Example: using keyframes to make opacity changes – Apple Final Cut Pro 6 User Manual
Page 1087
302
To scroll along the entire duration of your clip:
m
Drag the center of the Zoom slider to the left or to the right.
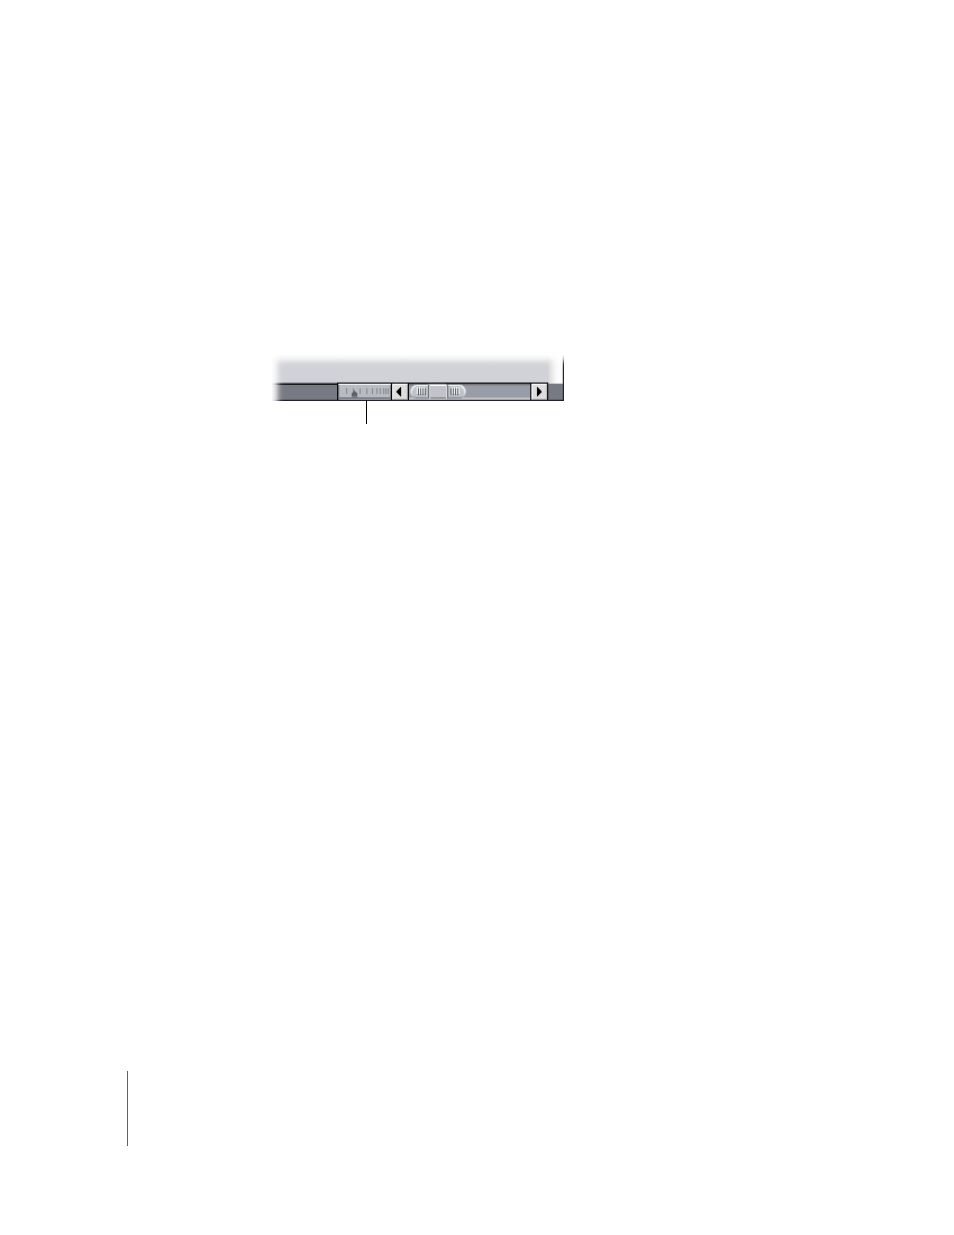
To change the duration of the keyframe graph ruler:
m
Click or drag the Zoom control.
 To zoom out and show more of your sequence: Click the right side of the control.
 To zoom in and show more detail: Click the left side of the control.
Note: The current area of the keyframe graph remains centered.
Adjusting All Opacity Keyframes of a Clip
You can raise or lower the values for all opacity keyframes in a clip (or multiple clips) at
one time by choosing Modify > Levels (or pressing Command-Option-L). You can adjust
all opacity keyframes, either up or down, maintaining the relative positions of the
keyframes, or you can set all keyframes to a single, absolute level (effectively removing
any variations in opacity over time). You can also use this command to modify audio
level keyframes. For more information, see “
Adjusting Audio Levels in the Timeline
Example: Using Keyframes to Make Opacity Changes
This example illustrates how you can use Final Cut Pro to dynamically adjust opacity
over time to create sophisticated multilayer effects. You’ll layer two clips and adjust a
clip’s opacity over time. The topmost clip fades in, appears superimposed above the
other clip for a few seconds, and then fades up (nearly obscuring the underlying
image) before fading away completely.
Zoom control