Apple Final Cut Pro 6 User Manual
Page 908
Chapter 6
Mixing Audio in the Timeline and Viewer
123
I
Using the Option Key to Temporarily Enable Pen Tools
When using the Selection tool, holding down the Option key and moving the pointer
over the audio level overlay in the Timeline makes the Pen tool the active tool. This is a
fast and easy way to create keyframes to adjust your levels.
Holding down the Option key and moving the pointer to an existing keyframe
temporarily enables the Delete Point tool, so that you can quickly delete keyframes
you don’t want.
Using the Command Key to Gear Down Adjustment Speed
In Final Cut Pro, items you drag onscreen normally move at the same speed at which
you move your mouse across your work surface. When you’re dragging the audio level
overlay, this usually works just fine. However, you can drag even more precisely by
pressing the Command key after you start dragging an item.
If you hold down the Command key while dragging the audio level overlay, the overlay
moves much more slowly, and its numeric value changes in much smaller increments.
This is especially valuable when mixing levels in the Timeline, where the small height of
clips can make precise level adjustment difficult.
Note: The Command key works with nearly any dragging operation in Final Cut Pro.
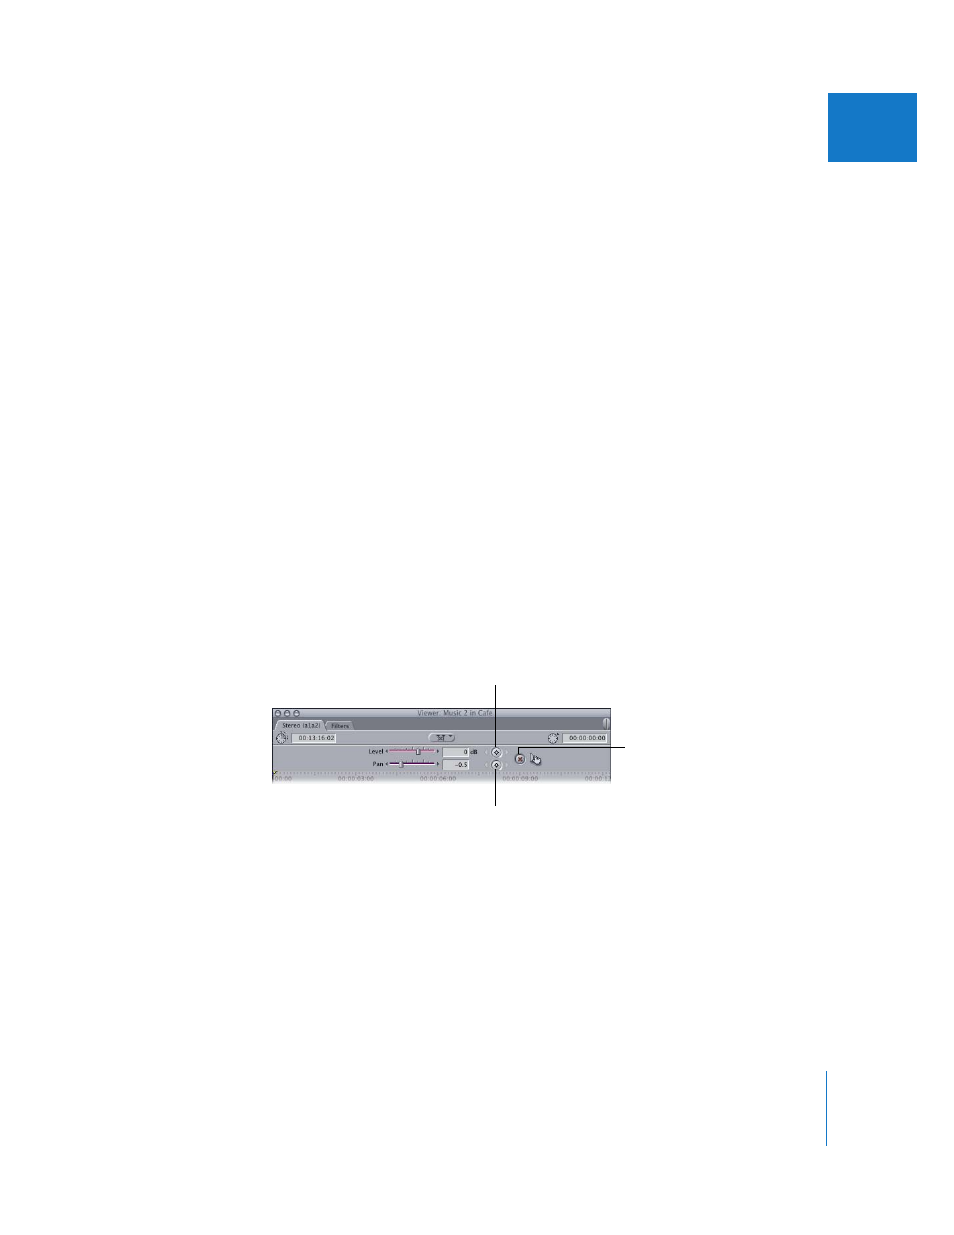
Creating, Modifying, and Deleting Keyframes in the Viewer
The keyframe controls are located next to the slider controls in the Viewer.
 Level Keyframe button: The keyframe button to the right of the Level field places a
keyframe on the audio level overlay at the current playhead location. You place
keyframes on the audio level overlay in preparation for creating a dynamic change in
the level when you’re mixing.
 Level keyframe navigation buttons: These buttons, to the left and right of the Level
Keyframe button, allow you to move the playhead forward or backward from one
keyframe on the audio level overlay to the next.
Level Keyframe
button
Pan Keyframe button
Reset button