Exporting a quicktime movie file, P. 240) – Apple Final Cut Pro 6 User Manual
Page 1723
240
Exporting a QuickTime Movie File
You can export a QuickTime movie from three kinds of selections:
 A selected sequence in the Browser or the current sequence in the Timeline
 Media between a sequence’s In and Out points
 A selected Browser clip
To export a QuickTime movie from a sequence:
1
Select a sequence in the Browser, or open a sequence in the Timeline.
2
Choose Sequence > Settings.
The Sequence Settings window appears.
3
Click the Render Control tab and select the appropriate rendering options for the
output quality you want.
For more information on these settings, see “
4
Click OK to apply the changes you made to the sequence settings.
5
In the Timeline, do one of the following:
 Set In and Out points to define which portion of your sequence you want export.
 Clear In and Out points to export the entire sequence.
6
Choose File > Export > QuickTime Movie.
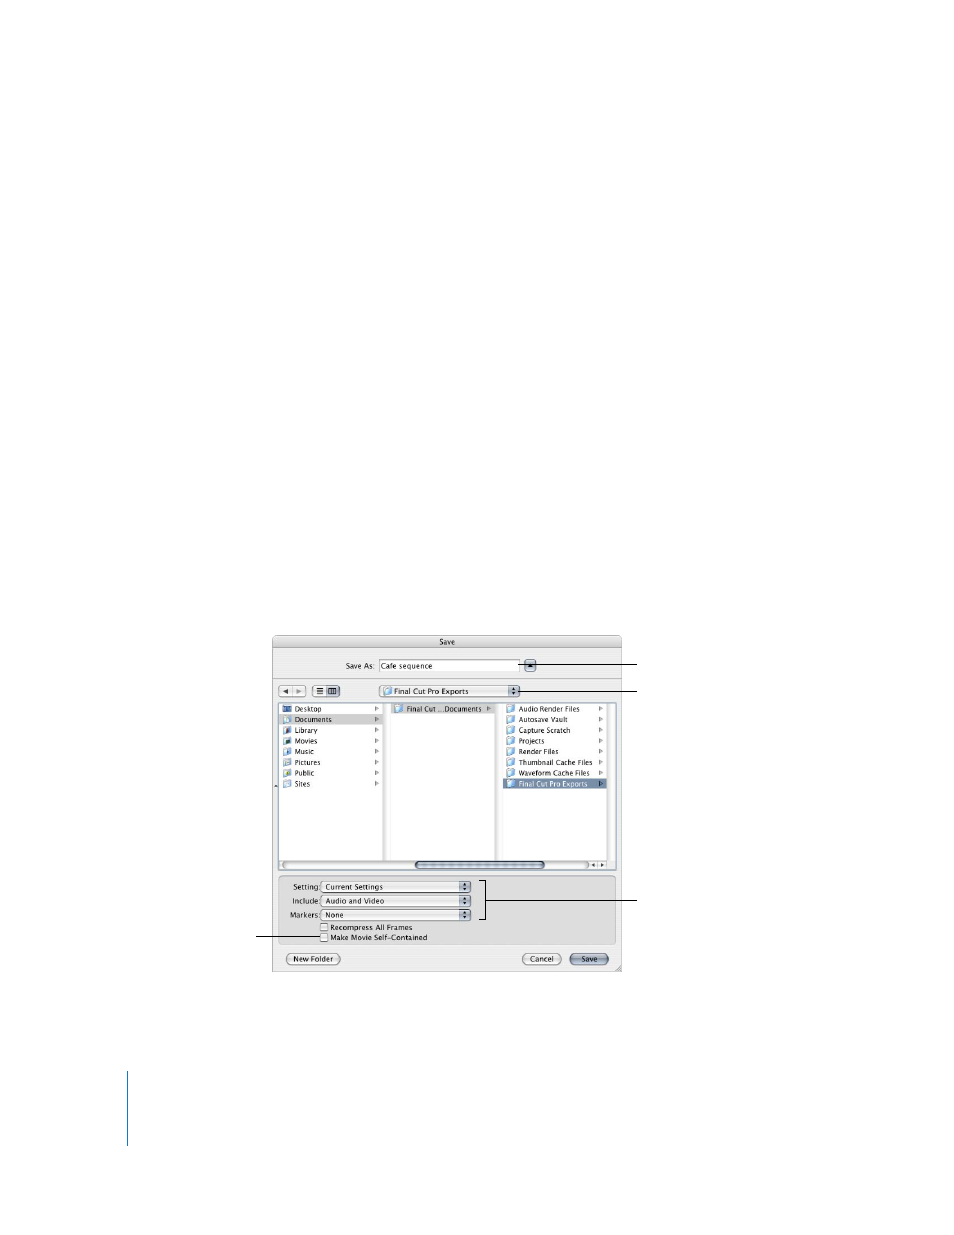
7
Choose a location and enter a name for the file.
To create a reference
movie, make sure
this checkbox is
unselected.
Specify the settings for
the exported movie.
If you want, enter
a name for the file.
Choose a location
to save the file.
Choose a location
to save the file.