Apple Final Cut Pro 6 User Manual
Page 331
330
Part IV
Logging, Capturing, and Importing
5
Choose File > Save.
Note: You can also choose File > Export > QuickTime Movie. This gives you the option
to customize the dimensions and codec of the movie. For more information, see
Volume IV, Chapter 17, “Exporting QuickTime Movies.”
6
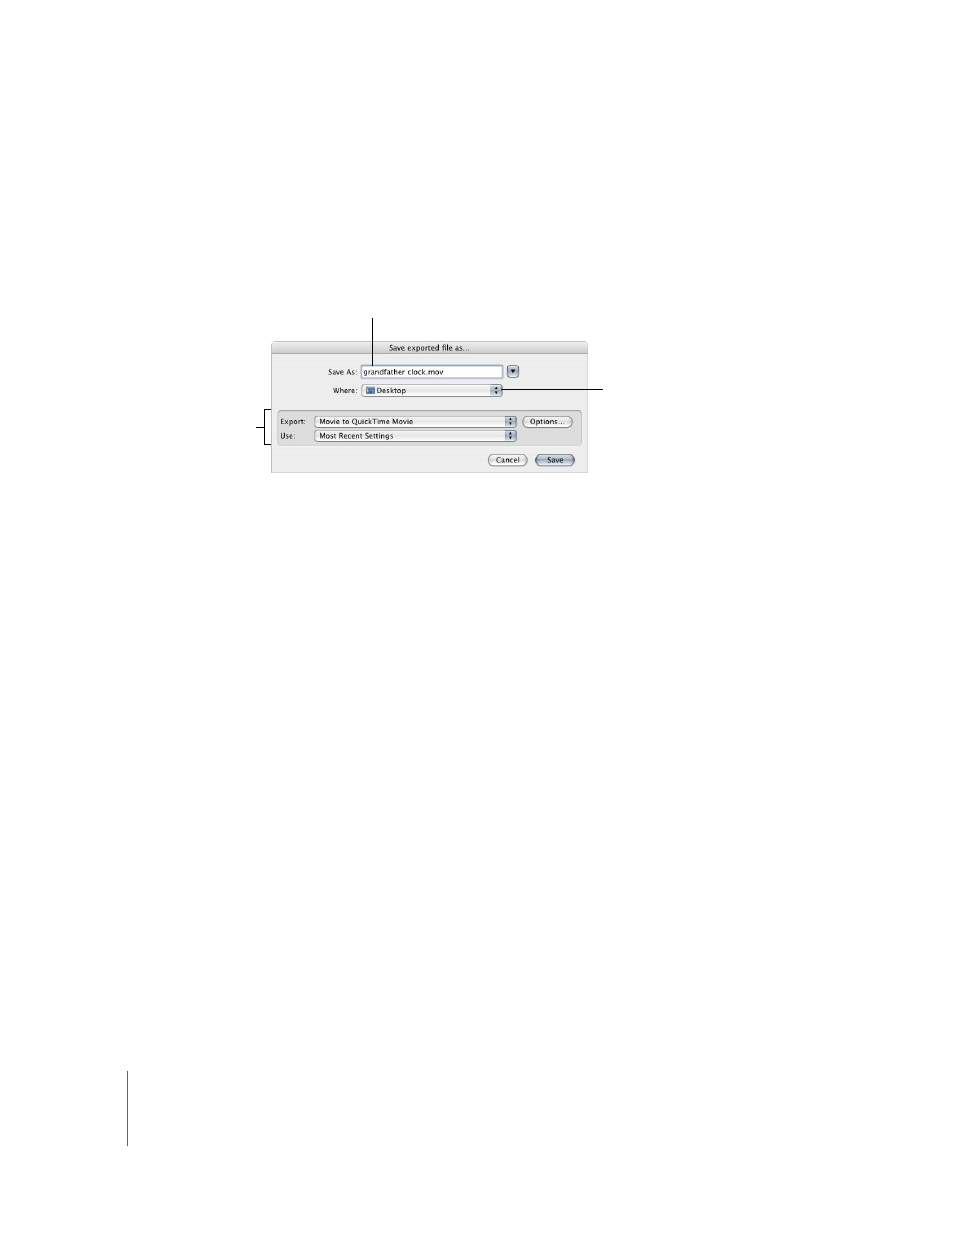
Choose a location and enter a name for the file.
7
Choose an option for how you want to save the movie, then click Save.
 Save normally: If you choose this option, QuickTime Player creates a reference movie
that points to the original folder of image files. No data is actually duplicated, so the
reference movie itself is very small, takes very little hard disk space, and is quick to
create. The resulting movie file is the same as a QuickTime movie file and can be
imported into Final Cut Pro just like any other QuickTime file.
Note: Since a reference movie needs the original source material for playback, if you
give this clip to someone else, you must give them the original image files as well.
 Make movie self-contained: If you’re going to be giving this clip to someone else, the
easiest thing to do is to make it self-contained. This type of movie takes longer to
save and consumes more hard disk space than a reference movie. However, a self-
contained movie isn’t dependent on other files and is a better option for exchanging
and archiving files.
Because no compression is applied (other than any that may have been used in the
original image sequence files), the saved movie is uncompressed and may not play
back in real time. After you import the movie and edit it into a sequence, Final Cut Pro
rerenders this clip using the codec specified in your sequence settings.
Choose a save option.
Choose a place
to save the file.
If you wish, enter a name
for the file.