Apple Final Cut Pro 6 User Manual
Page 958
Chapter 8
Using Audio Filters
173
I
m
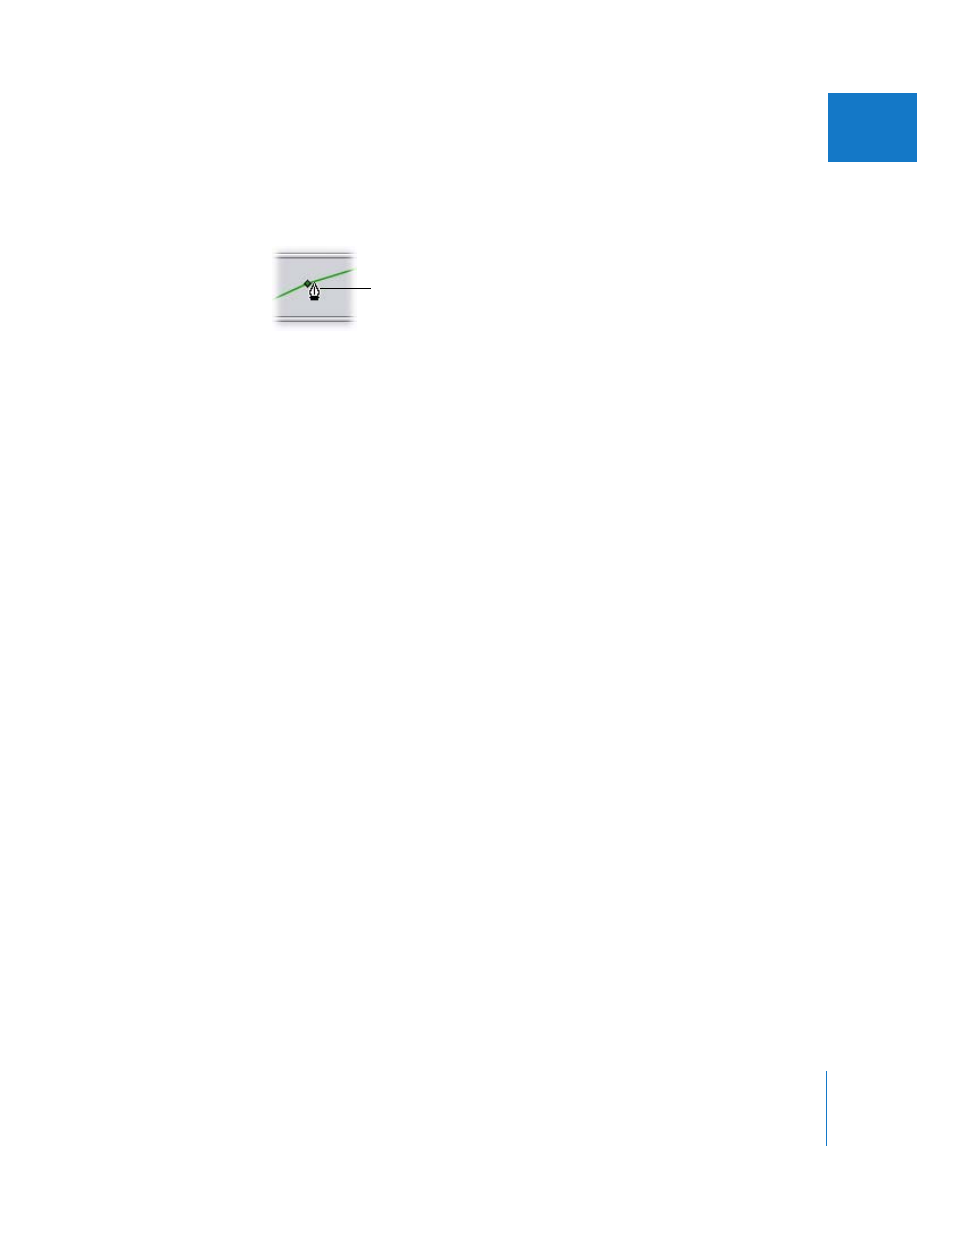
With the Option key held down, position the pointer over the keyframe graph line for a
parameter. When the pointer turns into a Pen tool, click to add a keyframe to the
keyframe graph line at that point.
The keyframe appears as a small diamond on top of the keyframe graph line.
To set additional keyframes for a parameter while playback is paused:
1
Move the playhead to another point in the Filters tab’s keyframe graph area where you
want to set a keyframe.
2
Do one of the following:
 Drag the parameter slider to set a new keyframe with that value.
 Type a number into the appropriate field to set a new keyframe at that value.
 Click the appropriate keyframe button to add a keyframe to the keyframe graph line
of that parameter at the keyframe graph line’s current value.
 With the Option key held down, click anywhere on a parameter’s keyframe graph line
with the Pen tool to add a keyframe at that point without changing the value of the
keyframe graph line at that point. You can add as many keyframes as you want by
clicking repeatedly with the Option key held down.
The new keyframe appears as a small diamond on top of the keyframe graph line.
To record keyframes for a parameter during playback:
1
In the Viewer or Timeline, move the playhead to the area of your sequence where you
want to record keyframes.
It’s a good idea to start a few seconds before the section you’ll actually be mixing, to
give yourself time to get ready.
Note: You can only record keyframes in an audio filter parameter during playback if the
Record Audio Keyframes button is selected in the Audio Mixer.
2
Begin playback of your sequence.
3
As your sequence plays, position the pointer over the relevant audio filter control in the
Filters tab of the Viewer, and press the mouse button to begin adjusting that parameter.
The Pen tool lets you
add a keyframe.