Time remapping using the keyframe graph, Time, Remapping using the keyframe graph – Apple Final Cut Pro 6 User Manual
Page 1144
Chapter 17
Changing Clip Speed and Time Remapping
359
II
2
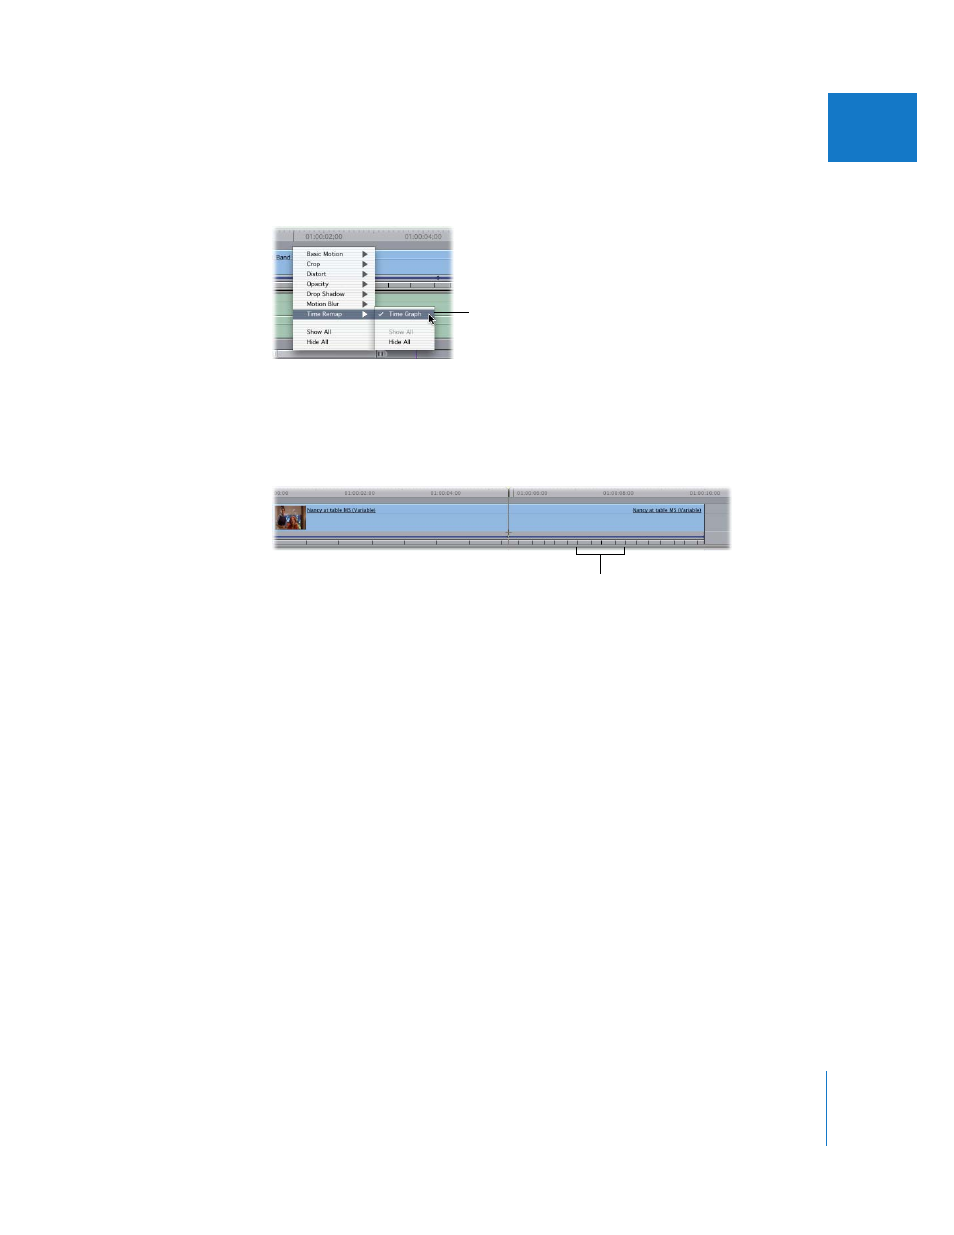
Control-click the motion bar, then choose Time Remap > Time Graph from the shortcut
menu to make time remapping keyframes visible.
3
Select the Selection tool in the Tool palette, then drag a keyframe left or right in the
motion bar to change its position in time.
As you adjust individual keyframes, the Timeline speed indicators change to show you
the modified speed to the left and right of the currently chosen time.
Time Remapping Using the Keyframe Graph
While the Time Remap tool allows you to make speed adjustments to clips quickly,
you can also make time remapping changes using the keyframe graph in either the
keyframe editor of the Timeline or the keyframe graph area of the Motion tab in the
Viewer. In particular, editing the keyframe graph is the only way to modify keyframe
velocity, easing the transition from one keyframe to another using smoothed
keyframes with Bezier handles.
The following illustrations show how changes to the keyframe graph affect the speed
of a clip in the Timeline. In each graph, the vertical axis represents media time, where
each tick mark up is a successive frame of your video clip. The horizontal axis represents
the Timeline, where each tick mark represents the duration of one frame playing at the
sequence frame rate.
Click here to make the
time remapping
keyframes visible.
Speed indicators