Tools for adjusting keyframes, P. 122), E detail in – Apple Final Cut Pro 6 User Manual
Page 907: Adjusting clip audio levels, And pan using keyframes
122
Adjusting Clip Audio Levels and Pan Using Keyframes
Instead of setting the audio level or pan of an entire clip to the same level throughout
a clip, you can mix your levels and stereo placement dynamically, raising and lowering
the audio level or changing the stereo pan of a clip numerous times within the same
clip. To do this, you use keyframes.
Keyframes can be used throughout Final Cut Pro with any feature whose parameters
can be changed over time. Keyframes allow you to specify different audio level or pan
settings in an audio clip at different points in time. The audio level overlay in your clip
automatically adjusts from one keyframed level to another using a smooth curve.
You can also record audio level and pan automation using the Audio Mixer, which
creates keyframes. These keyframes can be adjusted by hand, directly in the Viewer or
the Timeline.
Note: Unlike the visual keyframes that you can set for motion settings, the shape of
audio level and pan level curves can’t be altered.
Tools for Adjusting Keyframes
When you adjust audio levels and pan settings in the Timeline and Viewer, you mainly
use the Selection and Pen tools. The Pen tools allow you to add, move, and delete audio
level and pan keyframes in the clip overlays in the Timeline as well as in the Viewer.
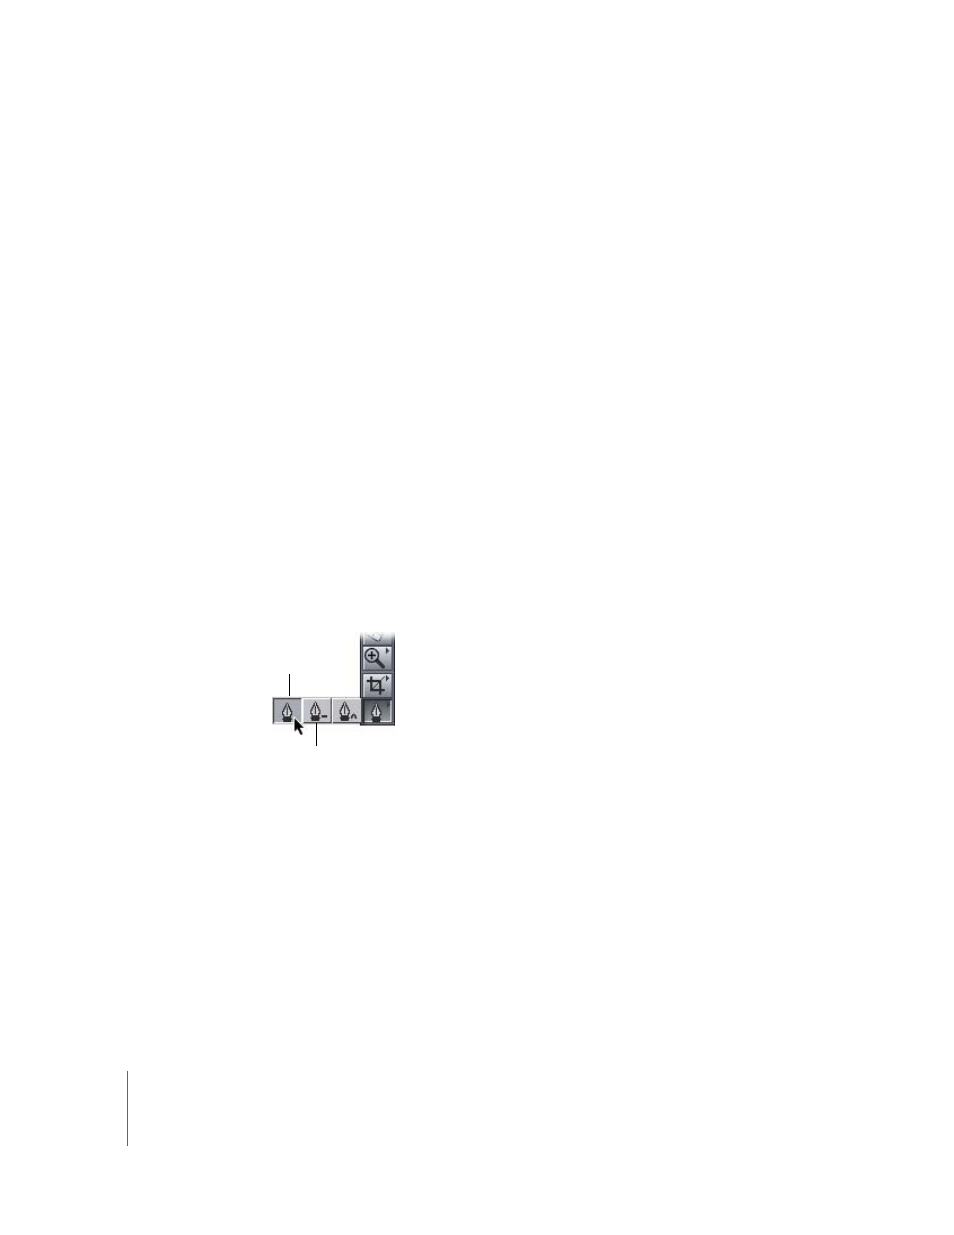
 Pen tool: The Pen tool allows you to add keyframes to the audio level overlay (press
the P key to select the Pen tool).
 Delete Point tool: The Delete Point tool allows you to remove keyframes from the
audio level overlay (press the P key twice or hold down the Option key while you are
using the Pen tool to select the Delete Point tool).
Pen tool
Delete Point tool