Example:using the chroma keyer filter, Example: using the chroma keyer filter – Apple Final Cut Pro 6 User Manual
Page 1219
434
 Invert Selection button: Click this button to invert the key you’ve defined. For
example, suppose you’ve set up a key based on the color of a green car and used a
grayscale copy of the clip in the background so that the car is grayscale and the
background is color. Clicking the Invert Selection button reverses the key so that you
see the car in color and the background appears in grayscale.
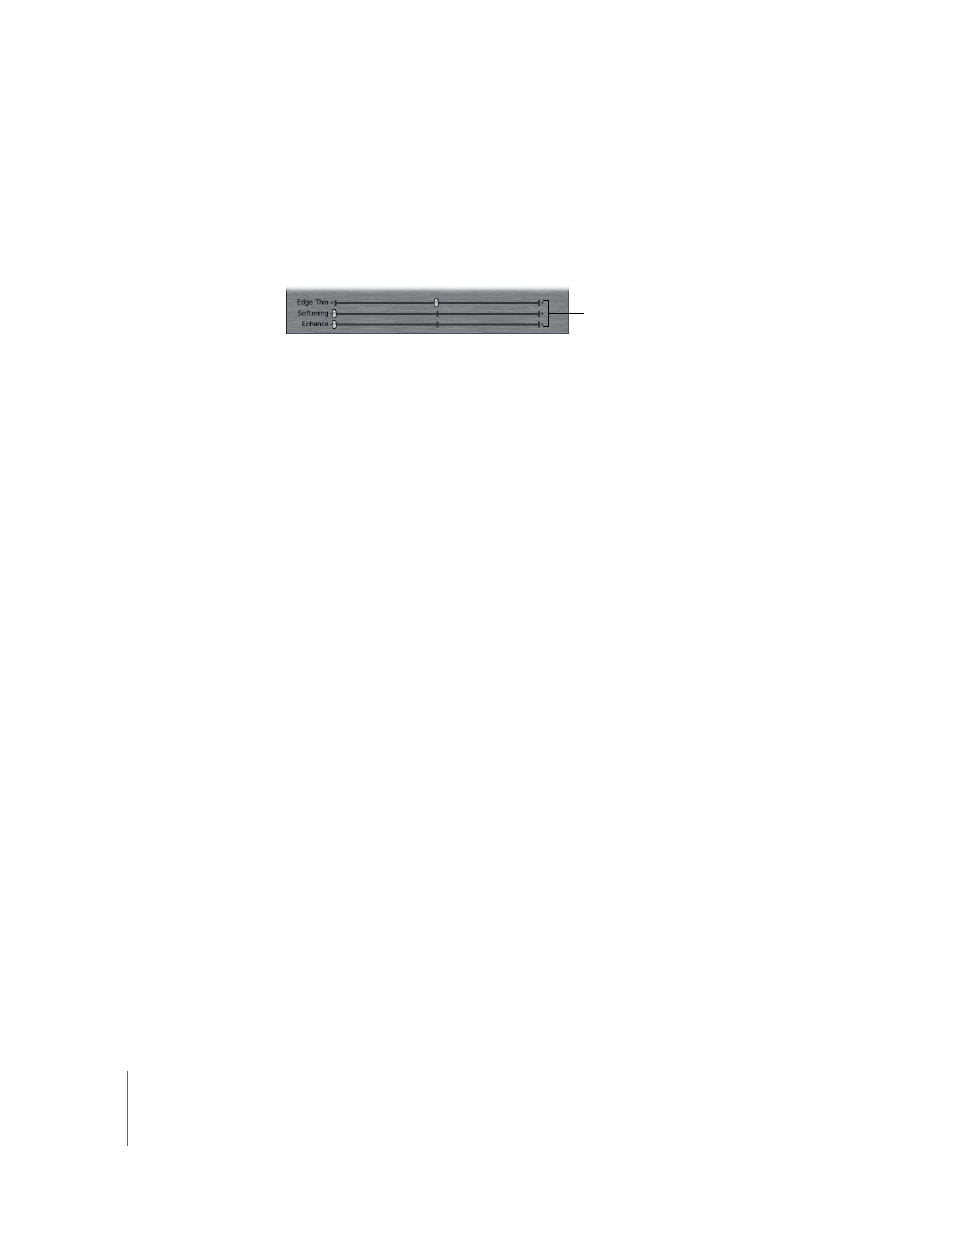
 Edge Thin slider: Drag this slider to make the size of the currently defined key larger
or smaller. This can help you remove unwanted edging around your subject.
 Softening slider: Use this slider to blur the edges of your key to make it blend better
with the background image. This can come in handy to soften the jagged edges that
sometimes develop when chroma keying material captured with the DV codec.
 Enhance slider: Adjust this slider to selectively eliminate any spill of the key color that
may be visible in the semitranslucent areas of your key, such as edges and holes.
Example: Using the Chroma Keyer Filter
The following example illustrates a typical use of the Chroma Keyer filter.
1
Edit the green-screen clip you want to key into the Timeline.
If you wish, you can use a superimpose edit to place the green-screen clip over a clip
you want to use as the background.
∏
Tip: If you edit the clip into track V2 of the Timeline, you’ll have room to insert another
clip as the new composited background.
2
Apply the Chroma Keyer filter to the green-screen clip you just edited in.
For more information, see “
3
In the Timeline, double-click the green-screen clip to open it in the Viewer; then, in the
Viewer, click the Chroma Keyer tab.
Note: In this example, you won’t use the numeric controls that appear in the Filters tab.
Three sliders at the bottom of
the Chroma Keyer let you make
further adjustments.