Changing a clip’s pan, About mixer automation and keyframe recording, P. 91) – Apple Final Cut Pro 6 User Manual
Page 876
Chapter 5
Using the Audio Mixer
91
I
Changing a Clip’s Pan
You can change the pan of both stereo and mono clip items in the Audio Mixer. When
you adjust a stereo clip item’s pan, the other clip item in the pair is adjusted by an
equal and opposite amount. Mono clip items’ pan is adjusted independently.
To change the pan of an entire clip:
1
Make sure the clip doesn’t have any pan keyframes already applied.
2
Make sure that the Record Audio Keyframes button in the button bar at the top of the
Audio Mixer is not selected.
3
In the Timeline, position the playhead so that it’s over the clip you want to change.
4
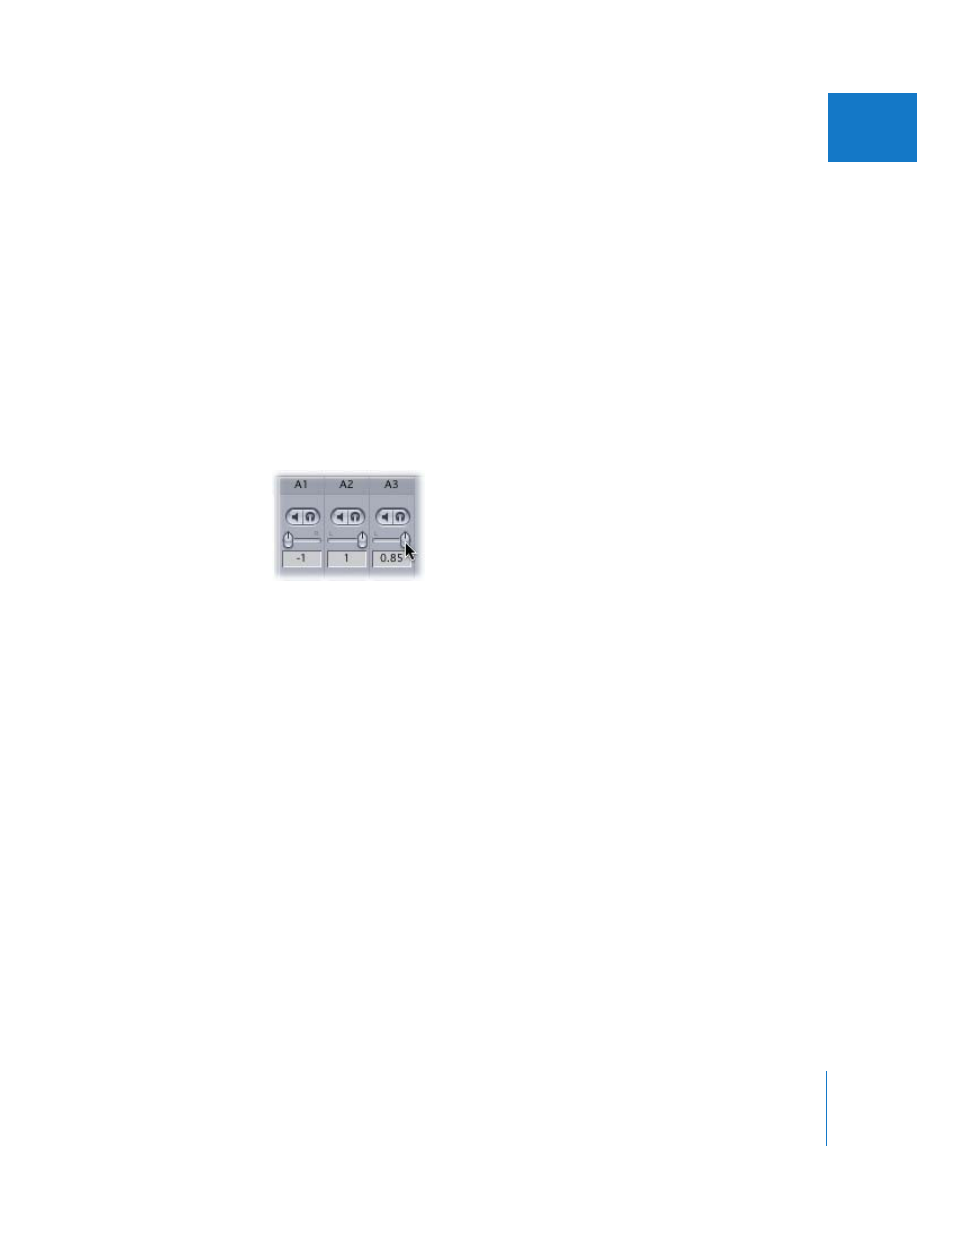
Drag the panning slider of the relevant track strip.
Dragging the slider to the left pans that clip’s audio increasingly to the left channel.
Dragging it to the right pans that clip’s audio increasingly to the right channel.
To reset a panning slider:
m
Hold down the Option key, then click the panning slider you want to reset.
To reset all panning sliders in the Audio Mixer:
m
Control-click at the top of any track’s track strip, then choose Reset All Panners from the
shortcut menu.
Note: Stereo pan can also be modified in the audio tabs of the Viewer. For more
information on how to modify stereo pan in the Viewer, see “
About Mixer Automation and Keyframe Recording
Whenever you play back a sequence, the audio level and pan keyframes in the
clips control the mix automatically. This is called mixer automation and is especially
important when you have a lot of tracks in a long sequence. Audio level and pan
keyframes allow you to build up a complete audio mix by recording keyframes on just
one track at a time. With keyframes, you can orchestrate a complete mix of audio tracks
by yourself, a task that once required several people, with each person focused on a
group of tracks.