Adding chapter, compression, and scoring markers, Deleting markers in clips and sequences – Apple Final Cut Pro 6 User Manual
Page 393
60
Organizing Footage and Preparing to Edit
4
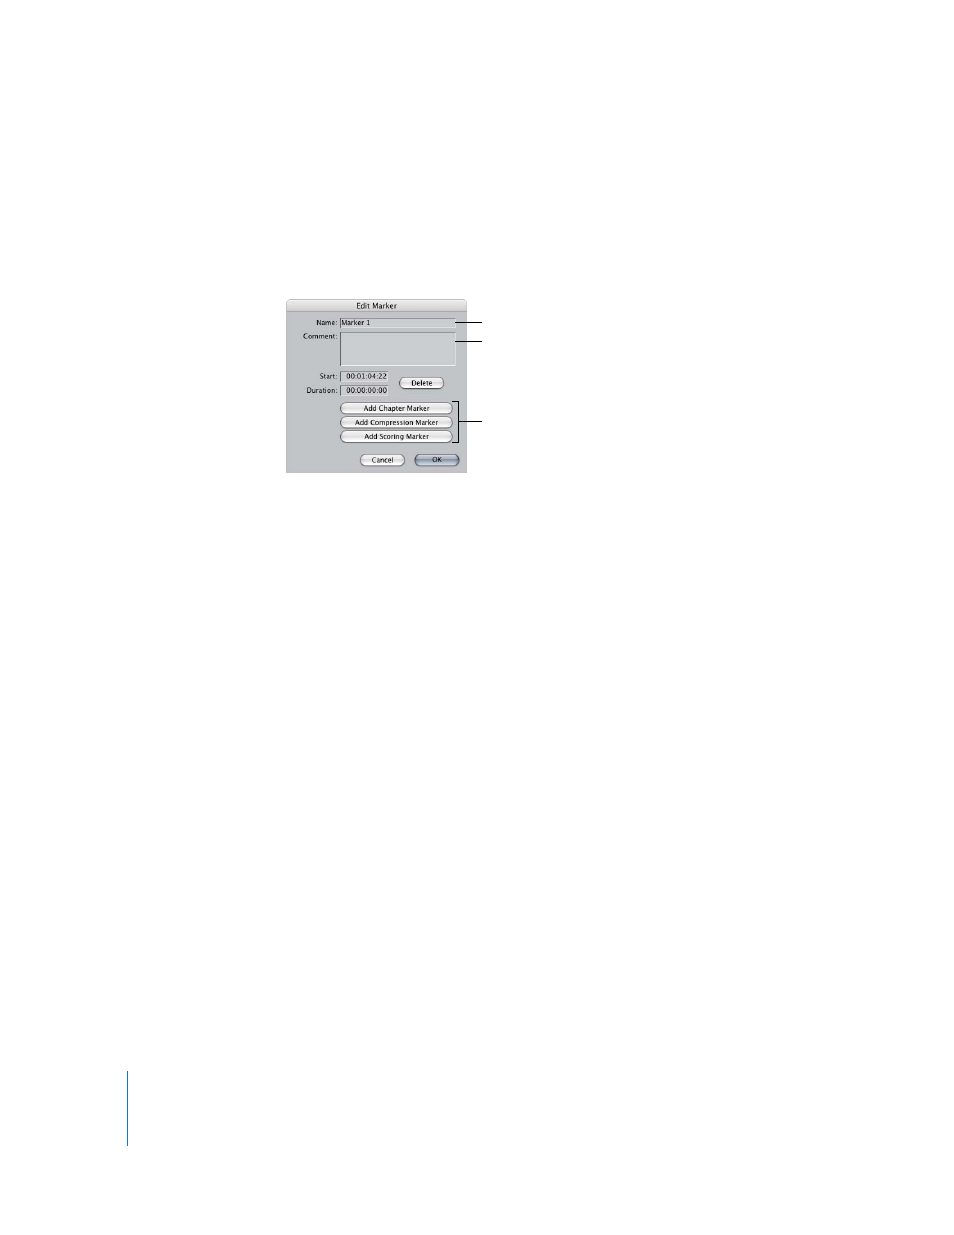
In the Edit Marker window, do any of the following, then click OK.
 In the Name field, rename the marker.
 In the Comment field, add any information you want to include with the marker.
 Click a button to specify the kind of marker this is. The appropriate code is
automatically added to the Comment field.
Adding Chapter, Compression, and Scoring Markers
Chapter, compression, and scoring markers can be used by external applications such
as Compressor, DVD Studio Pro, iDVD, Soundtrack Pro, and QuickTime Player. The Edit
Marker dialog lets you specify a marker as chapter, compression, or scoring. To add a
chapter, compression, or scoring marker to a sequence, follow the instructions above
in “
Adding Markers Along with Detailed Information About Them
Important:
Since the chapter, compression, and scoring markers are only used for
sequences, when you export, make sure that these markers have been added to the
sequence itself in the Canvas or in the Timeline ruler, and not to individual clips.
Deleting Markers in Clips and Sequences
You can delete markers at any time. Once they are deleted, they no longer appear in
the Browser, Viewer, Canvas, or Timeline. You can also keep a marker while removing
chapter, compression, or scoring annotations.
To delete specific markers in a clip in the Browser:
1
Click the disclosure triangle next to a clip containing markers.
2
Select the markers you want to delete.
3
Do one of the following:
 Press Delete.
 Choose Edit > Clear.
If you want, click
a button to choose
the kind of marker.
Enter the desired
name here.
Add any comments
in this field.