Apple Final Cut Pro 6 User Manual
Page 1841
358
Part IV
To determine the timecode offset:
1
Do one of the following:
 Create a window-burn (or window dub) test tape for timecode offset testing. You can
do this by transferring a tape with timecode to another tape of the same format,
making sure you connect an output that can display timecode information visually.
 Connect the monitor out (or super out) output of your VTR to the input of your video
interface. A monitor output is a dedicated output for displaying VTR status
information such as a timecode counter superimposed (or “burned-in”) over the
video information. Some VTRs don’t have a separate monitor output, but instead
have an option for turning on the deck status display and timecode information on
the main output. Enable this option.
2
Capture a clip of video from a tape with LTC (Longitudinal TimeCode) or VITC (Vertical
Interval TimeCode) timecode on it.
For more information, see Volume I, Chapter 17, “Capturing Your Footage to Disk.”
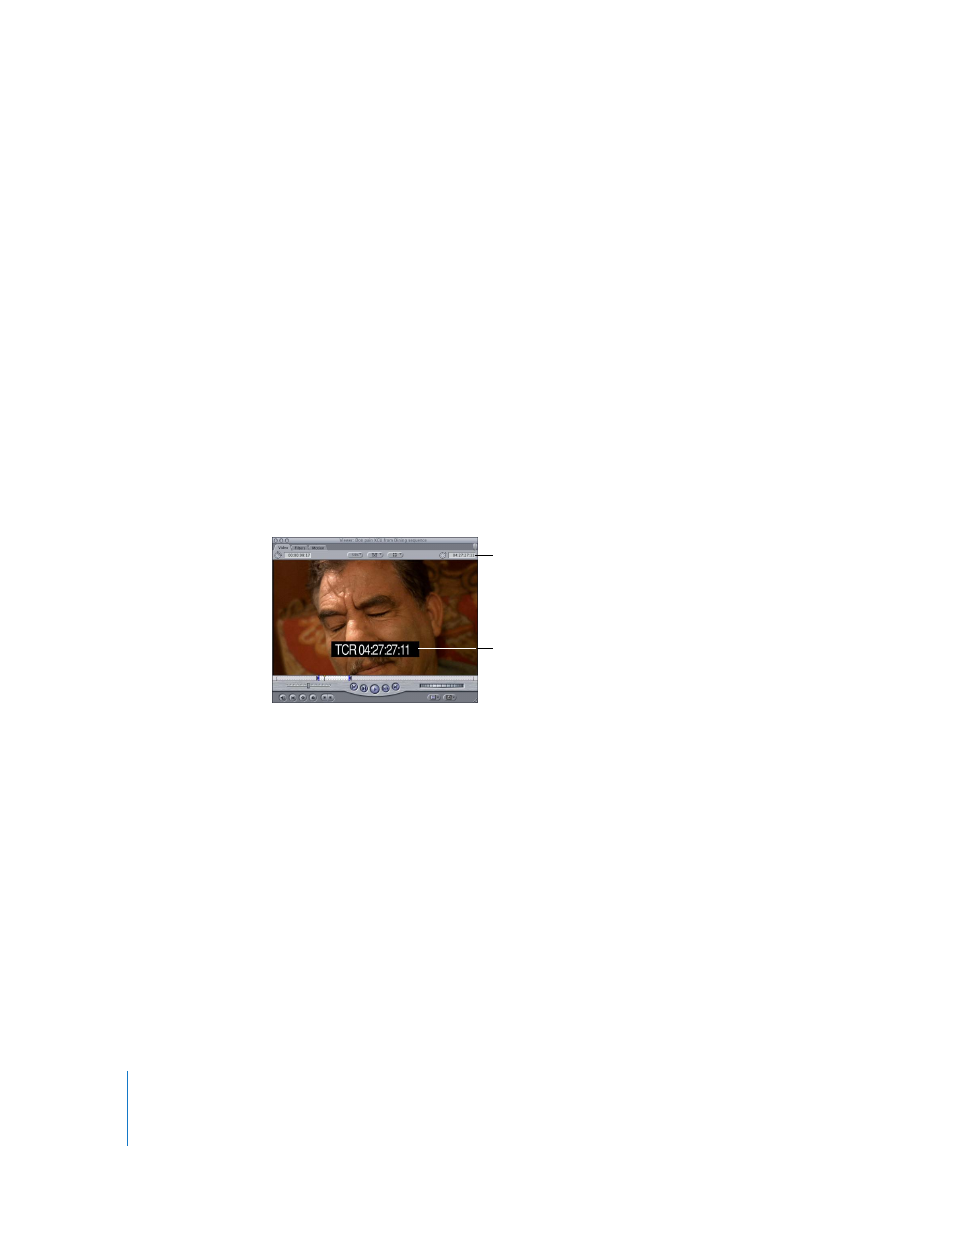
3
Compare the timecode value recorded in the captured media file (in the Current
Timecode field) with the burned-in timecode on the video frame.
If both timecode values match, then there is no offset, so no adjustment is necessary. If
the timecode values do not match, there’s an offset and you’ll need to compensate for
this to capture your video properly.
Current Timecode field
Burned-in timecode