Apple Final Cut Pro 6 User Manual
Page 1088
Chapter 15
Adjusting Parameters for Keyframed Effects
303
II
1
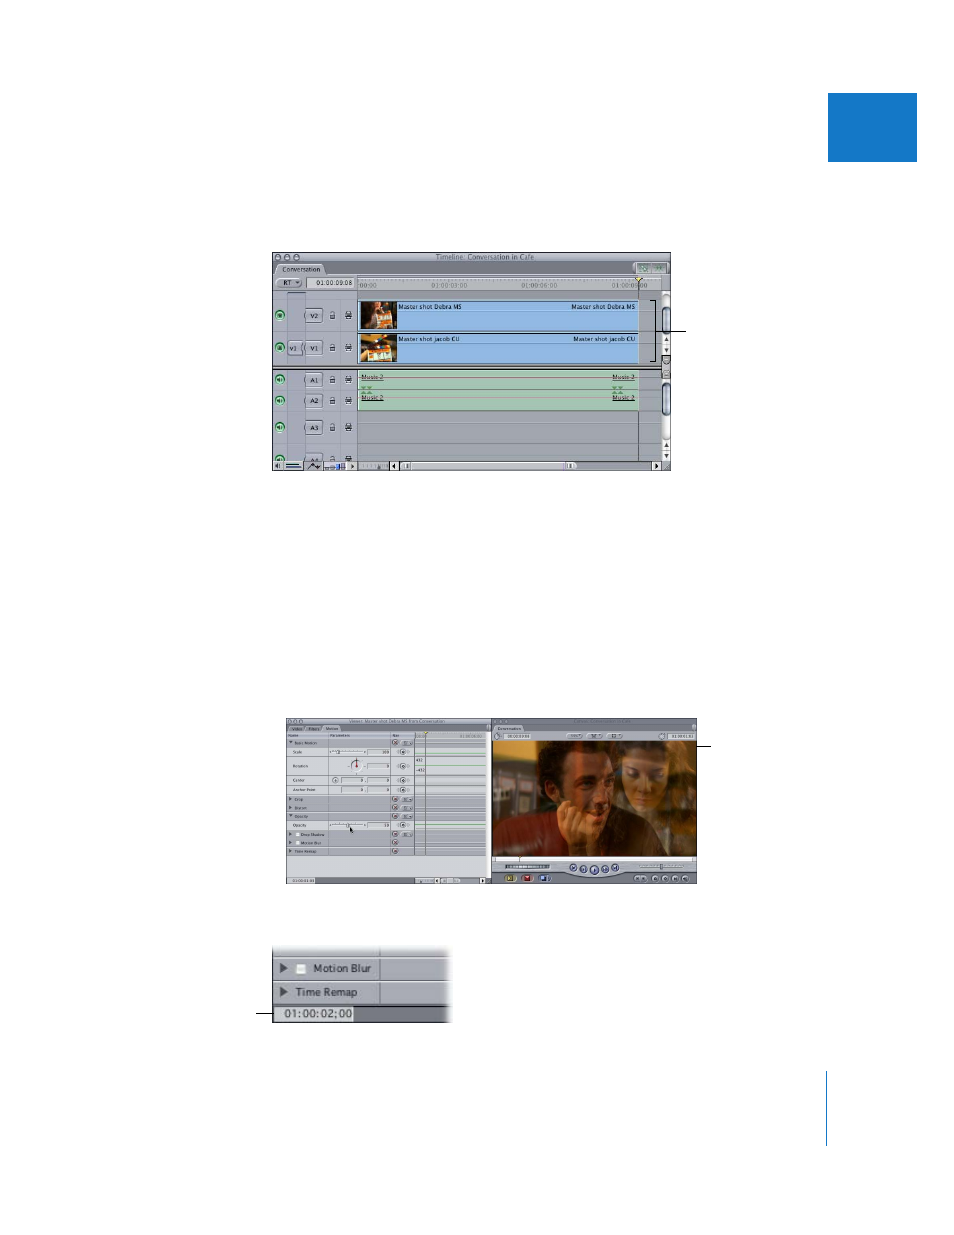
Edit two clips of equal duration into your sequence, each on its own video track.
Note: The clip you want to appear in front should be placed on track V2; the other clip
should be placed on track V1.
2
Open the clip on track V2 in the Viewer, then click the Motion tab.
3
Click the disclosure triangle for the Opacity parameter to reveal its keyframe graph line
in the keyframe graph area.
4
To adjust the opacity of the entire clip, do one of the following:
 Drag the Opacity slider to the left until the value in the number field reads “50.”
 Type “50” in the Opacity number field, then press Return.
 Position the pointer over the Opacity keyframe graph line in the keyframe graph
area; when the pointer turns into the Adjust Line Segment pointer, drag down until
the value in the number field reads “50”.
5
In the Current Timecode field of the Viewer, enter “01:00:02:00” to move the playhead.
Layer the clips, with one
clip on track V1 and the
other superimposed on
track V2.
The image in the
Canvas now shows
both layers blended
together.
Entering the new
timecode value moves
the playhead to this
location.